Laravel React Starter Kit
Laravel React Starter Kit stats
- Downloads
- 66
- Stars
- 5
- Open Issues
- 0
- Forks
- 1
Laravel Starter Kit for Billing with Chargebee.
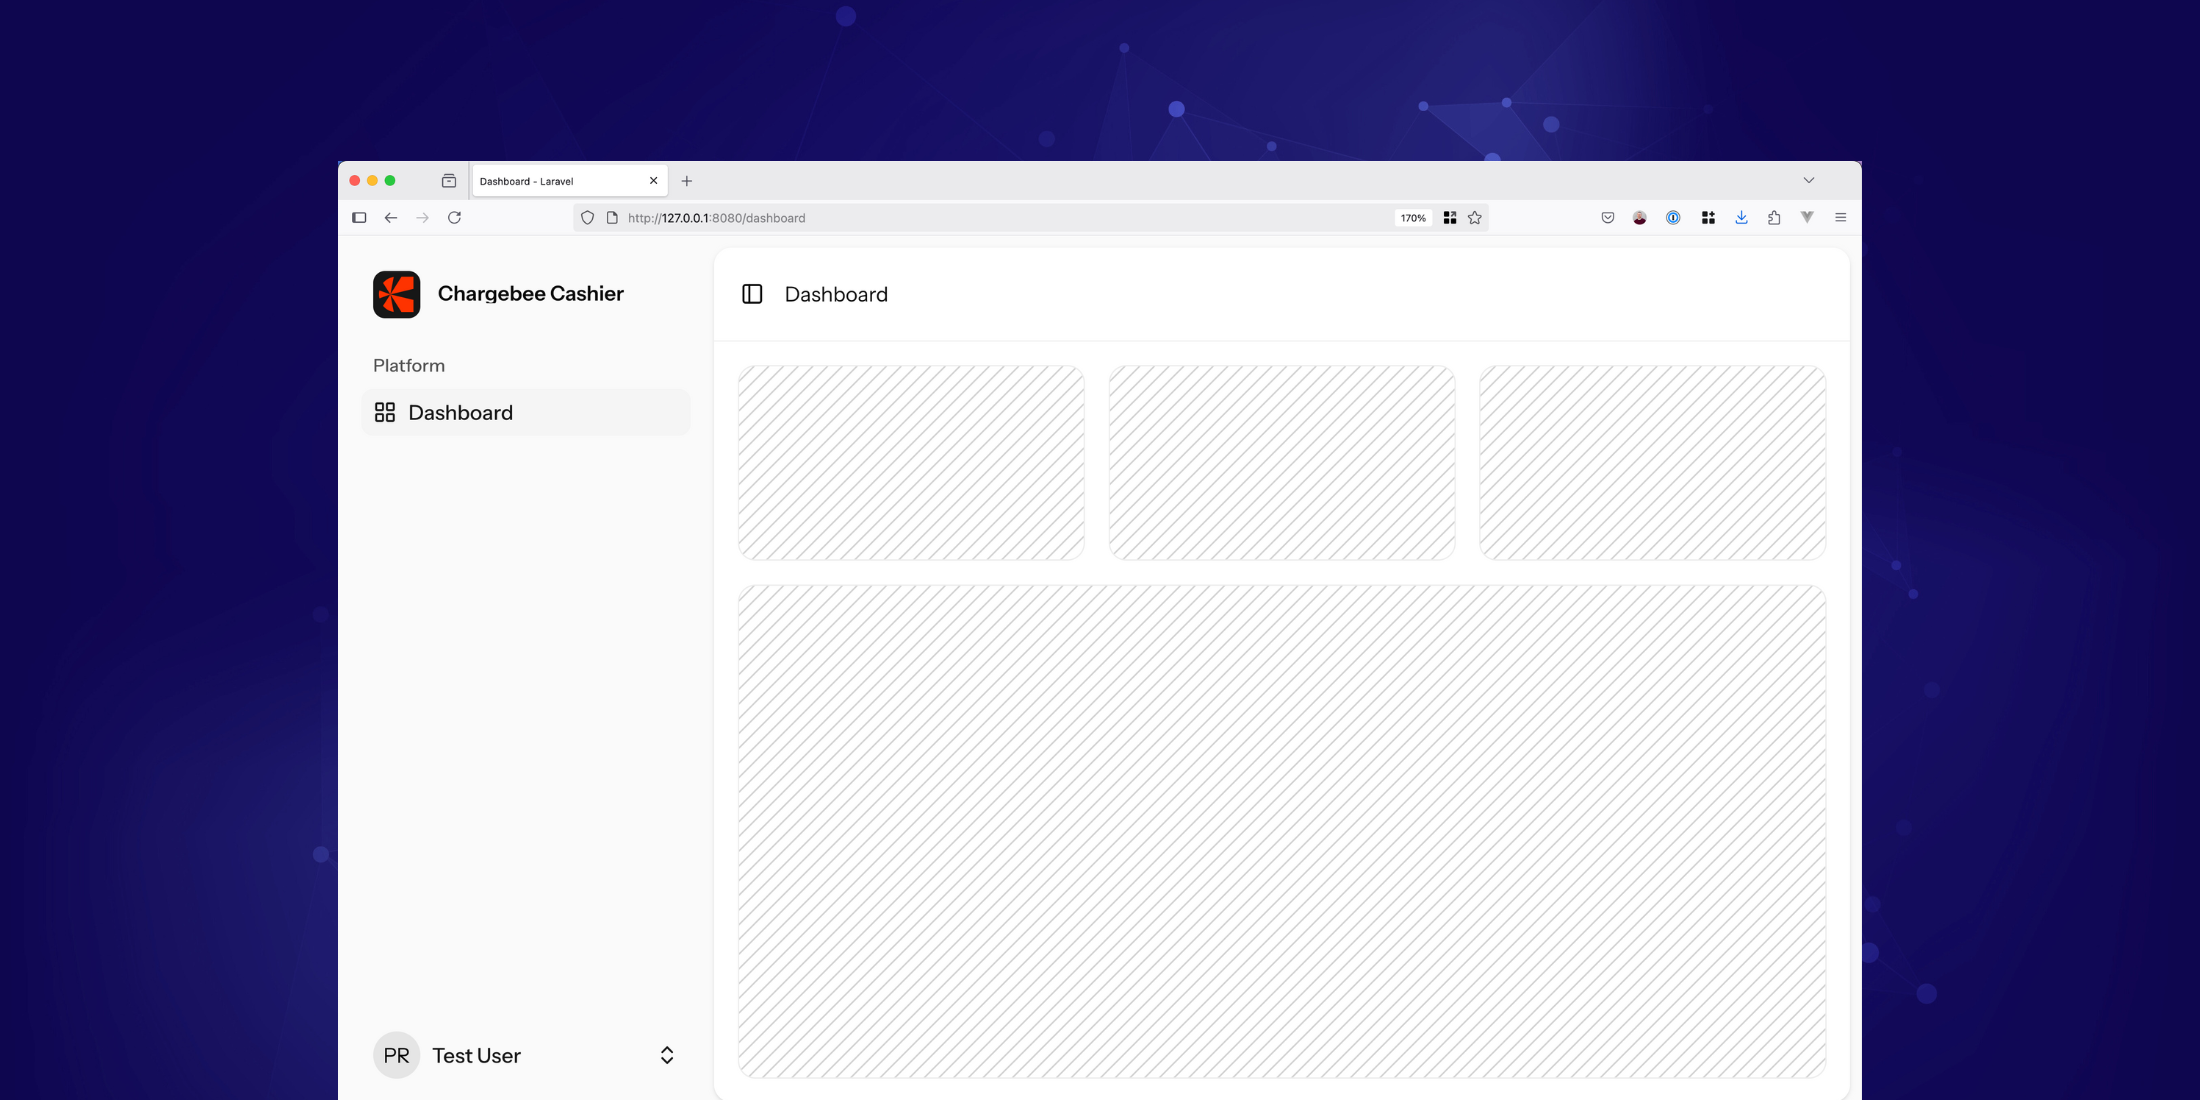
Laravel Starter Kit for Billing with Chargebee Cashier
Quickly set up billing in your Laravel application using Chargebee.
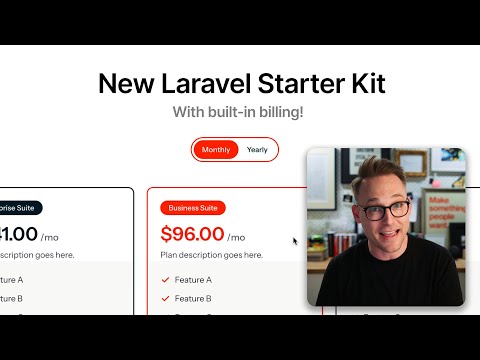
Introduction
You can watch the below video for a quick video introduction of this starter kit and the Laravel Cashier for Chargebee package used in this starter kit.
Getting Started
Installation
Run the following command in your terminal:
laravel new --using=chargebee/laravel-react-starter-kitThen, navigate to your project folder:
cd your-project-nameEnvironment Configuration
- Fill in the Chargebee-related
.envvariables (see.env.example). - ⚠️ Important: Run the server on port
8080or8443for Chargebee checkout to work. You can do this by addingSERVER_PORT=8080in .env file.
Initial Setup
Synchronizing Plans
Fetch your plans from Chargebee:
php artisan chargebee:fetch-plansWebhook Configuration
Set up a webhook using either of these options:
Using Ngrok
Here is a short tutorial on getting started with Ngrok.
If ngrok gives you a URL like https://{abc}.ngrok-free.app, set your webhook URL as:
🔗 https://{abc}.ngrok-free.app/chargebee/webhook
Using Cloudflare Tunnel
Here is a short tutorial on how to configure tunnel on Cloudflare to test webhook.
If Cloudflare Tunnel gives you a URL like https://{your-tunnel-name}.trycloudflare.com, set your webhook URL as:
🔗 https://{your-tunnel-name}.trycloudflare.com/chargebee/webhook
Note: Don't forget to add this webhook URL in your Chargebee dashboard.
Running Your Application
Start the application using:
composer run dev