Codeship empowers developers to efficiently test and deploy web applications with a basic command. Today, I want to demonstrate some of the platform’s features through testing and deploying a Laravel application.
To go through this tutorial, you’re going to need a few things:
- A local instance of Docker Community Edition
- A Codeship account
- A Laravel Forge account – requires subscription
- A DigitalOcean or Amazon Web Services account
- Some sort of source-control hosting account (eg, GitHub, Bitbucket, GitLab)
- A local download of our application found here
- A hosted (forked) instance of this application on the source-control hosting account of your choice
Our Laravel Application
In this article, we’ll be testing and deploying an existing To Do list Laravel application whose source code can be found here.
Our application is fairly bare-bones and only has a few tests. The focus here isn’t necessarily to show a deep dive of Laravel. Rather, we’re more focused on how to continuously test and deploy new changes to our application. Once you have a feel for the process outlined here, I encourage you to try the same series of steps with your own personal Laravel application!
Before we move on, there are a few points of interest about our application:
- PostgreSQL is our database of choice.
- We’re running PHP 5.6.
- We’re testing our application with PHP Unit.
These three factors will influence how we set up our deployment and testing pipelines. Anything outside of this stack may require additional steps.
With this in mind, let’s move on to setting up our project on Codeship!
Setting up our Codeship project
If you don’t have a Codeship account, you can create one here. Otherwise, log into your account and follow the initial steps to create a new project.
Choose the source-control hosting of your choice and connect the application to Codeship. When prompted, select the Codeship Basic option. On the Configure Your Tests step, choose the [PHP] Laravel option. This will add in basic PHP setup and testing commands within our application. The default commands provide us with just about everything we would need, but we need another addition:
setup commands# We support all major PHP versions. Please see our documentation for a full list.# https://documentation.codeship.com/basic/languages-frameworks/php/## By default we use the latest PHP version from the 5.5 release branch, but Laravel# requires at least version 5.6.4phpenv local 5.6 # Prepare cache directory and install dependenciesmkdir -p ./bootstrap/cache # NEW ADDITION - Create Postgresql Databasepsql -c "CREATE DATABASE todos" composer install --no-interaction # Prepare the test databasephp artisan migrateThis simple code edition will allow us to create a PostgreSQL database for running our tests on.
If you look below at your test pipeline, you should see that PHP Unit is your default option. If you want to use another testing framework, you’re absolutely free to do that! However, we’re going to continue forward using PHP Unit. Our call to PHP Unit should look like this:
test pipelinevendor/bin/phpunitThis will call your test runner once your application is set up on Codeship’s servers.
Finally, there’s one more step that we need to complete before moving onto Laravel Forge: setting the Codeship build environment.
Under Project Settings, select the Environment tab. Within this tab, you should be able to edit and create various environmental variables for your build environment. Our application will use the following environmental variables:
DB_CONNECTION=psqlDB_DATABASE=todosDB_USERNAME=postgresDB_PASSWORD=passw0rdDB_HOST=127.0.0.1APP_ENV=developmentWith these variables set, we should now be able to complete a successful build! Push new changes or force-push your existing application to trigger a new build on Codeship. Once you find that the build succeeds, we can move on to configuring Laravel Forge.
Setting up Laravel Forge
As I mentioned earlier, you’re going to need a Laravel Forge account. Unfortunately, Forge isn’t a free service, so you’re going to have to subscribe to it before continuing.
When you create your account, you have a few options for creating a server. In this article, we’re going to use DigitalOcean. However, as usual, you’re free to blaze your own pathway here!
You’ll want to create a server that has at least 1 GB of RAM within it. Our bare-bones To Do list application works fine with this amount of RAM. However, many larger, more complex applications may not be able to handle only 1GB RAM. With this in mind, pick your server preferences and create the server. The creation process should take a few minutes.
Once the server is created, we’ll connect our Laravel application from source control. Follow the instructions for the source-control provider of your choice. If you’re using the To Do list application, our deploy will fail on the first try. This is because we haven’t set the environmental variables yet.
Under the Site Details tab, there should be an option entitled Environment. We’ll want to employ a similar strategy that we implemented in our Codeship configuration. Here’s how it should look:
APP_ENV=productionAPP_KEY=base64:SngFlWlyl3m2YRIVH6OFD9alCJ2WA+B5KGP+4JZXWKc=APP_DEBUG=falseAPP_LOG_LEVEL=debugAPP_URL=http://localhost DB_CONNECTION=pgsqlDB_HOST=127.0.0.1DB_PORT=3306DB_DATABASE=forgeDB_USERNAME=forgeDB_PASSWORD=[randomly generated password] BROADCAST_DRIVER=logCACHE_DRIVER=fileSESSION_DRIVER=fileQUEUE_DRIVER=sync REDIS_HOST=127.0.0.1With this configuration, we should be able to press the Deploy Now button and successfully deploy our application on Forge.
Connecting Forge and Codeship
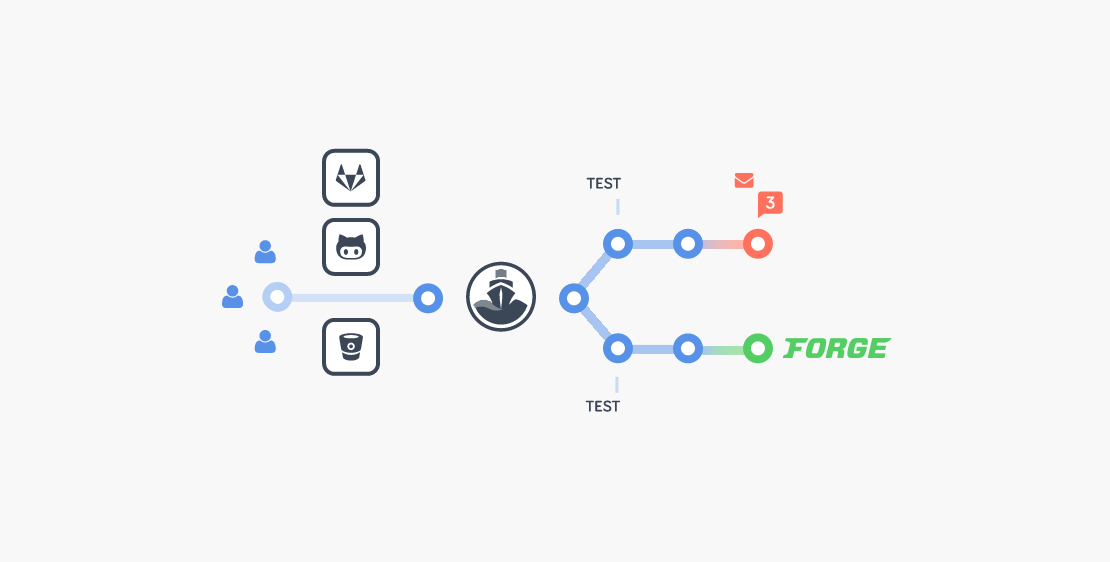
So far, we’ve got two awesome but independent processes for testing and deploying code. However, we want to connect these two processes so that they do something like this:
- Code changes are pushed to a deployable branch.
- New code changes are tested on Codeship.
- If the Codeship build passes, send a deploy request to Laravel Forge.
- Laravel Forge pulls in the tested code changes and attempts to deploy them in a production environment.
This sounds pretty neat, but how do we do this?
Under your App Details in Laravel Forge, look for a section entitled Deployment Trigger URL. This should contain a URL with a token at the end of it. Take that URL and copy it.
Now, log back into your Codeship project and look for the Deployment tab in your Project Settings. Select the Custom Script option and enter the following:
wget [your copied Laravel forge url]This command will send the signal to Laravel Forge to deploy your application. Now, all we have to do is trigger another build on Codeship and we’ll see these two services talk together!
Wrapping Up
With all of these elements tied together, we’ve created an efficient CI testing and deployment pipeline that allows us to simply push code changes to a deployment branch, and have them tested and deployed upon success.
While awesome processes like these allow you to deploy clean code faster, they’re merely just the beginning of a robust CI process. With many of the other features that Codeship offers, you can find even more ways to automatically test and deploy your application!
Many thanks to Codeship for sponsoring Laravel News this week with this tutorial.