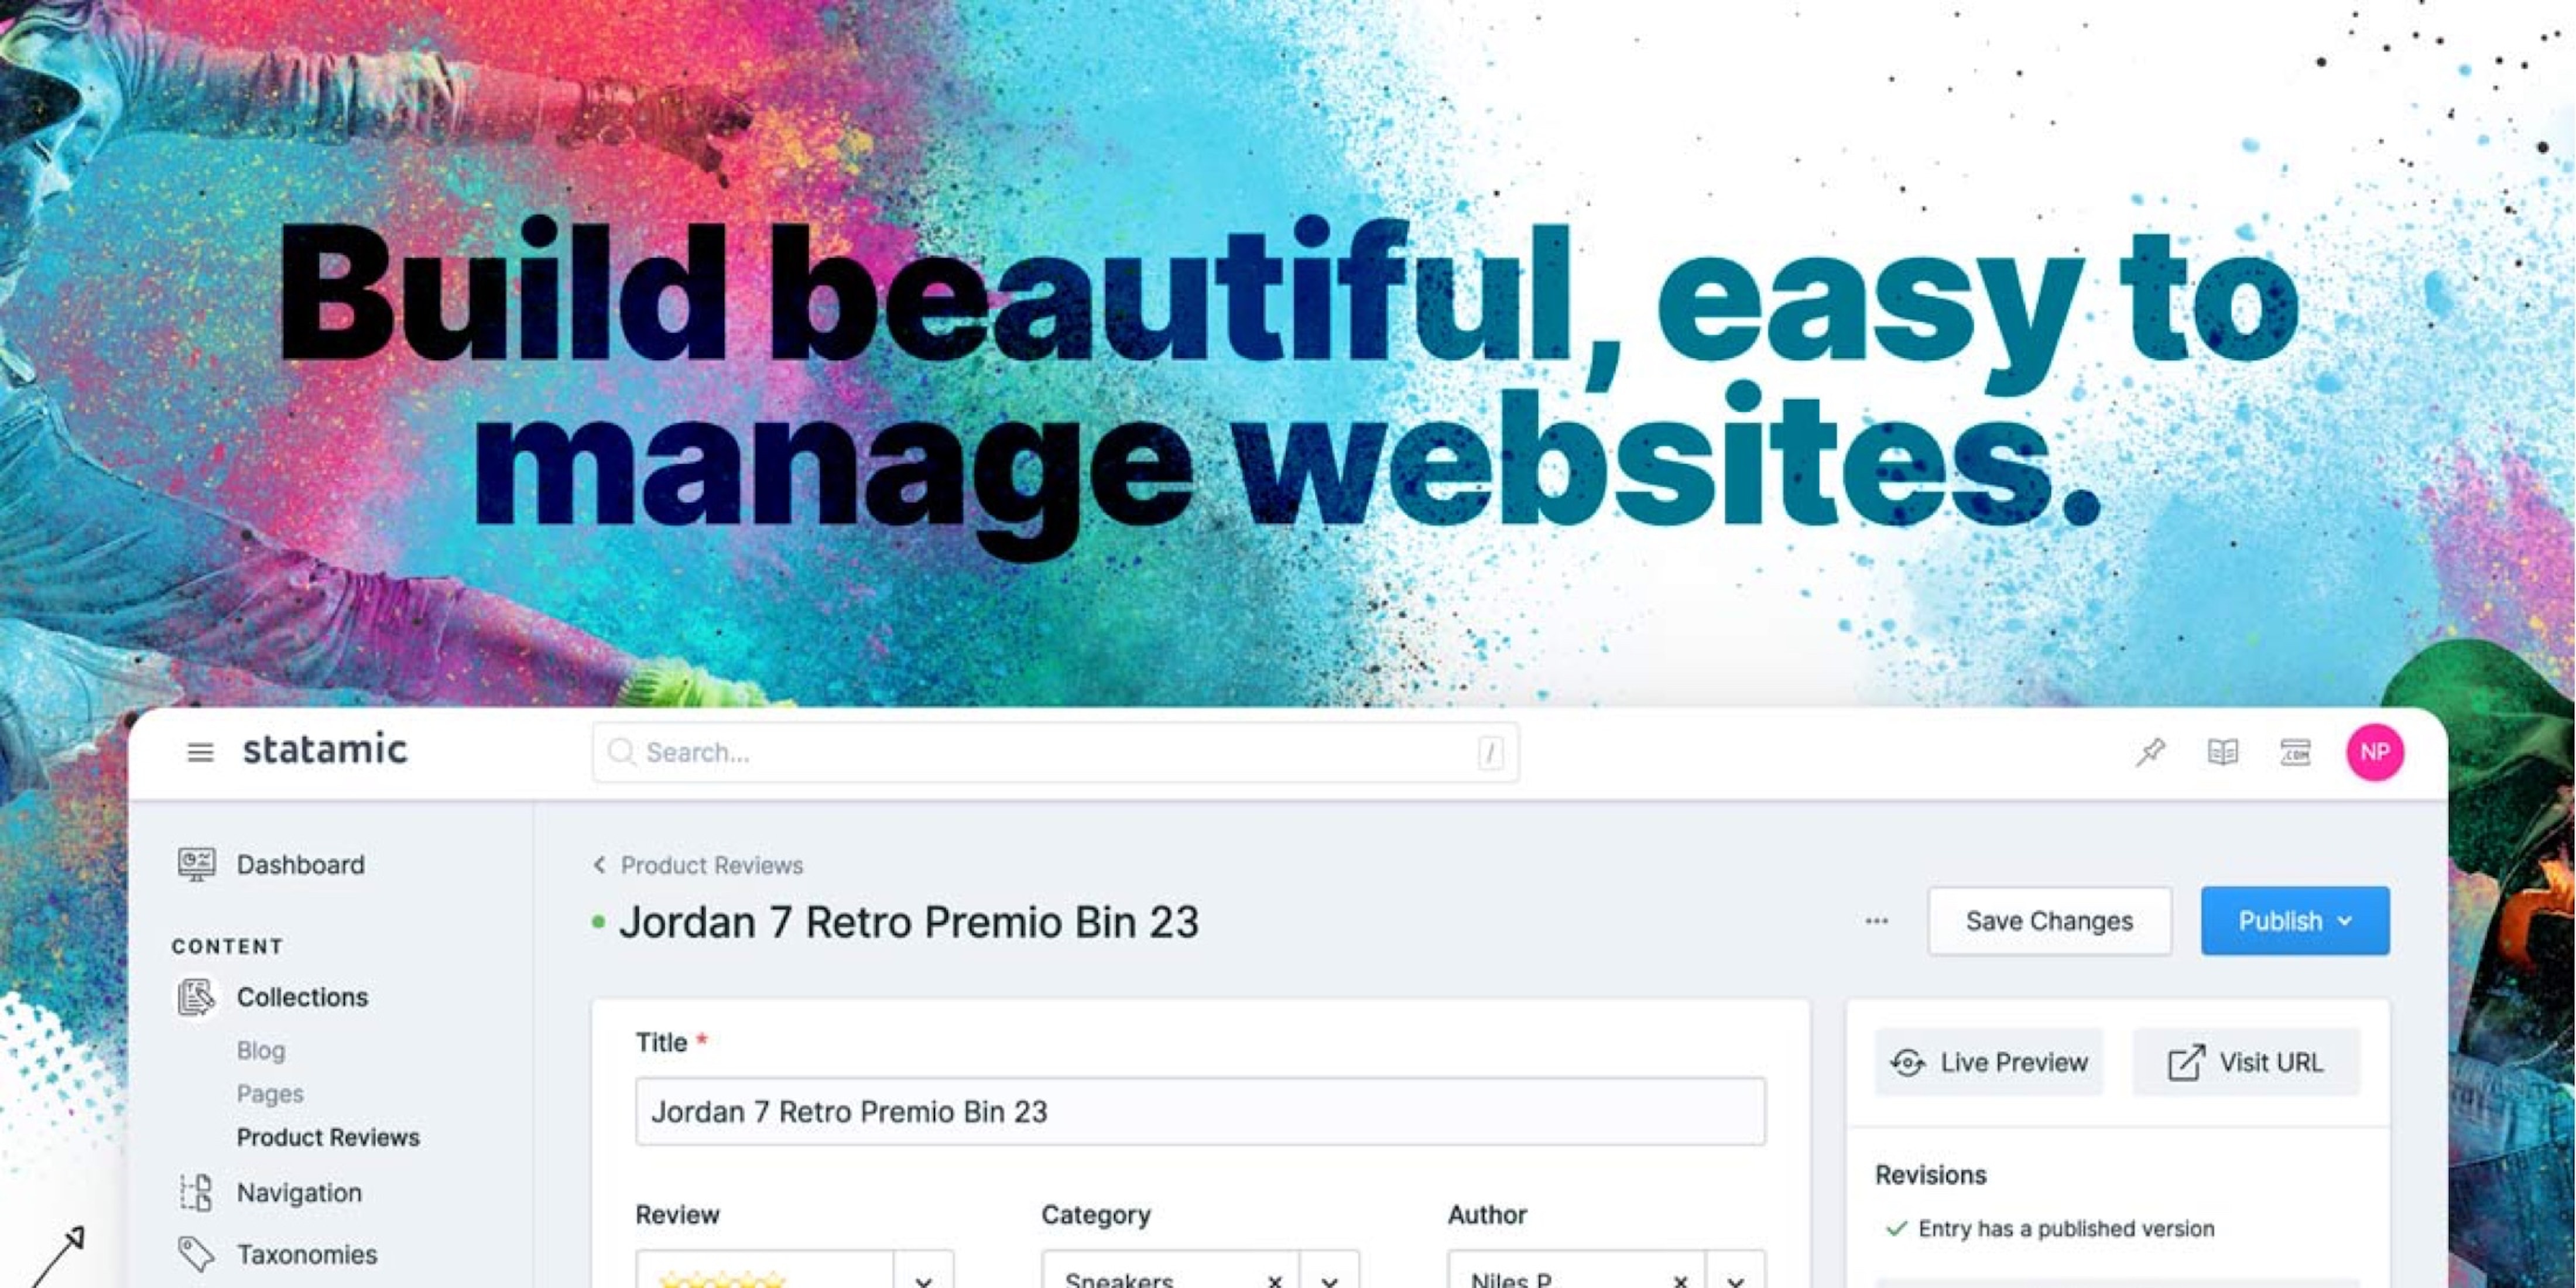
Content management is a very opinionated topic, and everyone has their favorite platform they like to use. Statamic is a fantastic content management package you can add to your Laravel applications.
In this tutorial, I will show you how to start with a new Statamic website and take this from an idea for a blog to deploying this as a static site to Digital Ocean using infrastructure as code. So you can sit back, relax, and deploy with ease.
I will walk through how you can create a new statamic website, but you can add this to any Laravel application you may already have.
The best way to install a Statamic website is to use their CLI tool, so run the following command to install this global CLI tool:
composer global require statamic/cliOnce installed, you can run statamic to ensure it works correctly. We will build a basic blog using one of the starter kits, as it speeds up the entire process. To start, open your terminal and navigate to the directory where you want this project to live. Run the following console command to create your new statamic blog:
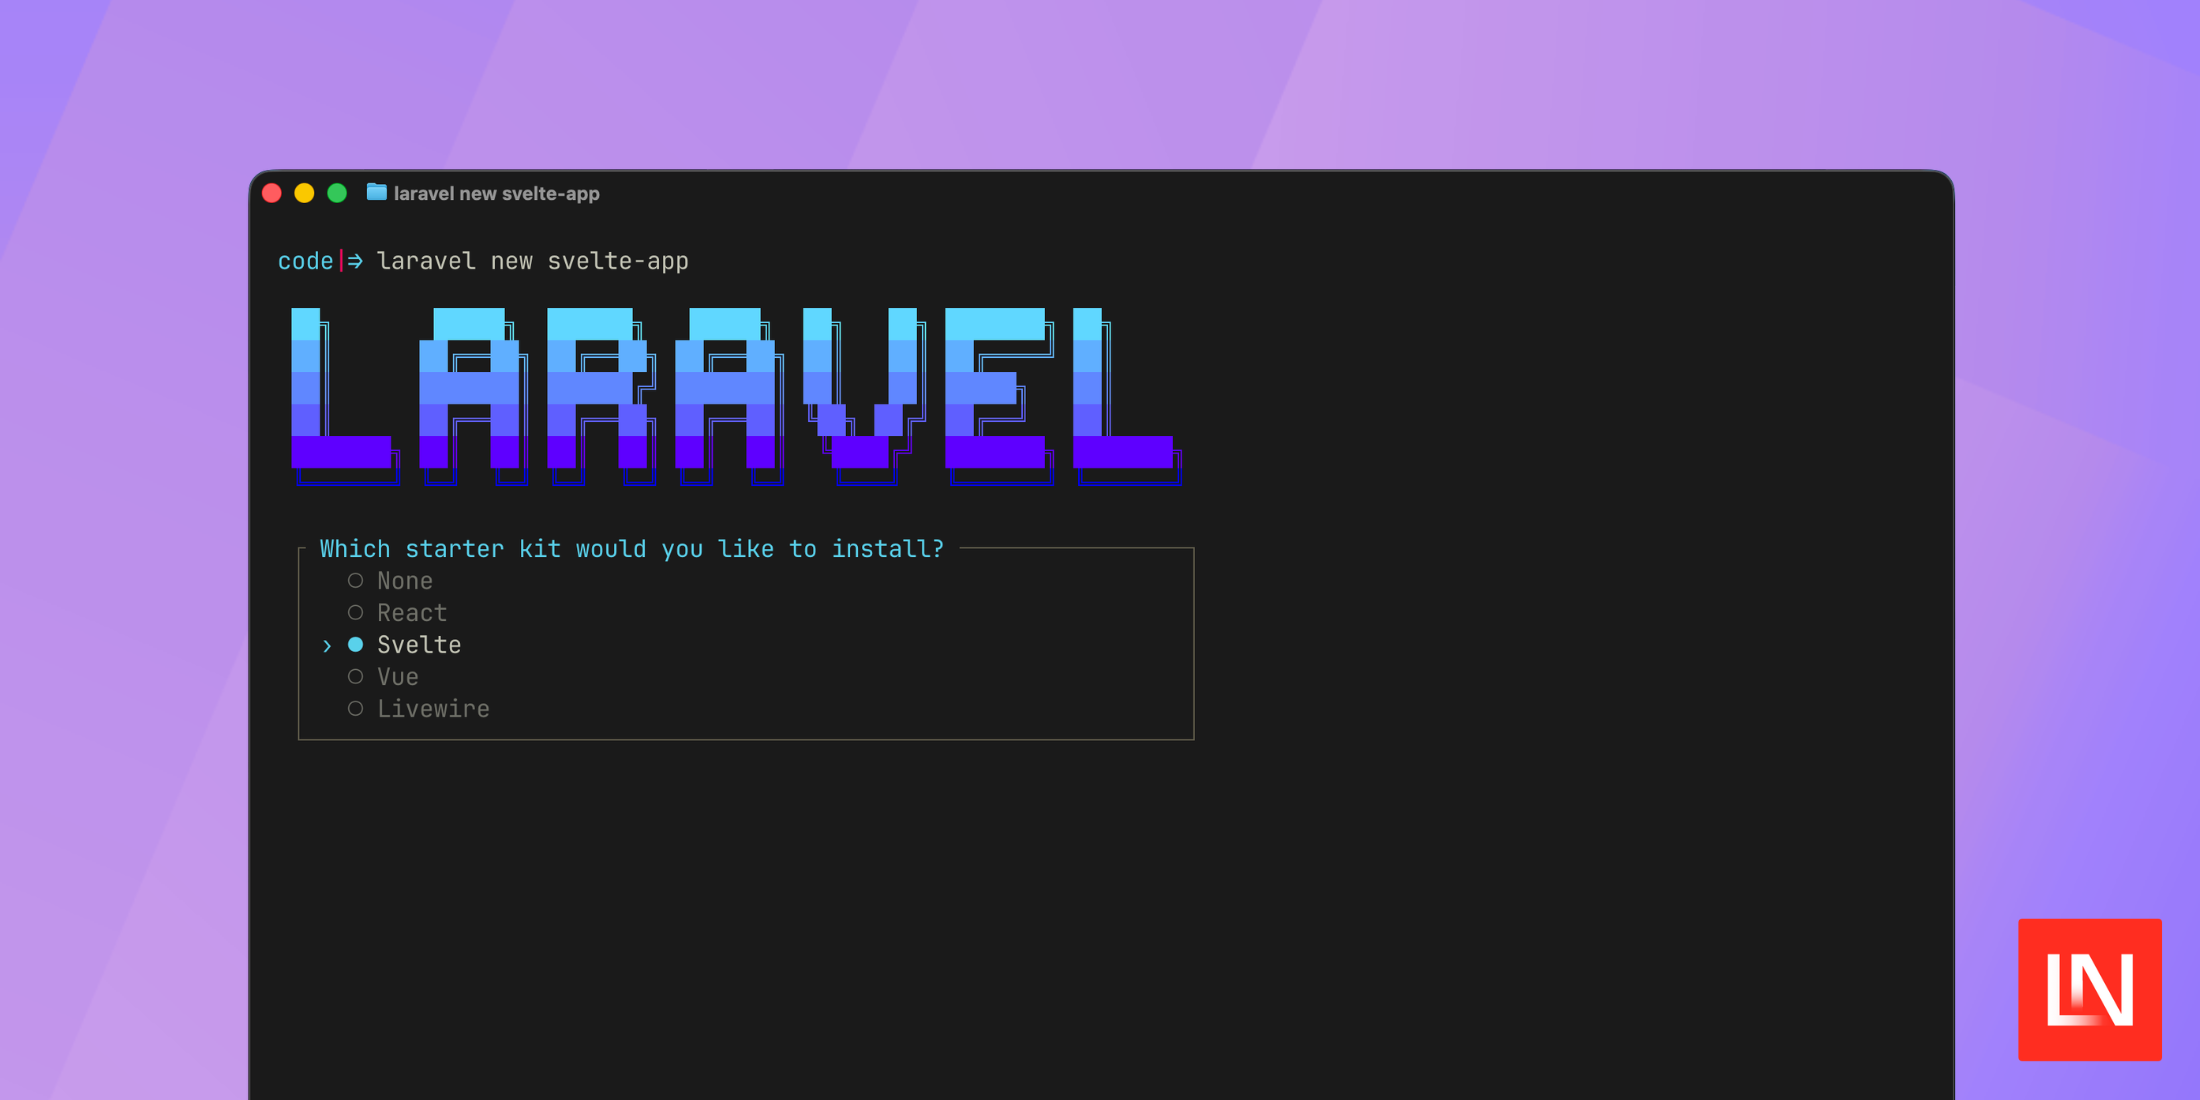
statamic new blogYou will be asked at this point if you want to start with a blank site or if you want to use a starter kit. I highly recommend considering using a starter kit here - as the statamic community has created some fantastic resources that you can use. I will use Starter's Creek for this tutorial, a blog starter using tailwindcss.
Once installed, you will be asked to create an admin user. This will be a user that you want to be able to access the control panel and manage the site itself. These credentials are stored in YAML on disk within your project, but the password itself will be hashed.
Depending on what you use locally to run your PHP applications, you can now run the website and navigate around the example content that comes with your starter kit.
If we look at the directory structure, we can see that we have a few directories we are unfamiliar with. At the root of our project, we will see a directory called content, where the configuration options and actual content for our website will live. Statamic is a flat-first CMS that uses flat files to store your content. There are options to move this over to a database-driven CMS - and the documentation is very good for showing you what steps you need to take.
However, we will not do this as we want to focus on deploying a static site to Digital Oceans App Platform.
Inside of content we have collections, and this is our content. With Statamic, we have collections of content organized by type - pages and blog come with my starter kit. If you open any example entries that came with your starter kit, you will see markdown content, but not like you are used to seeing it. Statamic uses its editors to create and save your data into something you may at first struggle to understand. However, if you inspect this content, you will notice that it breaks down each dom element created and sets the type and content. So that when it is rendered, it can be easily updated and changed types to update a paragraph to a heading, for example.
If we look inside the resource/views directory, we will see files with different file extensions from what we are used to in Laravel. Statamic has its templating engine called antlers, which is relatively easy to learn - but since version 3, there has been support for using Blade in Statamic. You can either read the documentation to understand how to achieve this, or Spatie has created a Blade starter kit you can use.
You can edit pretty much any of the views here, but be careful you do not remove things until you understand their uses. It takes a little while to get used to the antlers templating, but once you are used to it - you will learn to love its simplicity.
For this to work effectively, we will need to install one more package to turn our Statamic website into a static site. Run the following command to install the package:
composer require statamic/ssgThis will install the package and publish the configuration file. You can customize the building of the static site a little within this config file. However, the default will work for this project. Our website will now be able to be built as a static site, meaning we can look into deployments.
Not that we have a "website" that we want to deploy, we can start thinking about how we would like to get this onto Digital Ocean. The best choice for hosting a static site like this on Digital Ocean would be to use their App Platform. It will allow you to connect a repo, provide any environment variables you might need, and describe the build steps required to create the static site.
Think of this as a helpful way of automating your CI/CD pipeline. We will have automatic deployments because we are using App Platform. But at the same time, we will also be building our infrastructure using code. So if we ever get to a point where we want to switch to a database driver for our content, we change the configuration - rerun the setup process, and deploy again. We don't have to log in to our cloud provider. All we have to do is reconfigure and run.
Let's first have a look at the options when it comes to infrastructure as code. Terraform is possibly the most well-known and has excellent support for most cloud providers. The biggest issue is learning how to write terraform scripts. Next up, there is Ansible, traditionally more of an IT automation tool with the added ability to manage infrastructure. There are many out there, each with its benefits and drawbacks. This tutorial will focus on Pulumi, allowing us to work with most cloud providers and write our infrastructure in a language we are perhaps more comfortable with.
So far, we have a relatively standard Laravel application structure, with a few added bits for managing content within Statamic. We will create a new directory in the root of our project called devops, where all of our Pulumi code will live.
Open this new devops directory within your terminal, as this is where we will spend much of our time now. You will need to install Pulumi at this point, which, if you are on a mac, is a simple brew command:
brew install pulumiHowever, the documentation has excellent instructions on getting this installed on your machine if you are not a mac user.
Once you have installed Pulumi and are within your devops directory, we can initialize this project as a pulumi project. For this, we will use TypeScript as the language for configuring our infrastructure - as there is currently no support for PHP. Run the following console command to start this project.
pulumi new typescriptThe command will then ask you to enter your API token for Pulumi, as you need an account to use it. They have a great free tier, and you are unlikely to run out of free deployments for most sites like this.
The command will then ask you to enter your project name and description and name this stack. A stack is a consistent way to design your infrastructure, so if you use similar setups for many projects, you can use a predefined stack to deploy onto.
Once this has run, it will install the required dependencies, and you are all set to start.
Let us open the index.ts that Pulumi created for us:
import * as pulumi from "@pulumi/pulumi";A great starting point for us to start designing our infrastructure, so let us get started.
We first need to install a node module that will allow us to use pulumi with Digital Ocean. You can install this using:
npm install @pulumi/digitaloceanNow we can get back to looking at our infrastructure.
import * as pulumi from "@pulumi/pulumi";import * as digitalocean from "@pulumi/digitalocean"; const statamic = new digitalocean.App("statamic-website", { spec: { name: "statamic-website", region: "lon1", staticSites: [{ buildCommand: "composer install --prefer-dist --optimize-autoloader && php please cach:clear && npm ci && npm run production && php please ssg:generate", git: { branch: "main", repoCloneUrl: "https://github.com/juststeveking/website.git", }, name: "statamic-website", outputDir: "storage/app/static", }], }});We are creating a new Digital Ocean App and telling it the specifications of how we want to build and store this on their platform. Including the build command and output directory. We also let them know the repo URL so that it can easily be cloned and redeployed if we push updates through GitHub.
Let us look at what this might look like if we deploy this, as Pulumi has an excellent command to preview what infrastructure we are about to build and use.
pulumi previewThis should give you an output like the following:
Previewing update (do-static) View Live: https://app.pulumi.com/JustSteveKing/devops/do-static/previews/5a4fc21d-ac2c-484a-9e35-bbaf527a9975 Type Name Plan + pulumi:pulumi:Stack devops-do-static create + └─ digitalocean:index:App statamic-website create Resources: + 2 to createWe know from this output that we will create two resources, one stack on Oulumi and one static website on Digital Ocean. To allow us to do this, we will need to go to our Digital Ocean account and generate an API token so Pulumi can create and set up our infrastructure.
Set this with the Pulumi CLI:
pulumi config set digitalocean:token api-token-here --secretThe next step is to ensure that Digital Ocean has access to our GitHub repository. You can do this from inside the Digital Ocean App Platform console.
Finally, once all services are connected, you can run one command, and your infrastructure - with a git connection, will be up and running.
pulumi upThis will check to see what changes need to be applied, which you can then confirm if you want to create the new resources. Then once approved, your resources will be created - and your website will be live!
That is how you go from idea to blog to live without leaving your IDE.

