Laravel Jetstream is a starter kit that helps you not only with Auth scaffolding but with extra functionality like Teams or Two-Factor Authentication. But I see many people struggle with customizing Jetstream after installation, and with adding more functionality. So, in this article, let's add a simple CRUD with roles/permissions, on top of Jetstream.
Jetstream Installation
We will create a fresh Laravel project to manage a to-do list of tasks. There are multiple ways to install Laravel + Jetstream, I will use the Laravel installer.
You could do:
laravel new projectcd projectcomposer require laravel/jetstreamphp artisan jetstream:install livewireNotice: Jetstream comes with two options - Livewire and Inertia. In this article, I will use the Livewire stack, but it doesn't matter. Livewire/Inertia is used for scaffolding code, but after installing Jetstream, you could proceed with writing code without any of those extra tools, with pure Laravel + Blade MVC code.
So, the installation instructions are above, but here I will give you a tip for a shorter installation. Laravel installer allows you to do it all in just one command:
laravel new project --jet --stack=livewireAfter the scaffolding is done, we need to run these:
cd projectphp artisan migratenpm install && npm run devIf everything is successful, we should see the default homepage, with Login/Register links on the top-right.

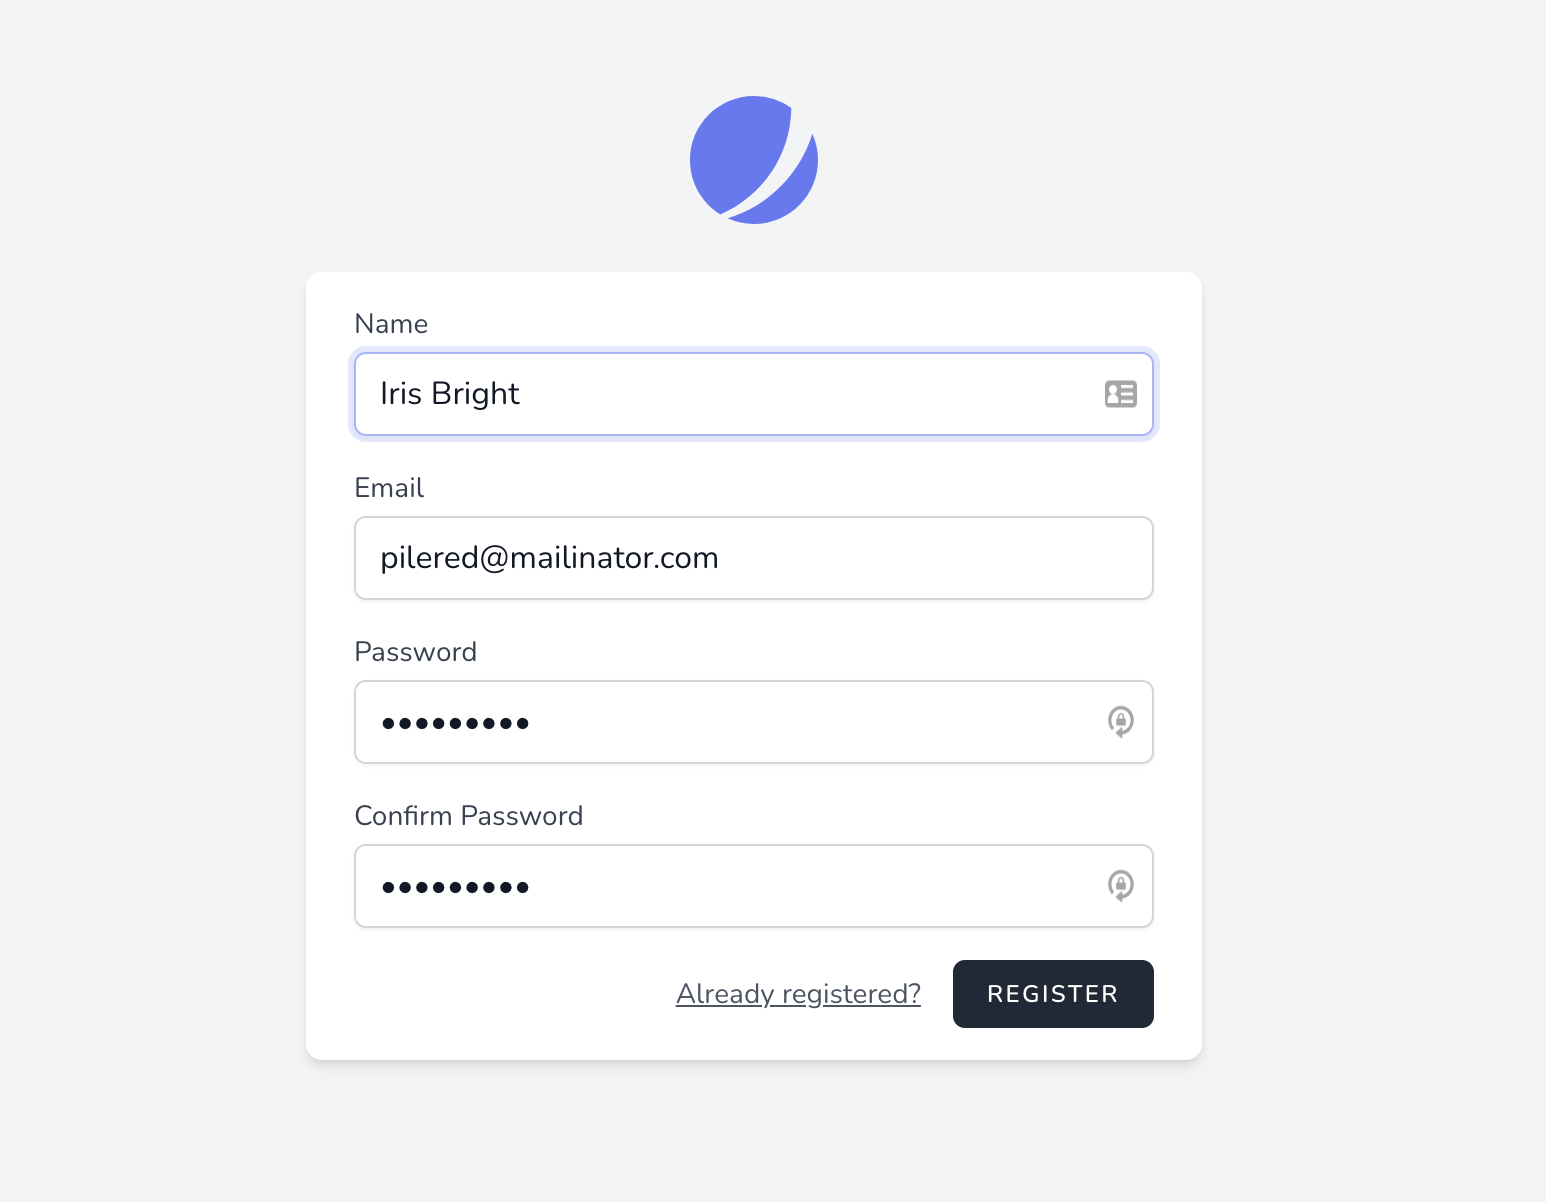
When you click Register, you should land on the registration form.
After it's filled, the user is registered and lands on the dashboard.
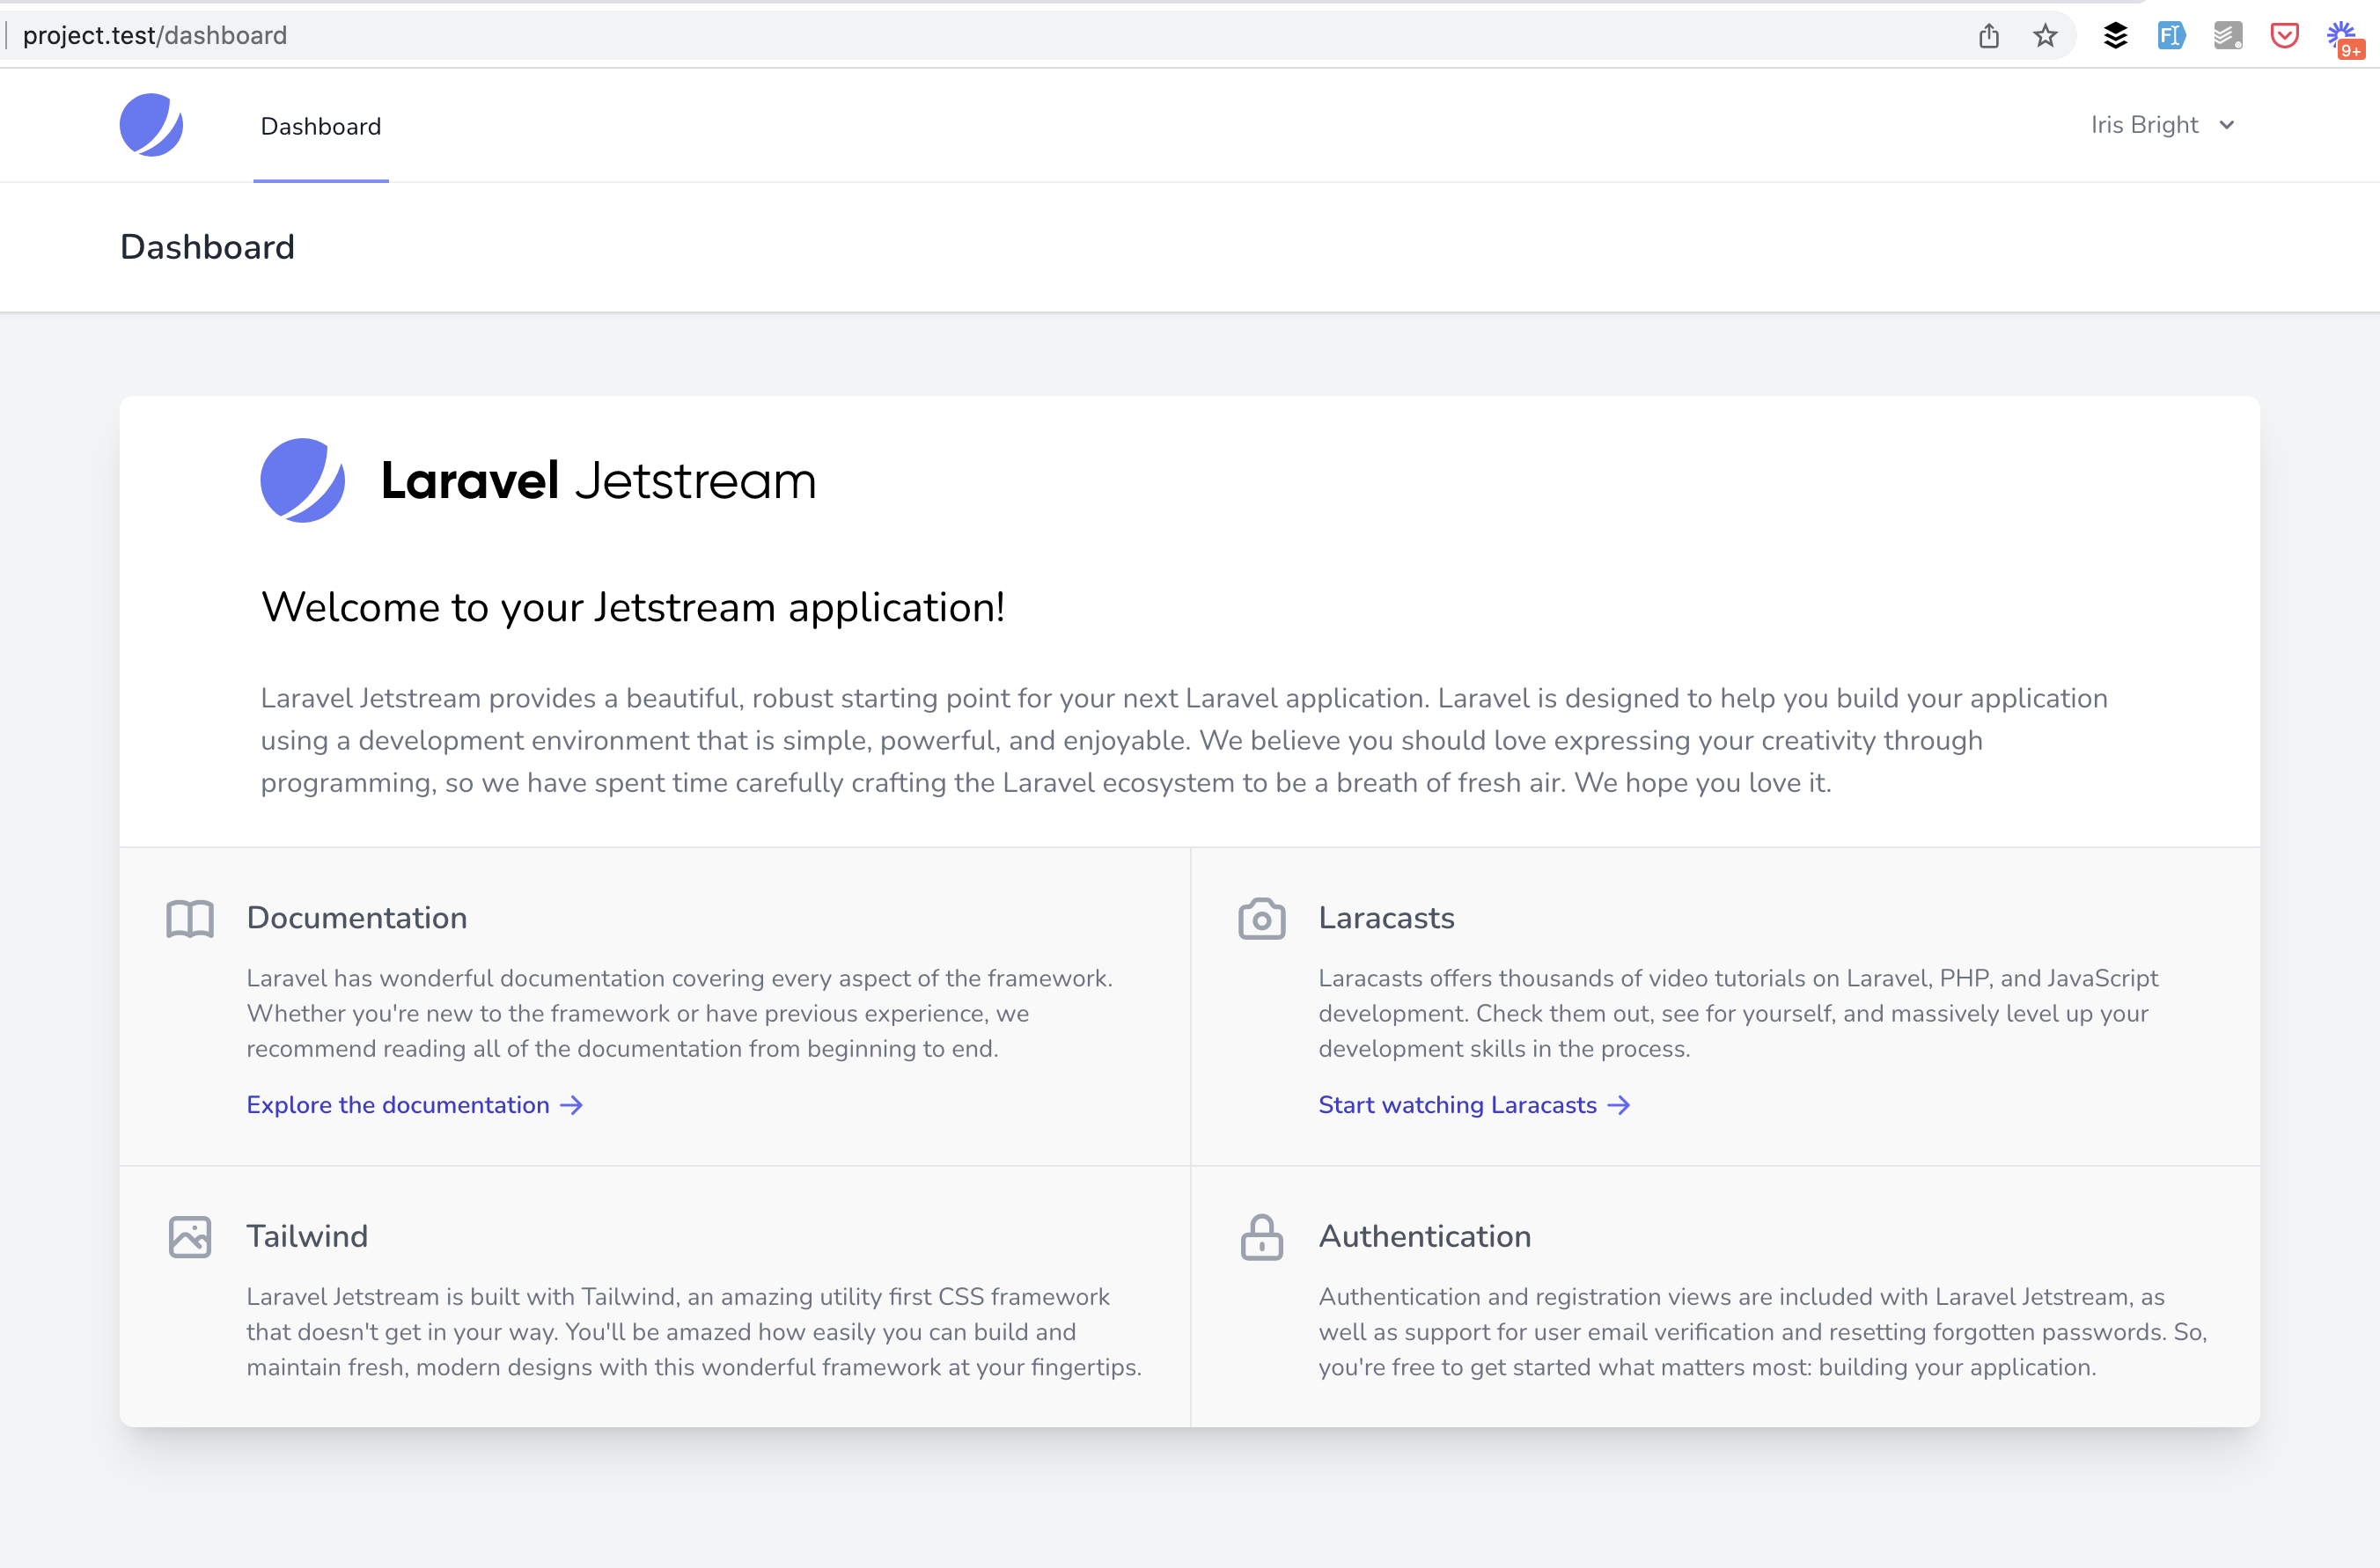
If you see the same on your screen, congratulations, the installation part is completed successfully.
Tasks List: DB Structure and non-Jetstream Part
Next, we need to create the back-end structure for our DB table of tasks. Here's where we will get away from Jetstream at all, for a while. And that's one of the main things that developers should understand about Jetstream: you don't rely on the starter kit for your further code. You can write code as you would usually do without Jetstream, maybe just reusing some of its components.
So, what we need to do at this point:
- Create a Task model
- Create DB migrations
- Create a Resource TaskController and fill CRUD operations
- Add a Route to that new Controller
- Create Form Request classes for validation
These are the actions needed irrelevant to the starter kit, whether it's Jetstream, Breeze, or any other.
Then, what we do need to incorporate in Jetstream, are these actions:
- Add the "Tasks" menu item to Jetstream navigation
- Create Blade Views for CRUD operations
So, these two things will depend on Jestream's front-end structure, we'll take a look at that below.
First, the non-Jestream part:
php artisan make:model Task -mcrRThose additional flags will generate related files:
-mwill generate a migration class-crwill generate a Controller with Resource methods: index, create, store, show, edit, update, destroy-Rwill generate two Form Request classes: StoreTaskRequest and UpdateTaskRequest
Next, we fill in the migration with only one field, for this simple example.
database/migrations/2022_04_19_131435_create_tasks_table.php:
return new class extends Migration{ public function up() { Schema::create('tasks', function (Blueprint $table) { $table->id(); $table->string('name'); $table->timestamps(); }); }I deliberately don't show the down() method, cause I don't create that method since 2017, when Taylor Otwell approved it.
Let's also run php artisan migrate, so this table would be created.
Then, in Model, I add one fillable field:
app/Models/Task.php
class Task extends Model{ protected $fillable = ['name'];}Then, the CRUD code for the Controller.
app/Http/Controllers/TaskController.php:
use App\Http\Requests\StoreTaskRequest;use App\Http\Requests\UpdateTaskRequest;use App\Models\Task; class TaskController extends Controller{ public function index() { $tasks = Task::all(); return view('tasks.index', compact('tasks')); } public function create() { return view('tasks.create'); } public function store(StoreTaskRequest $request) { Task::create($request->validated()); return redirect()->route('tasks.index'); } public function edit(Task $task) { return view('tasks.edit', compact('task')); } public function update(UpdateTaskRequest $request, Task $task) { $task->update($request->validated()); return redirect()->route('tasks.index'); } public function destroy(Task $task) { $task->delete(); return redirect()->route('tasks.index'); }}Finally, we assign that controller to the route, with auth middleware.
routes/web.php:
Route::get('/', function () { return view('welcome');}); Route::middleware([ 'auth:sanctum', config('jetstream.auth_session'), 'verified'])->group(function () { Route::get('/dashboard', function () { return view('dashboard'); })->name('dashboard'); // This is our new line Route::resource('tasks', \App\Http\Controllers\TaskController::class);});This is the first time we see something from Jetstream: the generated dashboard route with default middlewares like auth:sanctum and others. Our task here is just to add our route to that group.
Tasks List: New Page with Jetstream Layout
Ok, so we have a Controller but we don't have a View, yet. We specified it to be resources/views/tasks/index.blade.php, so let's create that exact file.
If you want it to have the same Jetstream design, you can use the existing Dashboard file and just replace the internal part of it.
resources/views/dashboard.blade.php:
<x-app-layout> <x-slot name="header"> <h2 class="font-semibold text-xl text-gray-800 leading-tight"> {{ __('Dashboard') }} </h2> </x-slot> <div class="py-12"> <div class="max-w-7xl mx-auto sm:px-6 lg:px-8"> <div class="bg-white overflow-hidden shadow-xl sm:rounded-lg"> <x-jet-welcome /> </div> </div> </div></x-app-layout>So, we do File -> Save as... in our IDE, and put it as resources/views/tasks/index.blade.php, then replace the header with "Tasks list" and <x-jet-welcome /> with just a static text "Coming soon", for now.
resources/views/tasks/index.blade.php:
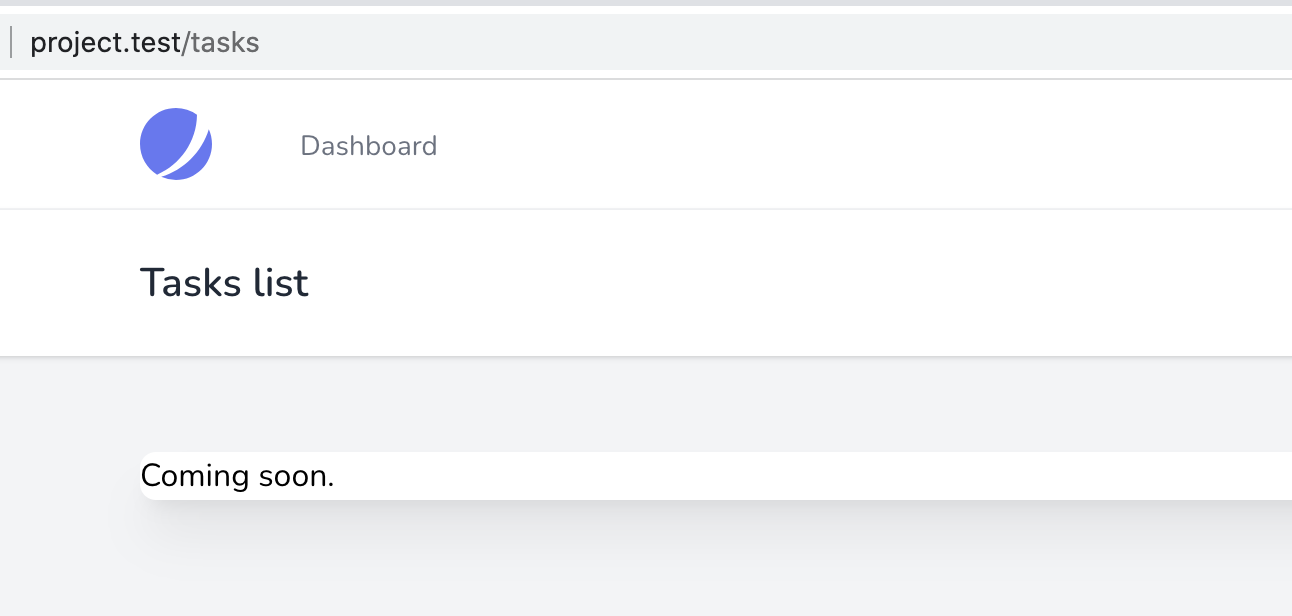
<x-app-layout> <x-slot name="header"> <h2 class="font-semibold text-xl text-gray-800 leading-tight"> {{ __('Tasks list') }} </h2> </x-slot> <div class="py-12"> <div class="max-w-7xl mx-auto sm:px-6 lg:px-8"> <div class="bg-white overflow-hidden shadow-xl sm:rounded-lg"> Coming soon. </div> </div> </div></x-app-layout>Now, if we launch the /tasks URL in the browser, this is what we should see:
If you are not familiar with the syntax like x-app-layout or x-slot, read about layouts using Blade components.
If you are not familiar with the __() method, read about translations in Laravel.
Finally, we add the menu on top, in two places, with Jetstream components x-jet-nav-link and x-jet-responsive-nav-link. We just copy-paste the Dashboard link and change the text/routes.
resources/views/navigation-menu.blade.php:
<x-jet-nav-link href="{{ route('dashboard') }}" :active="request()->routeIs('dashboard')"> {{ __('Dashboard') }}</x-jet-nav-link><x-jet-nav-link href="{{ route('tasks.index') }}" :active="request()->routeIs('tasks.*')"> {{ __('Tasks') }}</x-jet-nav-link> <x-jet-responsive-nav-link href="{{ route('dashboard') }}" :active="request()->routeIs('dashboard')"> {{ __('Dashboard') }}</x-jet-responsive-nav-link><x-jet-responsive-nav-link href="{{ route('tasks.index') }}" :active="request()->routeIs('tasks.*')"> {{ __('Tasks') }}</x-jet-responsive-nav-link>Tasks List: Jetstream Table with Tailwind CSS
Now, let's replace our "Coming soon" text with the actual table.
Laravel Jetstream visual design is based on Tailwind CSS framework, so we should continue using it for other custom pages we would create.
There are various sources where you can get a component for a Tailwind-based table, I've chosen a free version of Flowbite here. So I will copy-paste the code from there and fill in the details with the @forelse loop of the tasks list.
resources/views/tasks/index.blade.php:
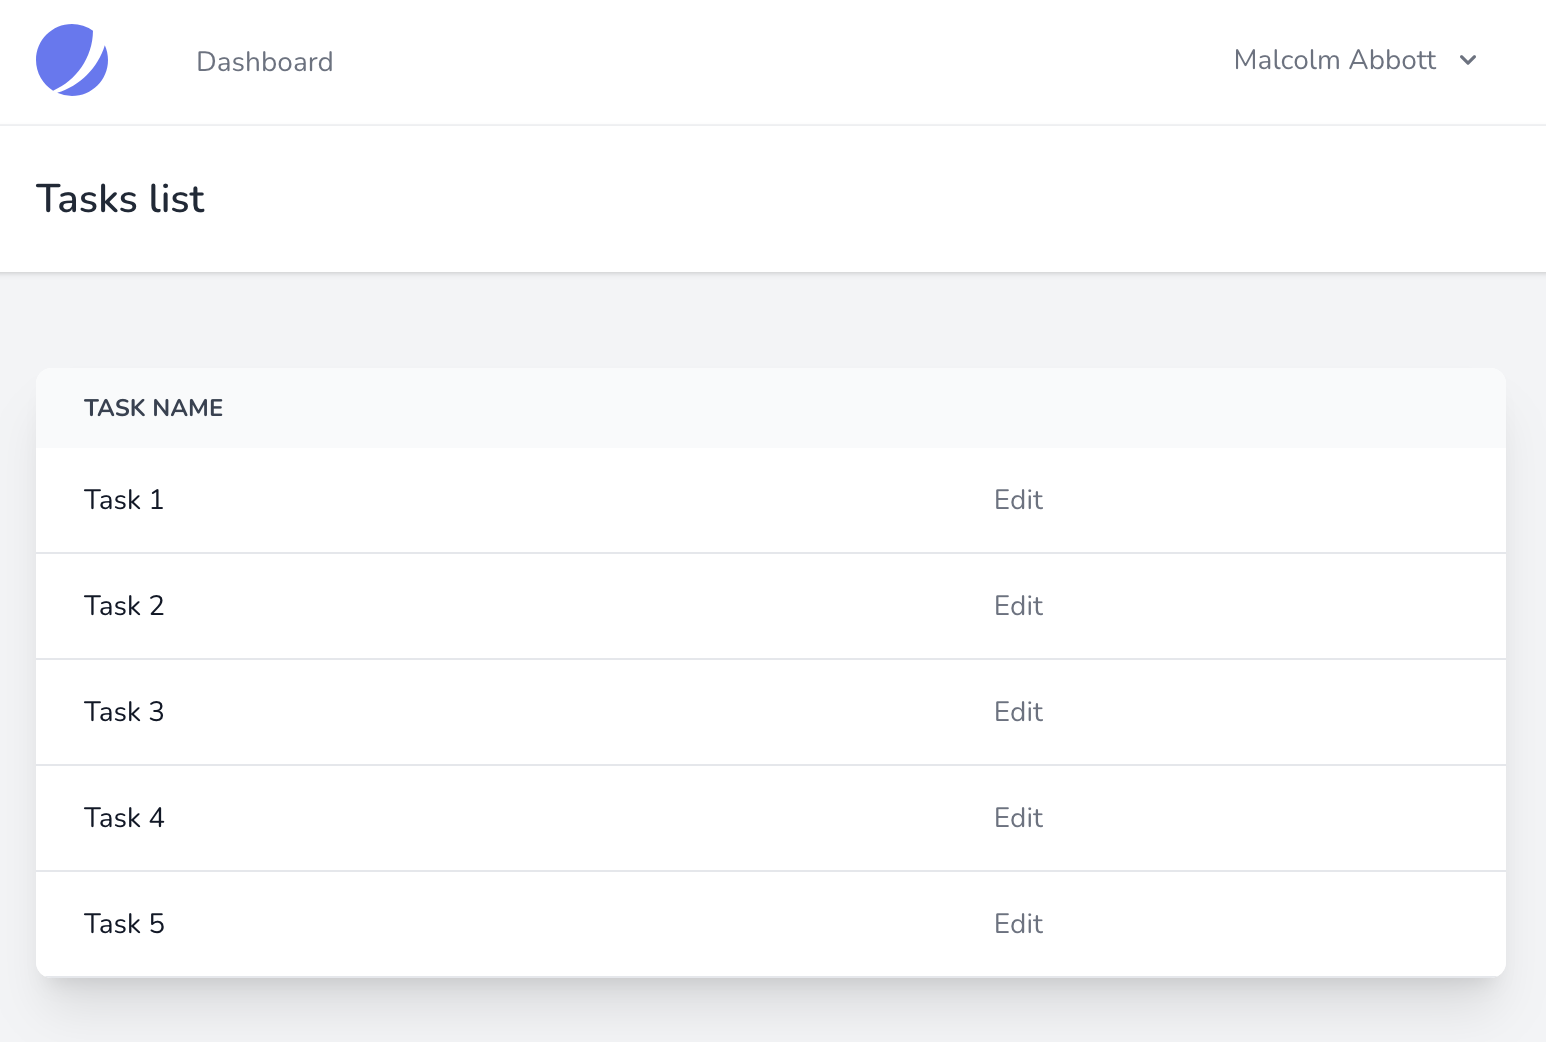
<x-app-layout> <x-slot name="header"> <h2 class="font-semibold text-xl text-gray-800 leading-tight"> {{ __('Tasks list') }} </h2> </x-slot> <div class="py-12"> <div class="max-w-7xl mx-auto sm:px-6 lg:px-8"> <div class="bg-white overflow-hidden shadow-xl sm:rounded-lg"> <div class="relative overflow-x-auto shadow-md sm:rounded-lg"> <table class="w-full text-sm text-left text-gray-500 dark:text-gray-400"> <thead class="text-xs text-gray-700 uppercase bg-gray-50 dark:bg-gray-700 dark:text-gray-400"> <tr> <th scope="col" class="px-6 py-3"> Task name </th> <th scope="col" class="px-6 py-3"> </th> </tr> </thead> <tbody> @forelse ($tasks as $task) <tr class="bg-white border-b dark:bg-gray-800 dark:border-gray-700"> <td class="px-6 py-4 font-medium text-gray-900 dark:text-white whitespace-nowrap"> {{ $task->name }} </td> <td class="px-6 py-4"> <a href="{{ route('tasks.edit', $task) }}" class="font-medium text-blue-600 dark:text-blue-500 hover:underline">Edit</a> </td> </tr> @empty <tr class="bg-white border-b dark:bg-gray-800 dark:border-gray-700"> <td colspan="2" class="px-6 py-4 font-medium text-gray-900 dark:text-white whitespace-nowrap"> {{ __('No tasks found') }} </td> </tr> @endforelse </tbody> </table> </div> </div> </div> </div></x-app-layout>If I create some random tasks manually in the database, it should look like this:
Full CRUD: Buttons and Forms
Above the table, let's place a button to add a new record. Jetstream has a set of Blade components for various UI elements, including buttons. To publish them, we need to run:
php artisan vendor:publish --tag=jetstream-viewsThen, we will have a lot of elements inside of resources/views/vendor/jetstream/components, and they are automatically enabled via service providers of Jetstream.
If we open resources/views/vendor/jetstream/components/button.blade.php, we see this:
<button {{ $attributes->merge(['type' => 'submit', 'class' => 'inline-flex items-center ...']) }}> {{ $slot }}</button>A lot of other Tailwind classes are listed after items-center, and this is exactly what we need, but just in the form of a link, not a button. So I just copy-paste all those classes into the new component I will create:
resources/views/components/link.blade.php:
<a {{ $attributes->merge(['class' => 'inline-flex items-center ...']) }}> {{ $slot }}</a>Then, in the resources/views/tasks/index.blade we can do this:
<div class="relative ..."> <x-link href="{{ route('tasks.create') }}" class="m-4">Add new task</x-link> <table class="...">So, we've added <x-link> with styling it as a button, adding the m-4 class for a margin.
Notice that you need to run npm run dev again, or have npm run watch in the background, so Tailwind would re-compile all the classes that are used in Blade files, like m-4 in our case.
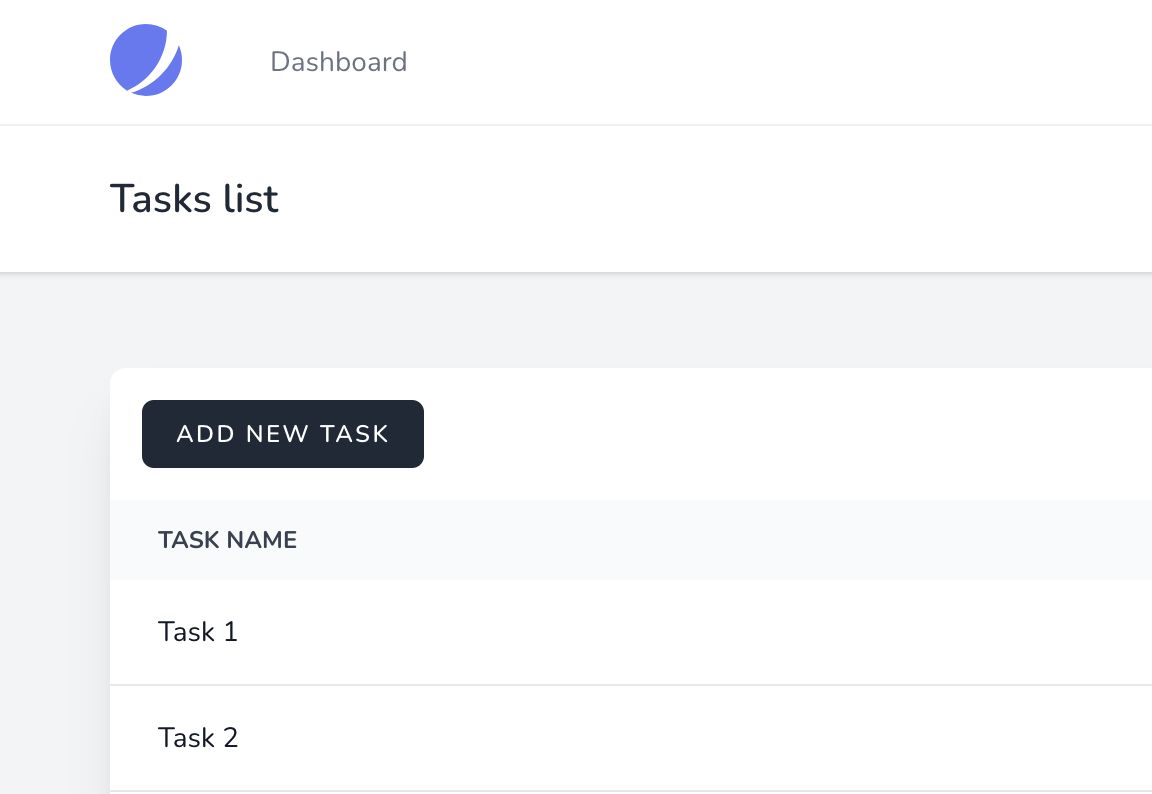
This is the visual result:
When we click that link, we land on the URL /tasks/create, which corresponds to the Controller method TaskController@create and loads the view of tasks/create.blade.php.
For that form, I will re-use the HTML code and classes from the registration page in Jetstream, which is in resources/views/auth/register.blade.php. After some copy-pasting, here's our new form in the newly created file.
resources/views/tasks/create.blade.php:
<x-app-layout> <x-slot name="header"> <h2 class="font-semibold text-xl text-gray-800 leading-tight"> {{ __('Add New Task') }} </h2> </x-slot> <div class="py-12"> <div class="max-w-7xl mx-auto sm:px-6 lg:px-8"> <div class="bg-white overflow-hidden shadow-xl sm:rounded-lg"> <div class="relative overflow-x-auto shadow-md sm:rounded-lg px-4 py-4"> <x-jet-validation-errors class="mb-4" /> <form method="POST" action="{{ route('tasks.store') }}"> @csrf <div> <x-jet-label for="name" value="{{ __('Name') }}" /> <x-jet-input id="name" class="block mt-1 w-full" type="text" name="name" :value="old('name')" required autofocus autocomplete="name" /> </div> <div class="flex mt-4"> <x-jet-button> {{ __('Save Task') }} </x-jet-button> </div> </div> </div> </div> </div></x-app-layout>As you can see, we use the same layout, and just added a few px-4 py-4 CSS classes for the padding.
Also, important to notice two Jetstream components:
x-jet-validation-errorswill list all the form validation errors from the sessionx-jet-buttonis the same submit button that you have seen before, as an "inspiration" for ourx-linkcomponent
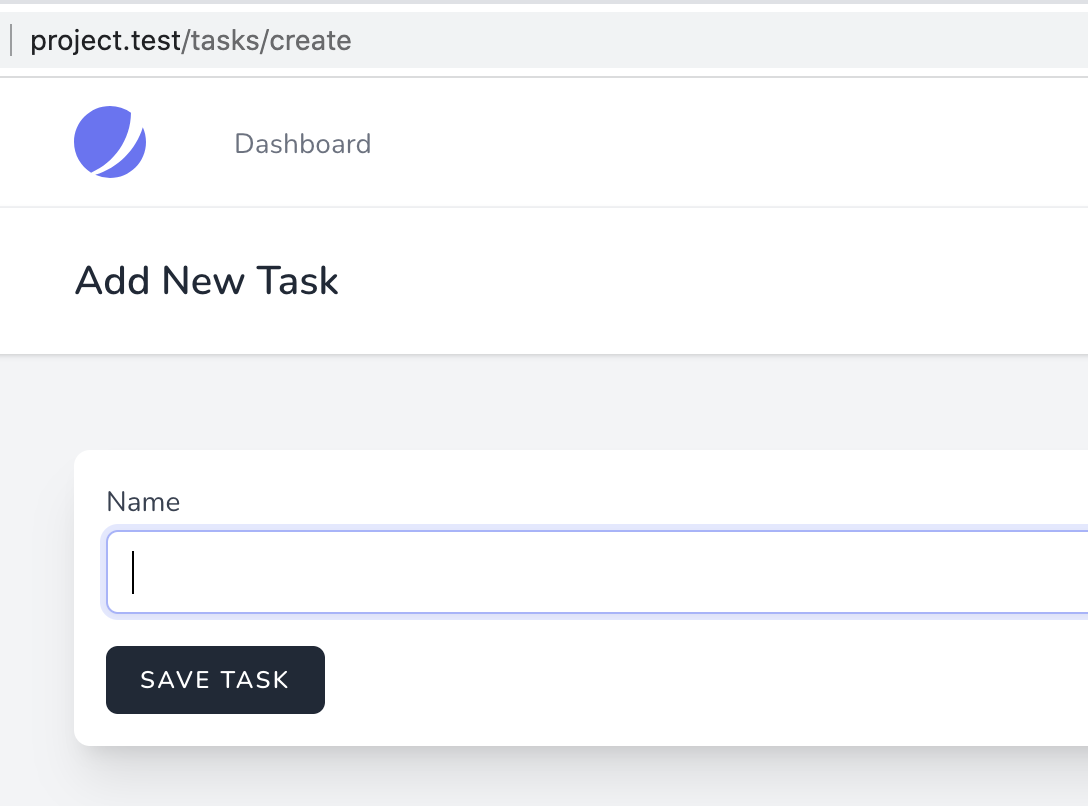
The visual result is this:
Saving data should work because we've created the Controller code for this, remember? Just one more thing we need to add there is the validation rule.
app/Http/Requests/StoreTaskRequest.php:
class StoreTaskRequest extends FormRequest{ public function authorize() { // default is "false", we need to change to "true" return true; } public function rules() { return [ 'name' => 'required' ]; }}We also generated the Form Request class for the update form, so in app/Http/Requests/UpdateTaskRequest.php we need to add the same code for the authorize() and rules() methods there. It's debatable whether to use separate Form Request classes, especially if the rules are the same, but my personal preference is to avoid the same class because you never know when the rules would start to differ.
Now, the Edit form is almost identical to the Create form. So, we can open the create.blade.php, do File -> Save as... and save it with minimal changes:
resources/views/tasks/edit.blade.php
<x-app-layout> <x-slot name="header"> <h2 class="font-semibold text-xl text-gray-800 leading-tight"> {{ __('Edit Task') }} </h2> </x-slot> <div class="py-12"> <div class="max-w-7xl mx-auto sm:px-6 lg:px-8"> <div class="bg-white overflow-hidden shadow-xl sm:rounded-lg"> <div class="relative overflow-x-auto shadow-md sm:rounded-lg px-4 py-4"> <x-jet-validation-errors class="mb-4" /> <form method="POST" action="{{ route('tasks.update', $task) }}"> @csrf @method('PUT') <div> <x-jet-label for="name" value="{{ __('Name') }}" /> <x-jet-input id="name" class="block mt-1 w-full" type="text" name="name" :value="$task->name" required autofocus autocomplete="name" /> </div> <div class="flex mt-4"> <x-jet-button> {{ __('Save Task') }} </x-jet-button> </div> </div> </div> </div> </div></x-app-layout>Finally, we need to build the Delete button. We'll use a new Jetstream component called x-jet-danger-button. With that, let's also replace the "Edit" link to look more like a button.
resources/views/tasks/index.blade.php:
<td class="px-6 py-4 font-medium text-gray-900 dark:text-white whitespace-nowrap"> {{ $task->name }}</td><td class="px-6 py-4"> <x-link href="{{ route('tasks.edit', $task) }}">Edit</x-link> <form method="POST" action="{{ route('tasks.destroy', $task) }}" class="inline-block"> @csrf @method('DELETE') <x-jet-danger-button type="submit" onclick="return confirm('Are you sure?')">Delete</x-jet-danger-button> </form></td>Visual result:

Roles and Permissions
For that part, we will use a well-known popular package called Laravel Permission by Spatie.
As you'll see, the usage is independent of Jetstream, it's the same as you would use it in any other Laravel project. In other words, Jetstream gives you the basic auth with login/register forms and profile management, but whatever you add on top, mostly doesn't "care" about Jetstream.
For a simple example, let's allow any user to view the tasks, but only the administrator user will be allowed to add/edit/delete tasks.
So, as the documentation of the package says, we run:
composer require spatie/laravel-permissionphp artisan vendor:publish --provider="Spatie\Permission\PermissionServiceProvider"php artisan migrateThen, we need to enable the permissions in the User model.
app/Models/User.php:
use Spatie\Permission\Traits\HasRoles; class User extends Authenticatable{ use HasRoles;By default, any registered user will not have any roles or permissions. We will create a separate seeder class, to create the administrator with permissions.
php artisan make:seeder AdminUserSeederdatabase/seeders/AdminUserSeeder.php:
use App\Models\User;use Illuminate\Database\Seeder;use Spatie\Permission\Models\Permission;use Spatie\Permission\Models\Role; class AdminUserSeeder extends Seeder{ public function run() { $adminRole = Role::create(['name' => 'Administrator']); $permission = Permission::create(['name' => 'manage tasks']); $permission->assignRole($adminRole); $adminUser = User::factory()->create([ 'email' => 'admin@admin.com', 'password' => bcrypt('SecurePassword') ]); $adminUser->assignRole('Administrator'); }}And now, we need to check who has permission to manage tasks. You can check it by permission name or by role name, it's your personal preference.
First, in the Blade file, see three @can ... @endcan blocks.
resources/views/tasks/index.blade.php:
@can('manage tasks') <x-link href="{{ route('tasks.create') }}" class="m-4">Add new task</x-link>@endcan<table class="w-full text-sm text-left text-gray-500 dark:text-gray-400"> <thead class="text-xs text-gray-700 uppercase bg-gray-50 dark:bg-gray-700 dark:text-gray-400"> <tr> <th scope="col" class="px-6 py-3"> Task name </th> @can('manage tasks') <th scope="col" class="px-6 py-3"> </th> @endcan </tr> </thead> <tbody> @forelse ($tasks as $task) <tr class="bg-white border-b dark:bg-gray-800 dark:border-gray-700"> <td class="px-6 py-4 font-medium text-gray-900 dark:text-white whitespace-nowrap"> {{ $task->name }} </td> @can('manage tasks') <td class="px-6 py-4"> <x-link href="{{ route('tasks.edit', $task) }}">Edit</x-link> <form method="POST" action="{{ route('tasks.destroy', $task) }}" class="inline-block"> @csrf @method('DELETE') <x-jet-danger-button type="submit" onclick="return confirm('Are you sure?')">Delete</x-jet-danger-button> </form> </td> @endcan </tr> @empty <tr class="bg-white border-b dark:bg-gray-800 dark:border-gray-700"> <td colspan="2" class="px-6 py-4 font-medium text-gray-900 dark:text-white whitespace-nowrap"> {{ __('No tasks found') }} </td> </tr> @endforelse </tbody></table>And then, we also need to secure the back-end, so see the $this->authorize() checks in the Controller.
app/Http/Controllers/TaskController.php:
class TaskController extends Controller{ public function index() { $tasks = Task::all(); return view('tasks.index', compact('tasks')); } public function create() { $this->authorize('manage tasks'); return view('tasks.create'); } public function store(StoreTaskRequest $request) { $this->authorize('manage tasks'); Task::create($request->validated()); return redirect()->route('tasks.index'); } public function edit(Task $task) { $this->authorize('manage tasks'); return view('tasks.edit', compact('task')); } public function update(UpdateTaskRequest $request, Task $task) { $this->authorize('manage tasks'); $task->update($request->validated()); return redirect()->route('tasks.index'); } public function destroy(Task $task) { $this->authorize('manage tasks'); $task->delete(); return redirect()->route('tasks.index'); }}Conclusion
That's it, we've built our CRUD with roles/permissions, on top of Jetstream. My overall goal was to show you that Jetstream is just the starter kit, but then you can write whatever custom code you want, mostly ignoring Jetstream.
That said, there are useful Blade components you can re-use, for UI elements like buttons, links, and others.
You can read more about Jetstream in the official documentation.
Code repository for this demo project is public here.