Laravel has a fantastic dependency injection container, yet many people shy away from it. In this tutorial, I will walk through how I lean on Laravels container to make my code work for me.
Using the container is all about being organized—having a consistent place to keep your container bindings and naming conventions that make sense and allow you to know what is going on. The container is only as good as the person sticking things into, after all.
Let's say we want to keep all our bindings in one place, in a service provider. Sounds sensible right? But what happens as our application grows? We start with maybe 5-6 bindings for a simple application, add several new features, and need to add bindings to the container. Before we know it, the service provider we are using is extremely large, and it takes a lot of cognitive effort to look for anything.
How can we combat this? How can we ensure that we aren't just sticking them in a service provider to hide the problem? Let me walk you through how I approach this.
My main AppServiceProvider is the entry point to my application, so my job is to register its key areas. I lean on Domain Driven Design, so I have one service provider per domain. I am allowing each domain to manage its bindings cleanly.
final class AppServiceProvider extends ServiceProvider{ public function register(): void { $this->app->register( provider: AuthDomainServiceProvider::class, ); $this->app->register( provider: CommunicationDomainServiceProvider::class, ); $this->app->register( provider: WorkDomainServiceProvider::class, ); }}Using this approach, I can enable and disable domains as required, add a new one quickly, and get an overview of all the domains in my application from one file.
Of course, I keep the other default service providers with a Laravel application, as they have their purpose. So let us dive into one of the domain service providers to understand what it is used for.
final class AuthDomainServiceProvider extends ServiceProvider{ public function register(): void { $this->app->register( provider: QueryServiceProvider::class, ); $this->app->register( provider: CommandServiceProvider::class, ); $this->app->register( provider: FactoryServiceProvider::class, ); }}So my auth service provider is used purely to register the aspects of the domain that need to write their bindings.
Query - These are read operations in the application, common queries I need to run, or parts of queries I need to run. I wrote a tutorial on how I do this here.
Command - These are write operations in the application. Typically these will be pulled into background jobs so that the application can respond quickly.
Factory - These are Data Object factories. I find that data objects get big and messy and take up a lot of room. My solution to this was to move them to dedicated factories that I could use to create the data objects in my application.
Let's look at the CommandServiceProvider and how we might use this to register commands effectively within our application.
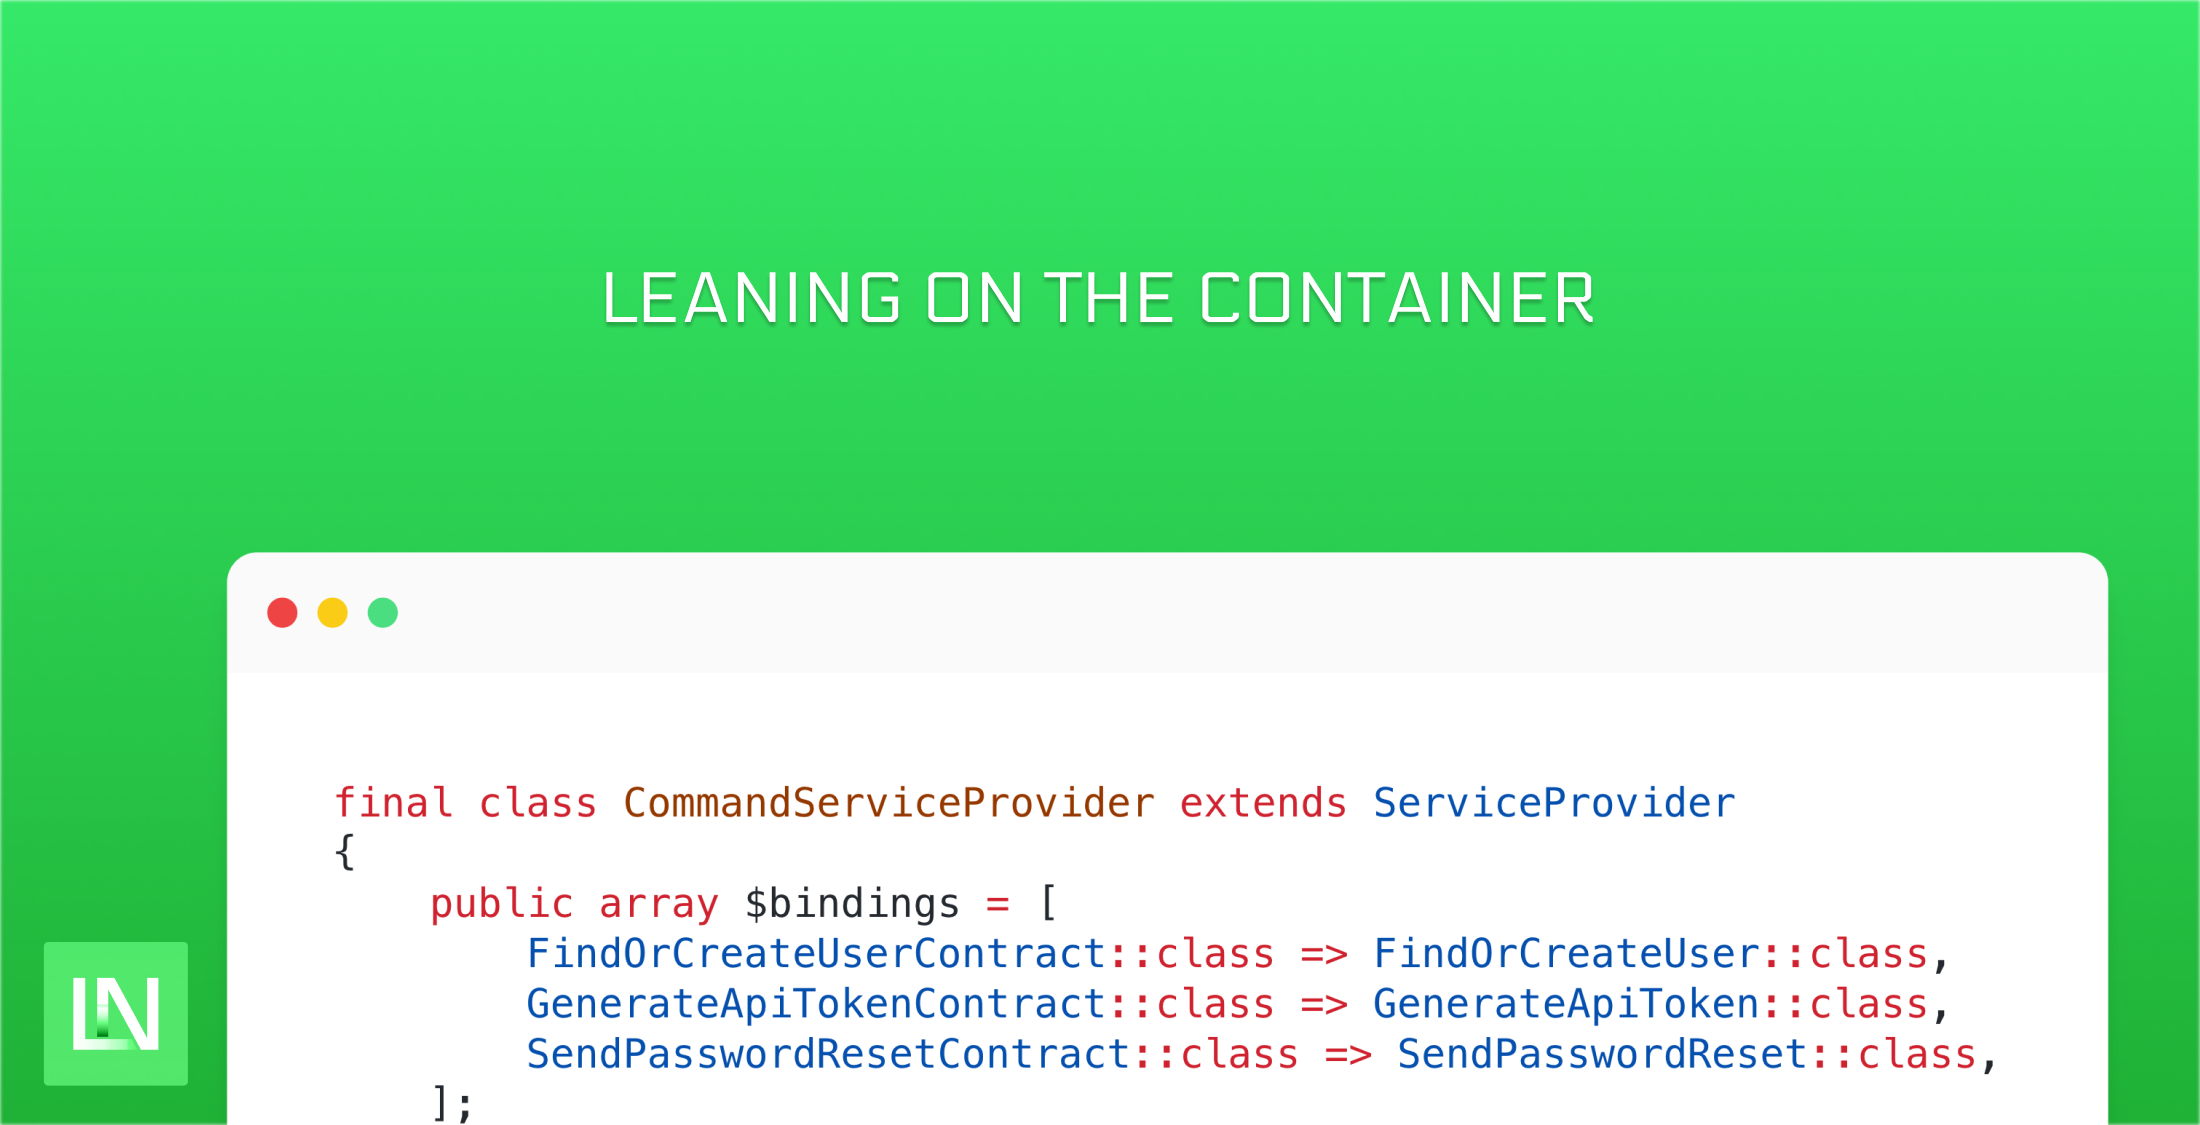
final class CommandServiceProvider extends ServiceProvider{ public array $bindings = [ FindOrCreateUserContract::class => FindOrCreateUser::class, GenerateApiTokenContract::class => GenerateApiToken::class, SendPasswordResetContract::class => SendPasswordReset::class, ];}Laravel allows you to use the bindings property on a service provider to register any bindings that don't need arguments passed in. This keeps things clean in our service providers.
Let's look at one of these bindings to understand what they look like and are used for.
interface GenerateApiTokenContract{ public function handle(Authenticatable $user, DataObjectContract $payload): Model|NewAccessToken;}Then we move on to the implementation.
final class GenerateApiToken implements GenerateApiTokenContract{ public function handle(Authenticatable $user, DataObjectContract $payload): Model|NewAccessToken { return DB::transaction( fn (): Model|NewAccessToken => $user->createToken( name: $payload->name, ), ); }}We wrap the write operation inside a database transaction, then use the injected user model and call the create token method on it, passing in the name property from our payload. This keeps things clean - as then you can also use this to generate API tokens for any user in your application, not just the currently logged-in user.
Using the container this way means my controllers are always clean and minimal. Let's look at an example API controller for logging in a user.
final readonly class LoginController{ public function __construct( private GenerateApiTokenContract $command, private TokenNameGenerator $generator, ) {} public function __invoke(LoginRequest $request): Responsable { $request->authenticate(); return new TokenResponse( data: TokenFactory::make( data: $this->command->handle( user: auth()->user(), payload: new TokenRequest( name: $generator->generate(), ), ), ), ); }}Of course, you are welcome to split this code a little, maybe giving it more breathing room. But to me, this is what I aim for. I am leaning on the container and using Laravel to my advantage by having small moving parts that combine to achieve an end goal.


.png)


