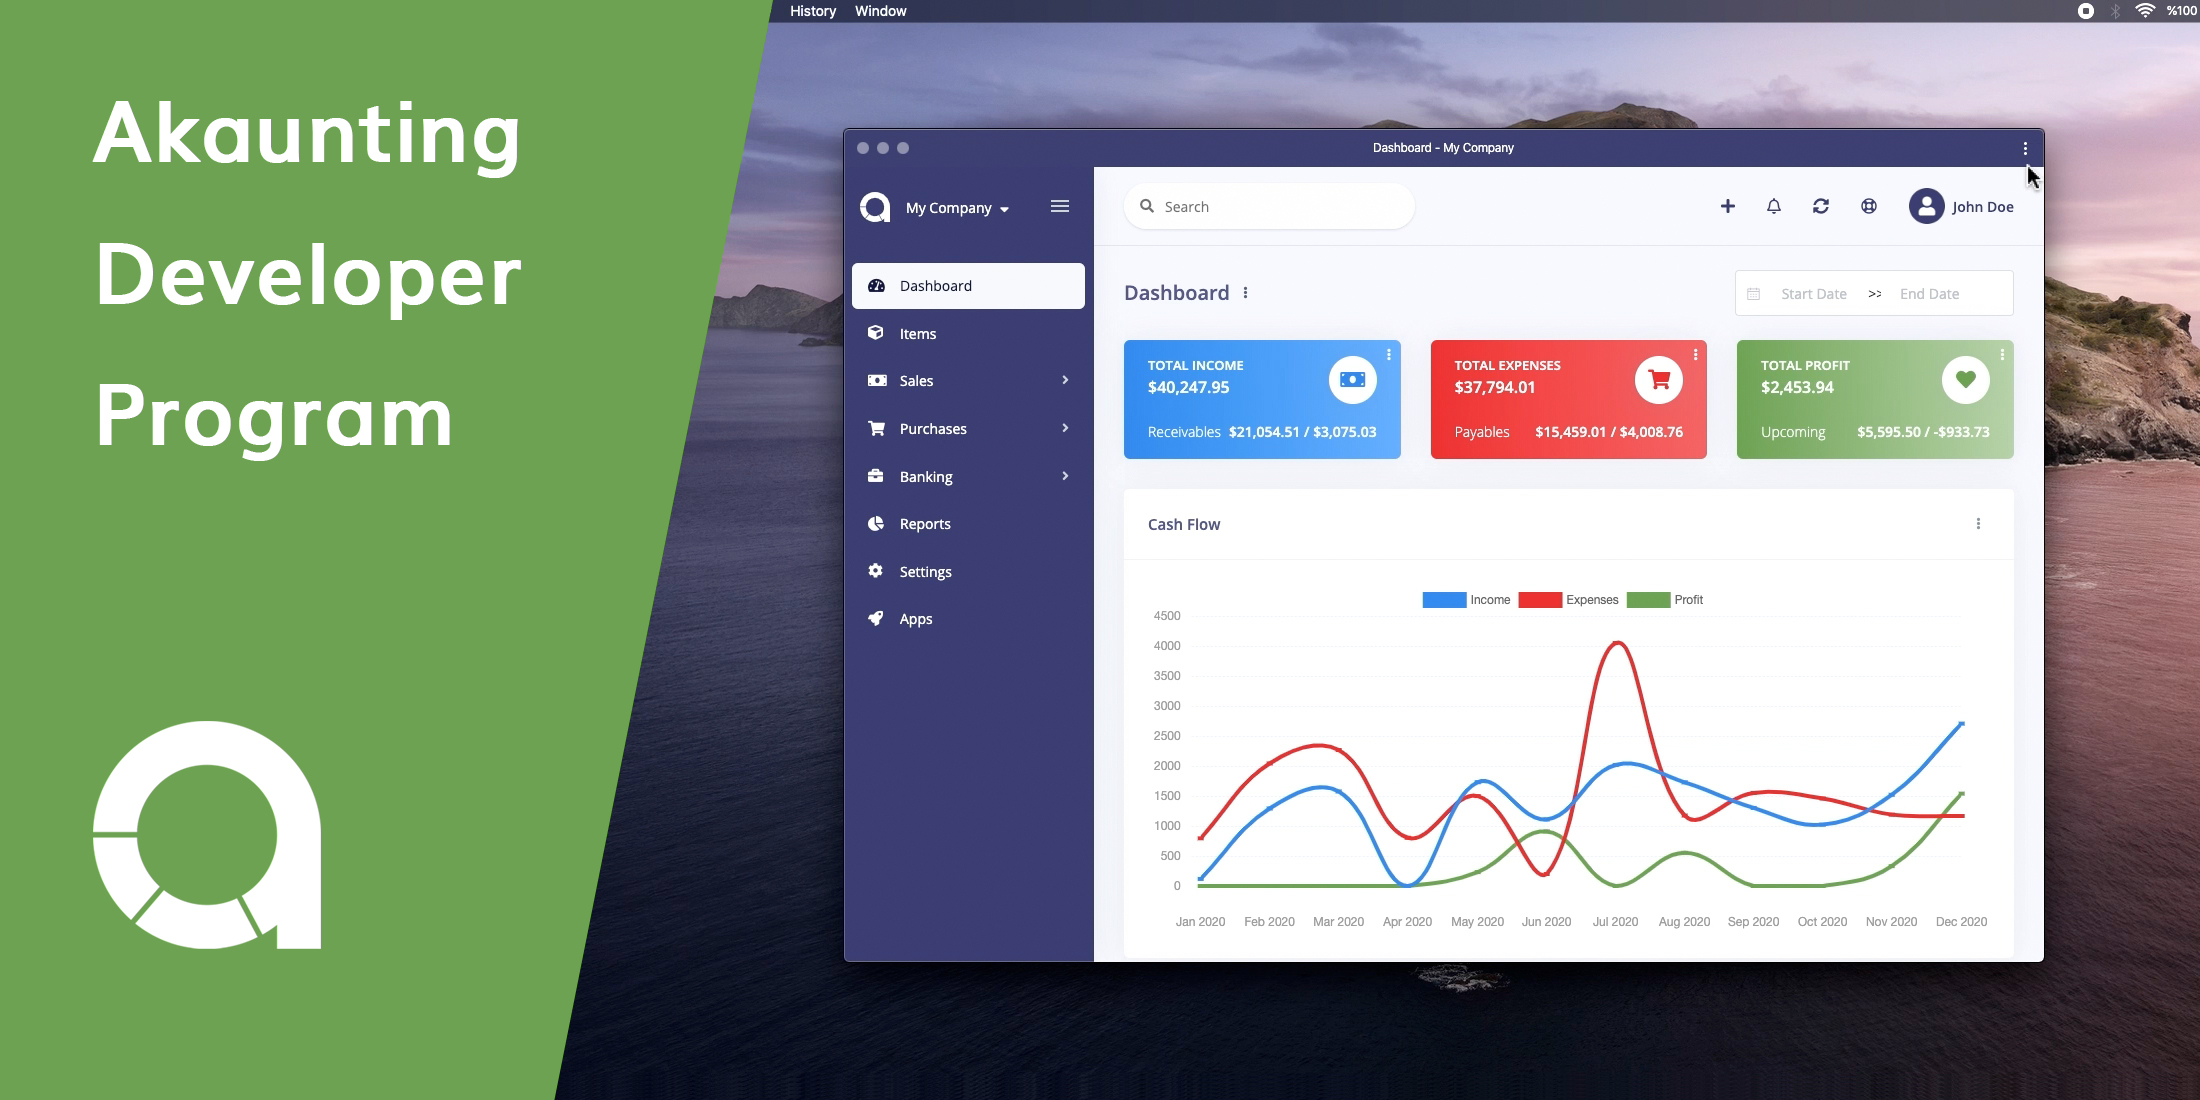
Akaunting is an online, open-source, and free accounting software designed for small businesses and freelancers. It is built with modern technologies such as Laravel, VueJS, Bootstrap 4, RESTful API, etc. From invoicing to expense tracking to accounting, Akaunting has all the basic tools needed to manage money online. For further features, instead of creating a bloated software by adding all of them to the core, we’ve created a modular structure so that it could get extended easily.
Akaunting provides an awesome App Store for users and creates an income channel for Laravel developers all around the world. A module is like a Laravel package, it has some routes, views, controllers, and models. While technically we call it Module, we name it App in the UI for the end-user as that’s what they are familiar with.
So let’s make the first module together:
Install Akaunting
First of all, let’s install Akaunting in 3 basic steps:
- Clone the repository:
git clone https://github.com/akaunting/akaunting.git - Install dependencies:
composer install ; npm install ; npm run dev - Install Akaunting:
php artisan install --db-name="akaunting" --db-username="root" --db-password="pass" --admin-email="admin@company.com" --admin-password="123456"- Create sample data (optional):
php artisan sample-data:seed
Make a module
The akaunting/module package is used as builder. There are loads of Artisan commands built-in the package. For example, let’s make a new module:
php artisan module:make my-blogThis will create all files and folders. Now let’s install the module:
php artisan module:install my-blog 1my-blog is the alias of the module and 1 is the company id that you want to install the module. Here you can find more about companies in Akaunting.
Alias is the slug/unique of the module as is used everywhere in Akaunting.
Folder Structure
As you can see from the example below, the structure of a module is very similar to a basic Laravel app.
app/bootstrap/config/database/modules/ ├── MyBlog/ ├── Console/ ├── Database/ ├── Migrations/ ├── Seeds/ ├── Http/ ├── Controllers/ ├── Requests/ ├── Jobs/ ├── Listeners/ ├── Models/ ├── Providers/ ├── Main.php ├── Resources/ ├── assets/ ├── lang/ ├── views/ ├── Routes/ ├── admin.php ├── portal.php ├── composer.json ├── module.json ├── package.json ├── webpack.mix.jspublic/...vendor/.envmodule.json file
The module.json file contains the main information about your module such as name, version, providers, etc..
{ "alias": "my-blog", "icon": "fas fa-pen", "version": "1.0.0", "category": "accounting", "active": 1, "providers": [ "Modules\\MyBlog\\Providers\\Main" ], "aliases": {}, "files": [], "requires": [], "reports": [], "widgets": [], "settings": []}Adding module to left sidebar/menu
You may want to extend the menu by adding your own pages. In such a case, you can listen to the AdminCreated event for admin and/or PortalCreated for client sides.
Let’s firstly create the listener:
<?php namespace Modules\MyBlog\Listeners; use App\Events\Menu\AdminCreated as Event; class AddMenu{ /** * Handle the event. * * @param Event $event * @return void */ public function handle(Event $event) { // Add child to existing menu item $item = $event->menu->whereTitle(trans_choice('general.sales', 2)); $item->url('my-blog/posts', 'Posts', 4, ['icon' => '']); // Add new menu item $event->menu->add([ 'url' => 'my-blog/posts', 'title' => 'Posts', 'icon' => 'fas fa-pen', 'order' => 5, ]); }}Then add your listener into the $listen array of your Modules\MyBlog\Providers\Event service provider:
'App\Events\Menu\AdminCreated' => [ 'Modules\MyBlog\Listeners\AddMenu',],Menu documentation can help to understand the system, especially about how to find a menu item, add child ones, and create dropdown menus.
Settings page
Akaunting ships with a centralized settings page where modules can add their own in a few steps. Mostly, developers just want to add just some inputs on the settings page. In such a case, you can add them to the module.json file and Akaunting will display your module under the Settings page, nothing else is required.
All you have to do is to fill the settings array like the following:
"settings": [ { "type": "textGroup", "name": "title", "title": "my-blog::general.title", "icon": "font", "attributes": { "required": "required" }, "rules": "required|string" }, { "type": "textGroup", "name": "header", "title": "my-blog::general.description", "icon": "user", "attributes": {}, "rules": "nullable|string" }]If your settings page needs a little bit more actions then you can check this article.
Go go go
Now you’re ready to go to the Main controller and start writing the code you want just like in a basic Laravel app. For sure that there are more to learn about Akaunting module development such as overriding output, hooking models, handling permissions, and a lot more.
Start today
As you can see it’s easy peasy to make a module for Akaunting and create a new income channel. Join a strong community of accounting innovators and gain access to the fastest-growing accounting SMB base.
Finally, don’t forget to check our GitHub repository. Pull requests are more than welcome :-)