This week, we just published some great bash aliases from the community, and I wanted to write more about maximizing your terminal productivity. I’ve coached many developers, and the terminal is often the area I see that many great developers (much better than me) could improve and gain some productivity and better tooling.
I started my development journey on a Windows XP machine, learning PHP 4, XHTML, CSS, and JavaScript. I didn’t even know what bash was, let alone used a terminal at the time. I think the extent of my experience consisted of running ipconfig to check my network settings.
That all changed when I watched the original Ruby on Rails demo video. Within that video, my mind was blown by the MVC pattern, Ruby, and Rails. I also learned about two of my favorite tools of all time: TextMate 1 (moment of silence please) and the Unix shell.
I literally bought a Mac just so I could use TextMate—that’s how good it was at the time. I am still sad that Sublime has surpassed that glorious editor, it was such a pleasure for me to use back in the day. I still think it has a future, but the community around it has shrunk considerably in my opinion. But I digress.
Along with TextMate, I started using the terminal to do things like creating files, copying files from a server, and finding things with ack and grep.
Fast-forward over ten years, and today I probably spend ~ 20-25% of my time in the terminal (it could be more or less). I’ve learned that the more I automate in my terminal workflow, the more productivity I unlock. Creating my dotfiles enabled me to have the same familiar terminal environment across all devices and servers.
No matter which machine I am using, my terminal setup is (nearly) identical on my Ubuntu ultrabook, in Digital Ocean, and on my Mackbook Pro. I learned a ton just by extracting my dotfiles into a project on GitHub that I keep versioned. They’re my tools that I continually refine. I don’t recommend you use mine; you will gain so much experience by versioning your own!
I’m a Hack
While I’d say I know my way around the terminal as good as most, I still consider myself intermediate—I am not an expert. I use oh-my-zsh as the foundation with my tweaks on top.
I like to think of Oh My Zsh as a framework for the terminal. Just like a web framework like Laravel can give you a bunch for free out of the box with good conventions, Oh My Zsh provides good defaults and a bunch of stuff for free.
Install Zsh
I always feel a bit sad when I start collaborating or paring with a developer, and I notice a plain vanilla terminal with no customizations. I don’t shame them by any means, but I can’t help but demonstrate a few things that can help. Ultimately, a stock shell without any customizations just looks sad to me.
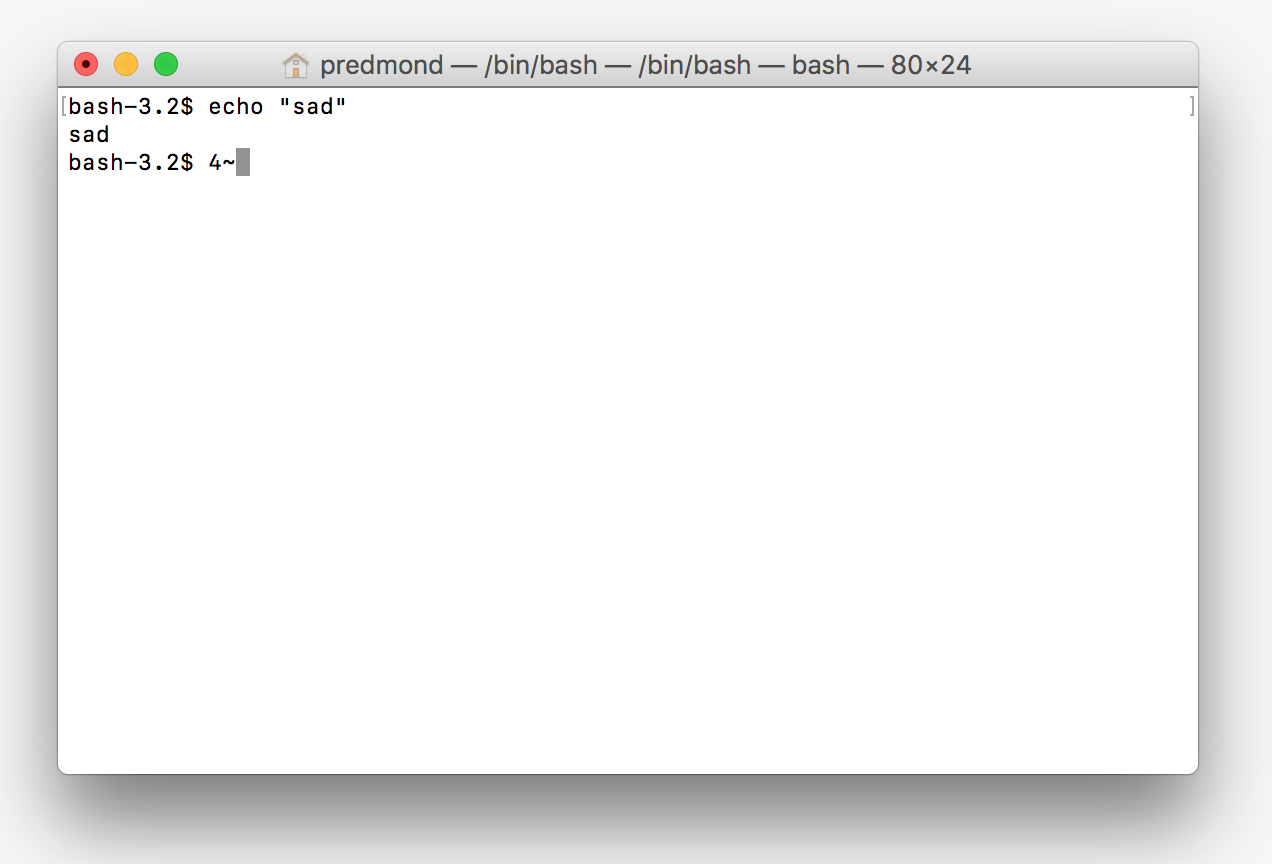
Sad indeed.
I’ve seen some amazing bash setups. Some developers do great just sticking with bash and customizing by hand. More often than not, I spent a bunch of time setting up things like git autocompletion, a customized $PS1 shell variable that allows me to customize the prompt, and navigating around the filesystem feels clunky to me in a stock setup.
If you’re primarily a developer like me, I recommend you give ZSH and Oh My Zsh a try. I came for the sweet themes, but I stayed for the powerful features like plugins and history completion. Let’s see some of these things in action.
My Favorite Terminal Tips and Tricks
The following are some of my favorite tricks and tips that I show people when they want to learn more about improving productivity in the terminal.
As far as terminal applications, you can use the built-in terminal. On Ubuntu, I use the default. On OS X I prefer iTerm2, but Hyper is another cross-platform terminal you can use on Linux, OS X, and Windows.
The CD Path
You might be familiar with $CDPATH. The CD path variable is similar to $PATH, but it’s used for a list of paths that you can change directories (cd command) relatively from any path. You can save a ton of keystrokes navigating to paths you use frequently. Unfortunately, you don’t get tab completion out of the box:
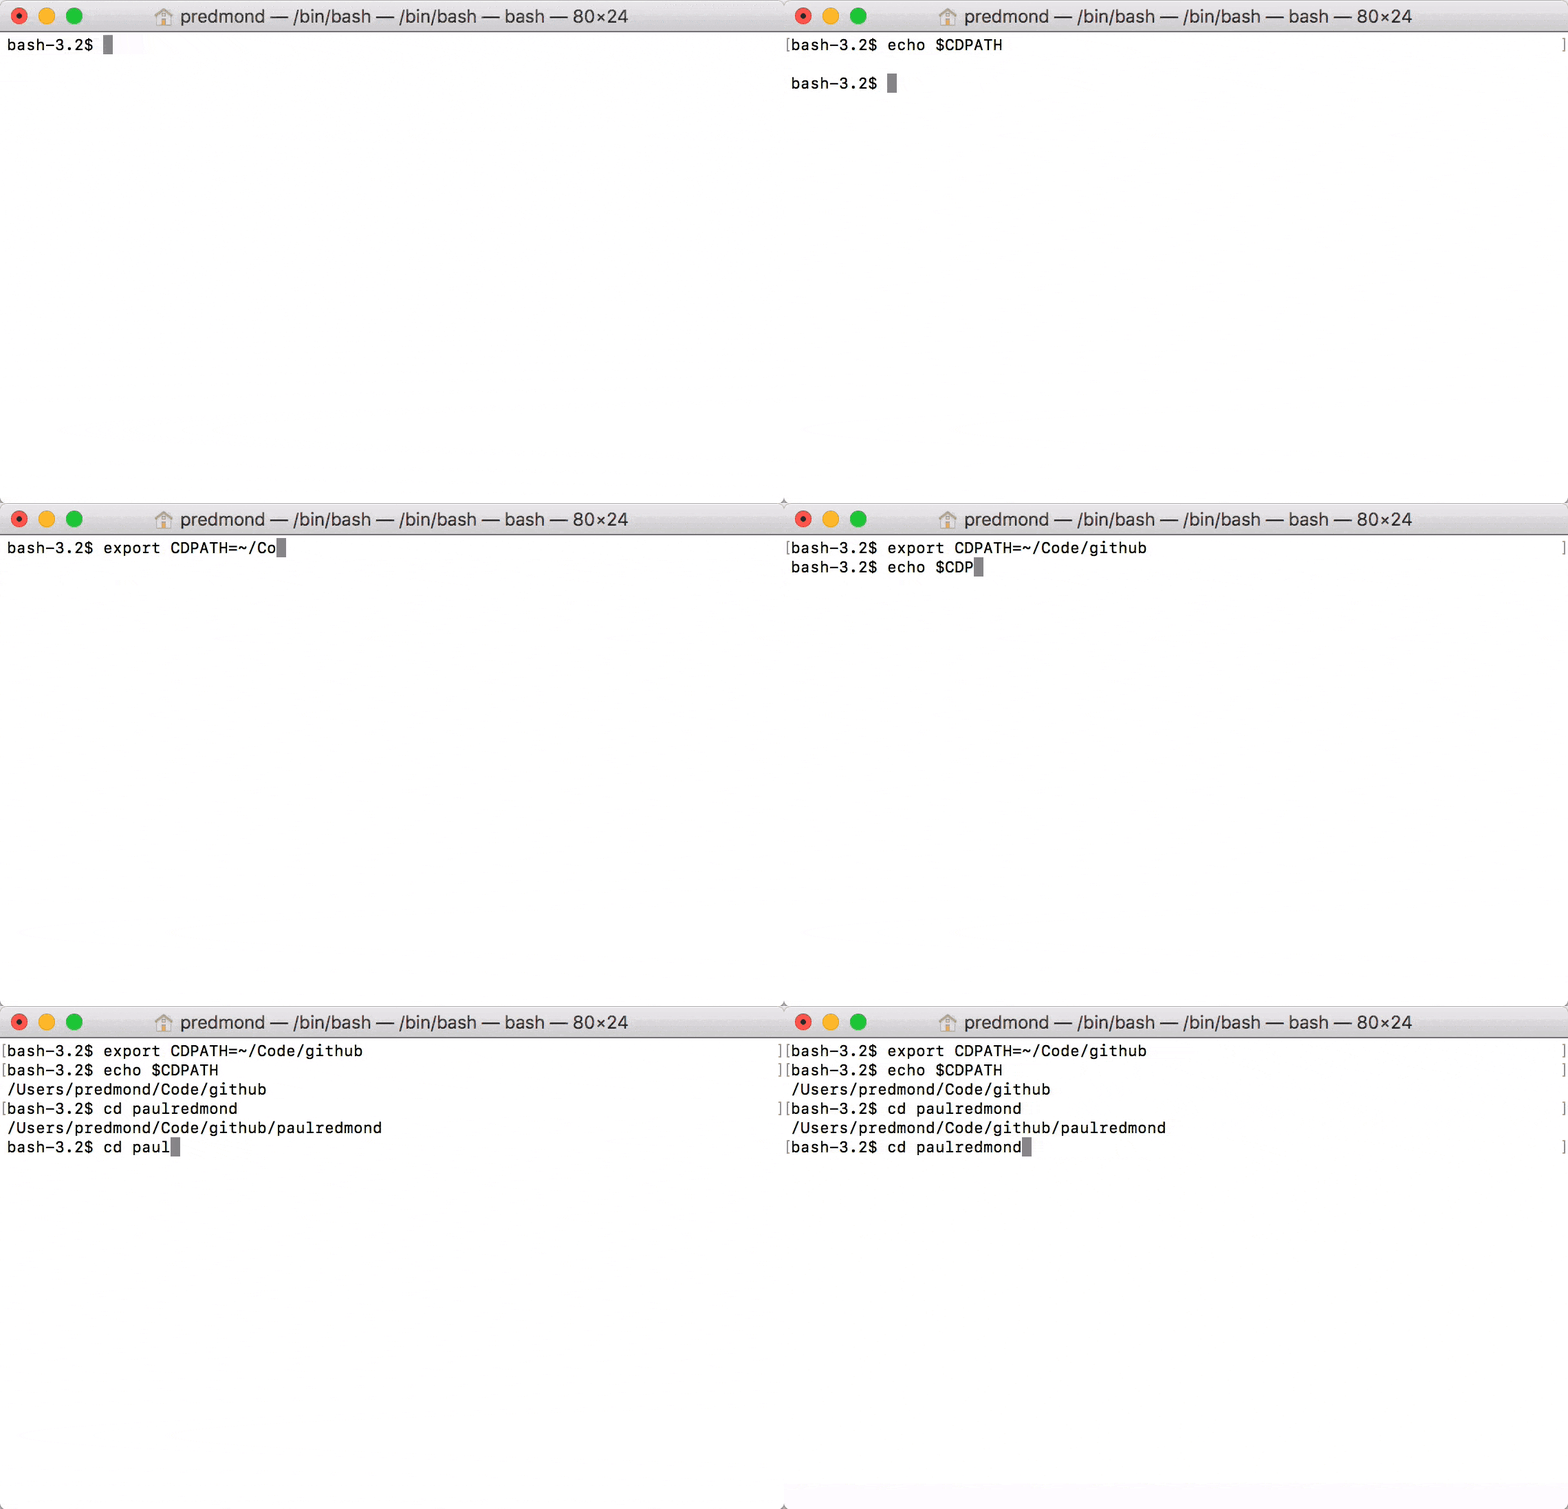
You might notice if you try it that you cannot tab complete on the path. Now check it out in Z shell:
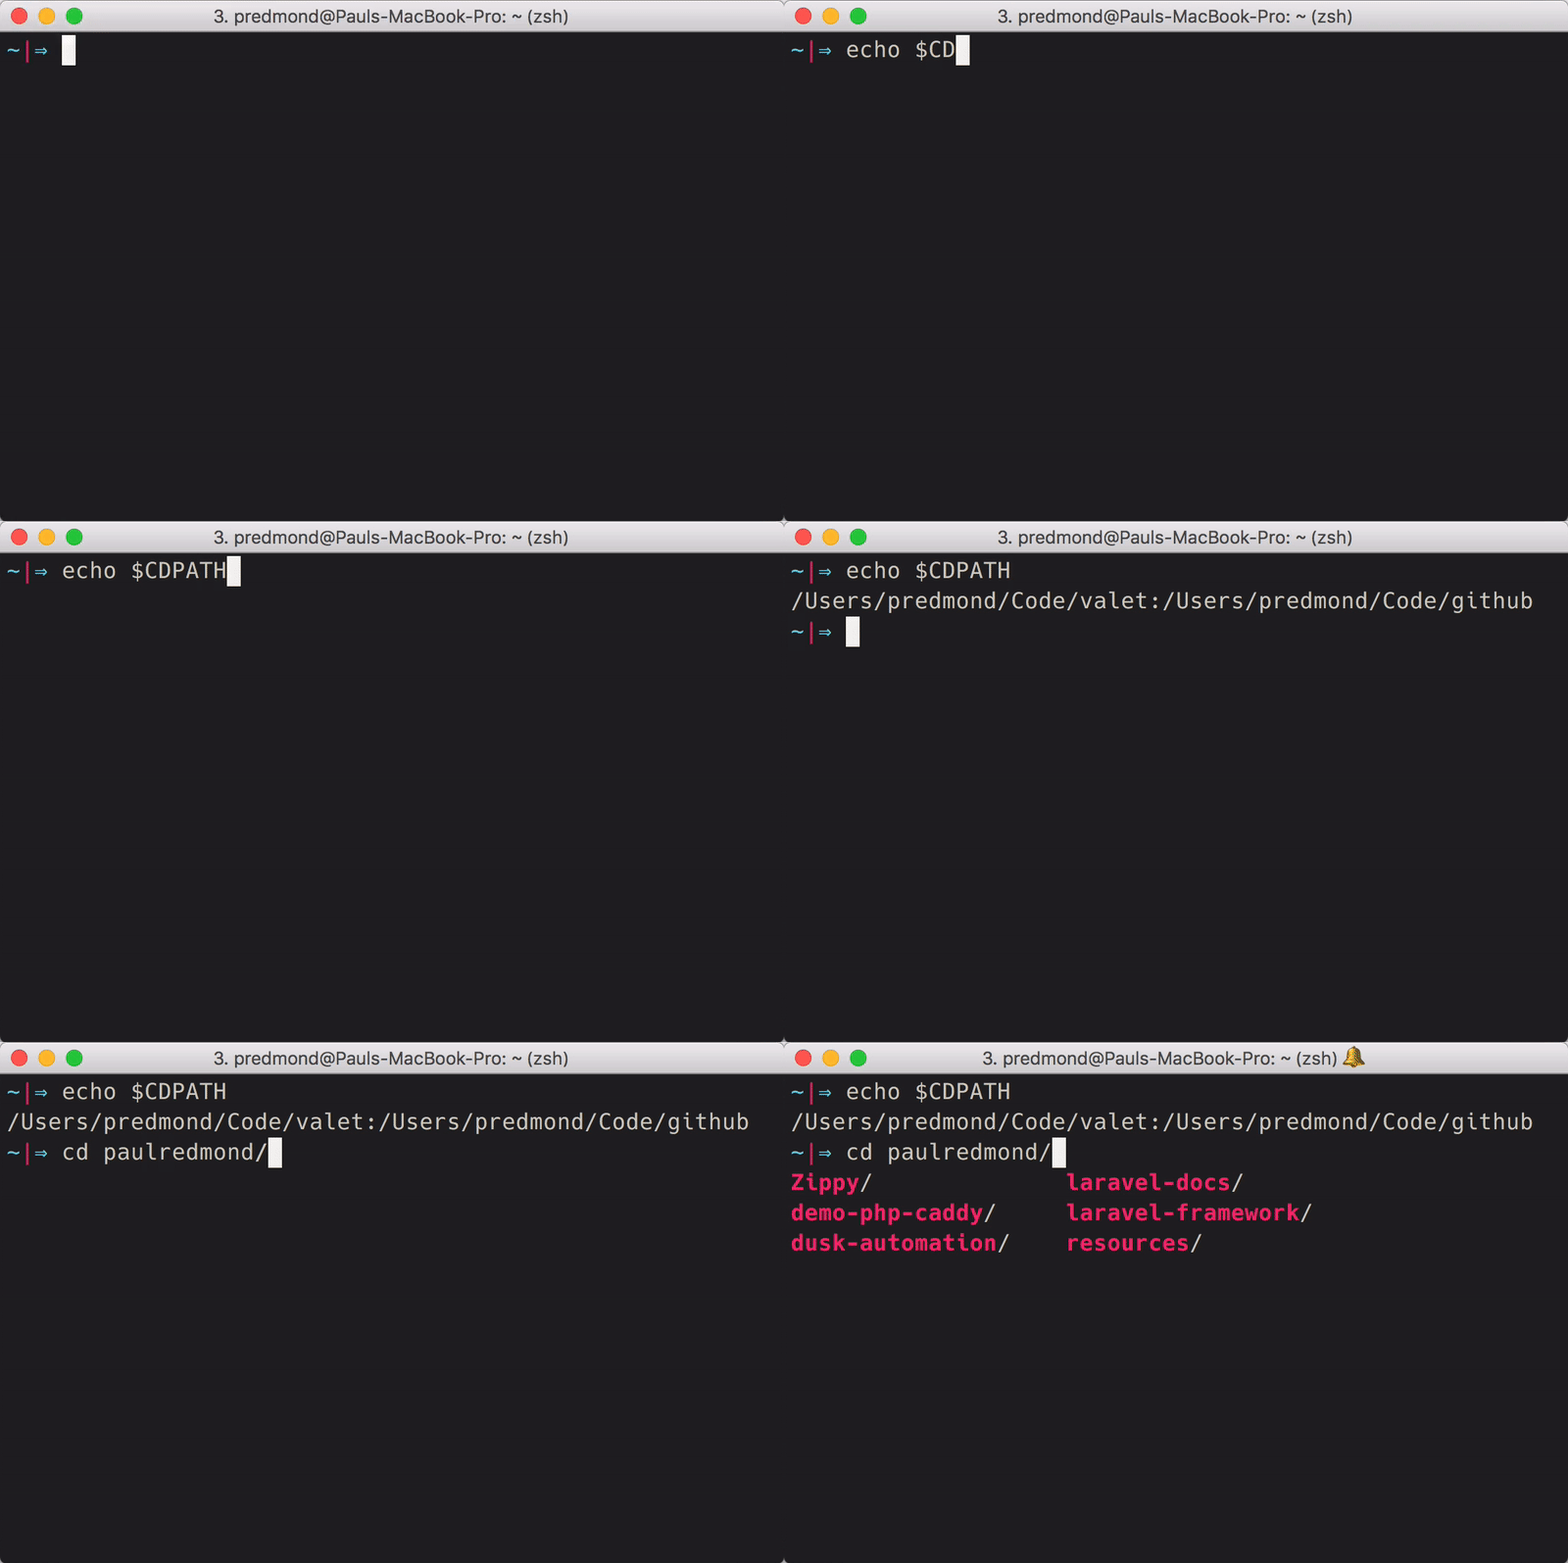
This is how you set your cdpath in .zshrc:
cdpath=(~/Code/valet ~/Code/github)Once you set the cdpath run source ~/.zshrc you can tab-complete the folders within the paths from any path on the filesystem.
Powerful Path Expansion
If you are still using bash, this feature alone might be enough to sell you on using ZSH. Here’s how path expansion works in ZSH: let’s say I am in a Laravel project and I want to dive into the laravel/framework vendor source from the root of the project:

And now for the same in bash:

Okay, okay, I don’t intend to bash on Bash, but I hope you can see some of the supercharged tools available to you outside of the vanilla terminal experience.
History Completion
If you know the first part of a command you want to run, or if you want to cycle through the variations you’ve run from your history, the history completion in ZSH is powerful. Oh My Zsh provides shared history, so all your terminal sessions (windows and tabs) will share a history.
Let’s say I want to browse through some artisan commands I’ve run in the past:

To expand history, start typing a command you want to complete from history, and then use the up and down arrows to cycle through history entries that match.
Oh My Zsh Plugins
If you use Oh My Zsh, you have access to some great plugins. Here’s my list from my .zshrc file:
plugins=(git cap composer phing rails rake ruby gem symfony2 bundler docker docker-compose laravel5)Command Search
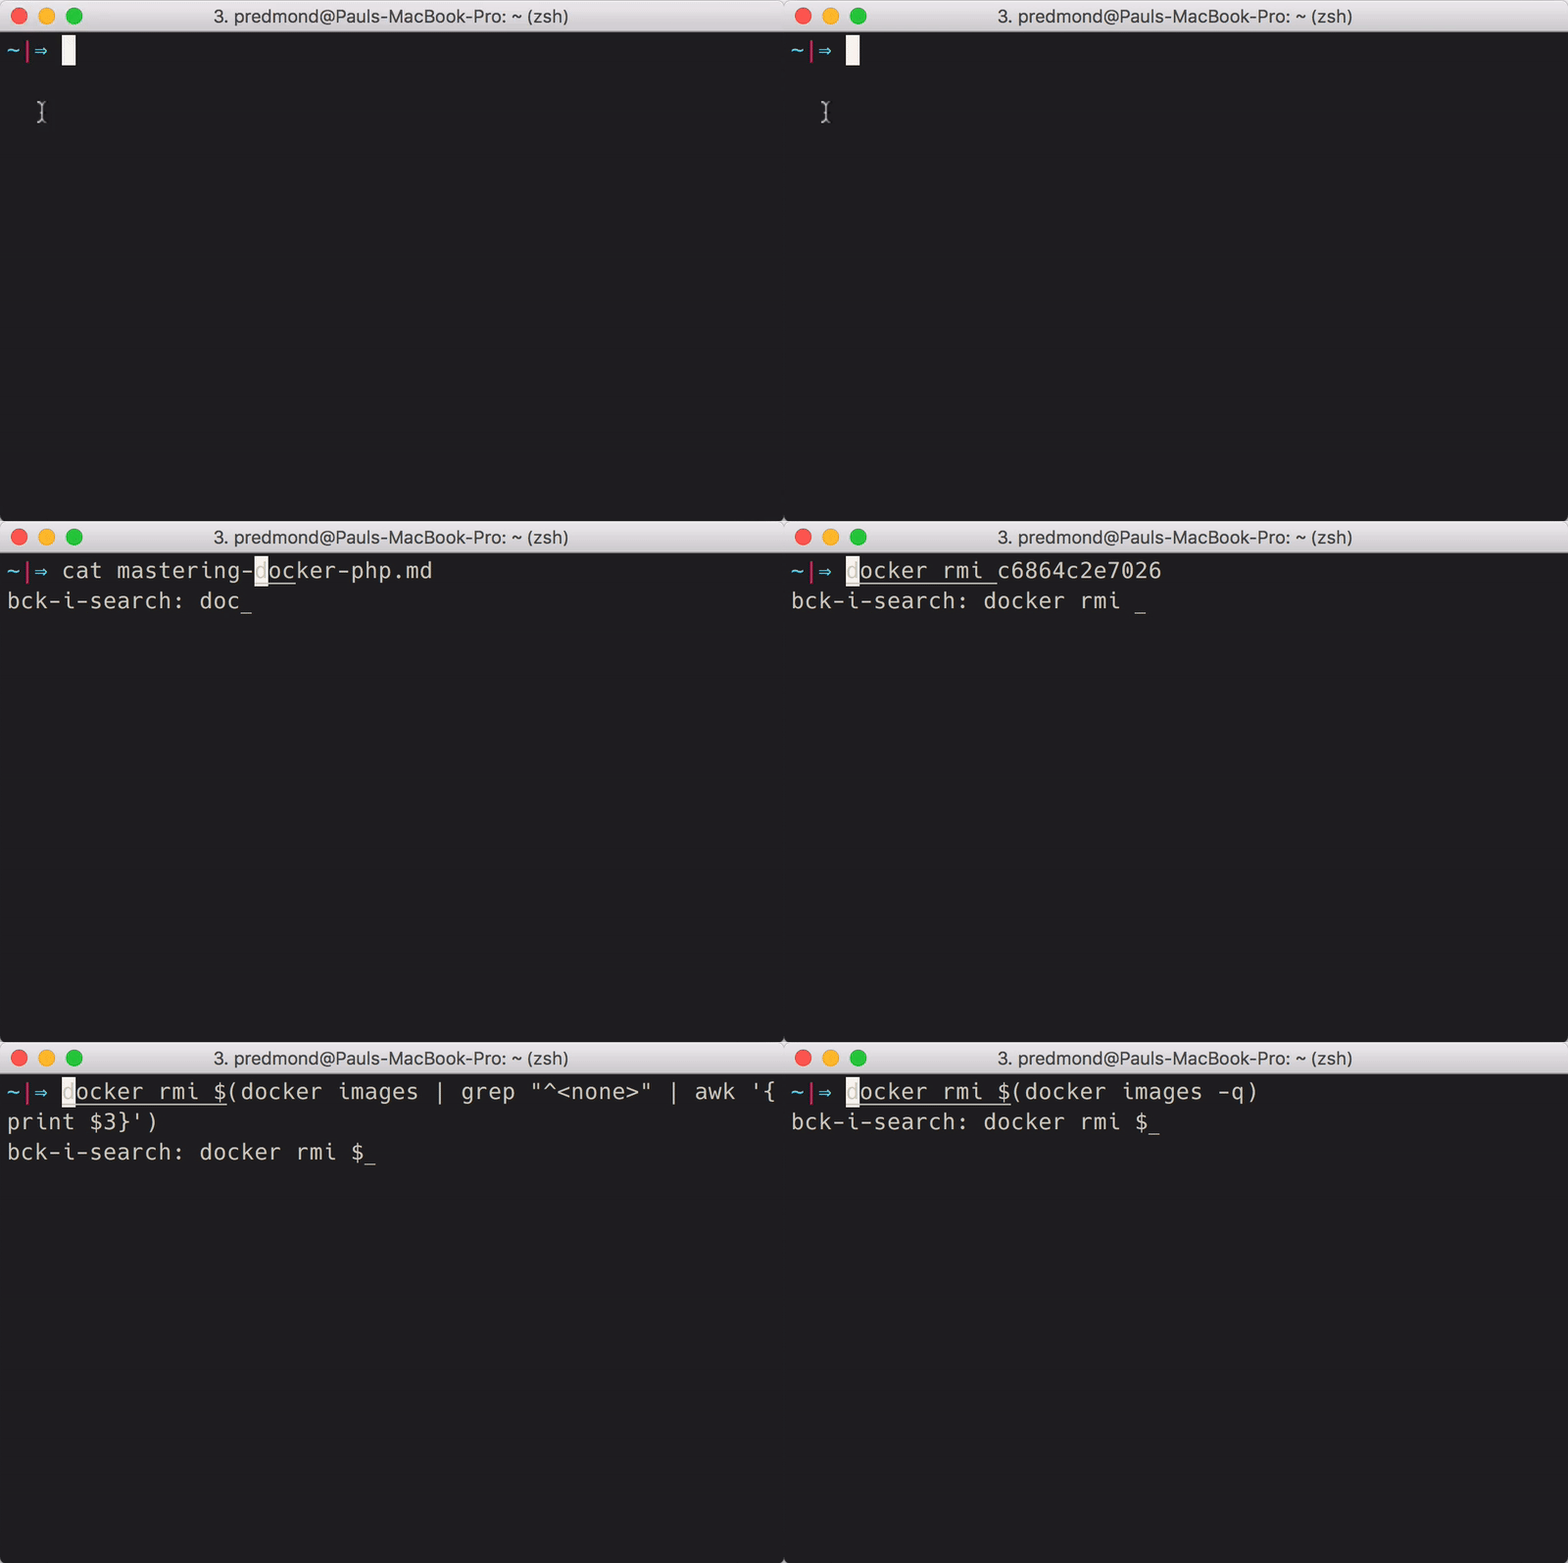
This tip isn’t exclusive to Bash or ZSH, but you need this one in your toolbox. Hit Ctrl+r, and you can search through commands quickly based on what you type. Continue to hit Ctrl+r to cycle through multiple results. It’s easiest to demonstrate:
Searching History and Executing History
Searching through history is another general tip not related to using a bash shell or ZSH exclusively. The humble history command is a great resource when you can’t recall an awesome command you’ve run in the past. When Ctrl+r fails you, run something like the following:
$ history | grep docker rmi11214 docker rmi c6864c2e7026Notice a number appears in the history next to each entry. If you use the exclamation point, you can re-run that entry:
$ !11214$ docker rmi c6864c2e7026SSH Config
Most of these tips revolve around terminal commands and navigating around. This tip is more for supercharging your SSH usage. Organizing your SSH in the ~/.ssh/config file can save you tons of keystrokes when you need to copy a file down from a server. Most of my production workloads run on Google’s K8 machines with Docker, but now and then I need to SSH into my personal servers.
Here’s what an example SSH config entry might look like for me:
Host myalias Hostname 123.456.38.208 IdentityFile ~/.ssh/id_rsa User myuser ForwardAgent yesWhen I need to start an SSH session I can do the following:
$ ssh myaliasMy agent is automatically forwarded, I use the right user and identity file automatically. It saves a ton of annoyance making sure you are using the right credentials.
My favorite use of this config is to copy a file up or down:
$ scp myalias:~/myfile.txt ~/Downloads/myfile.txt $ scp ~/Downloads/myfile.txt myalias:~/myfile.txtIf you’ve used scp before, you can appreciate how the alias makes this command easy to type and use correctly. I highly encourage you to read up and try using SSH configs.
Terminal Theme
I think using the same theme is another important part of making the terminal your home on any machine. I like iterm2colorschemes.com is an excellent resource if you are using iTerm. I use Monokai Soda from this project. I’ve also modified my Ubuntu terminal to match the colors from Monokai Soda, so I have the same experience that I keep versioned in my dotfiles.
Having the same colors across platforms is huge for me and reduces some mental overhead adjusting between color schemes.
So Many More Terminal Tricks
There’s so much more I could show you, but these are probably some of my favorite terminal tools and tricks. I hope that they will inspire you to experiment with the terminal more and make it your own. Like any craftsman, get to know your tools, and customize them, so they feel like an irreplaceable hammer that just feels perfect when you wield it.
I’d recommend checking out Oh My Zsh and browse through the plugins. They have a plugin for nearly everything I use. Second, I’d recommend starting your own dotfiles repo on GitHub. You can look at mine as an example of how you might symlink your dotfiles in your $HOME folder.
The following command is how I clone my dotfiles repo on a machine:
git clone git@github.com:paulredmond/dotfiles.git ~/.dotfilesAnd then I symlink them like so (after I’ve bootstrapped rbenv and installed rake):
$ rake installYou don’t have to use rake, but I love Ruby, and it was fun to bootstrap my dotfiles with my Rakefile. That’s the point of my dotfiles; it’s a playground for me to experiment with my console tools.
Make sure you don’t add in anything secret. In fact, I sometimes use a local file that I add to the .gitignore so I can have one-off things on a machine. Something like this would work in your ~/.zshrc file:
# Local config ignored by gitif [[ -e $HOME/.zshrc.local ]]then source $HOME/.zshrc.localfi
