I feel like Vue and Laravel were almost made to go together and I’ve been using Vue for quite a while. I’m super stoked that Honeybadger recently shipped an official Vue.js integration. Let’s walk through setting everything up so you so if your Vue app catches fire, you can get it handled!
Set up Vue Error Reporting
Install the Honeybadger Vue package
# npmnpm add @honeybadger-io/vue --save # yarnyarn add @honeybadger-io/vueConfigure Honeybadger
To set this up, hop on over to assets/js/app.js and import Honeybadger’s Vue library.
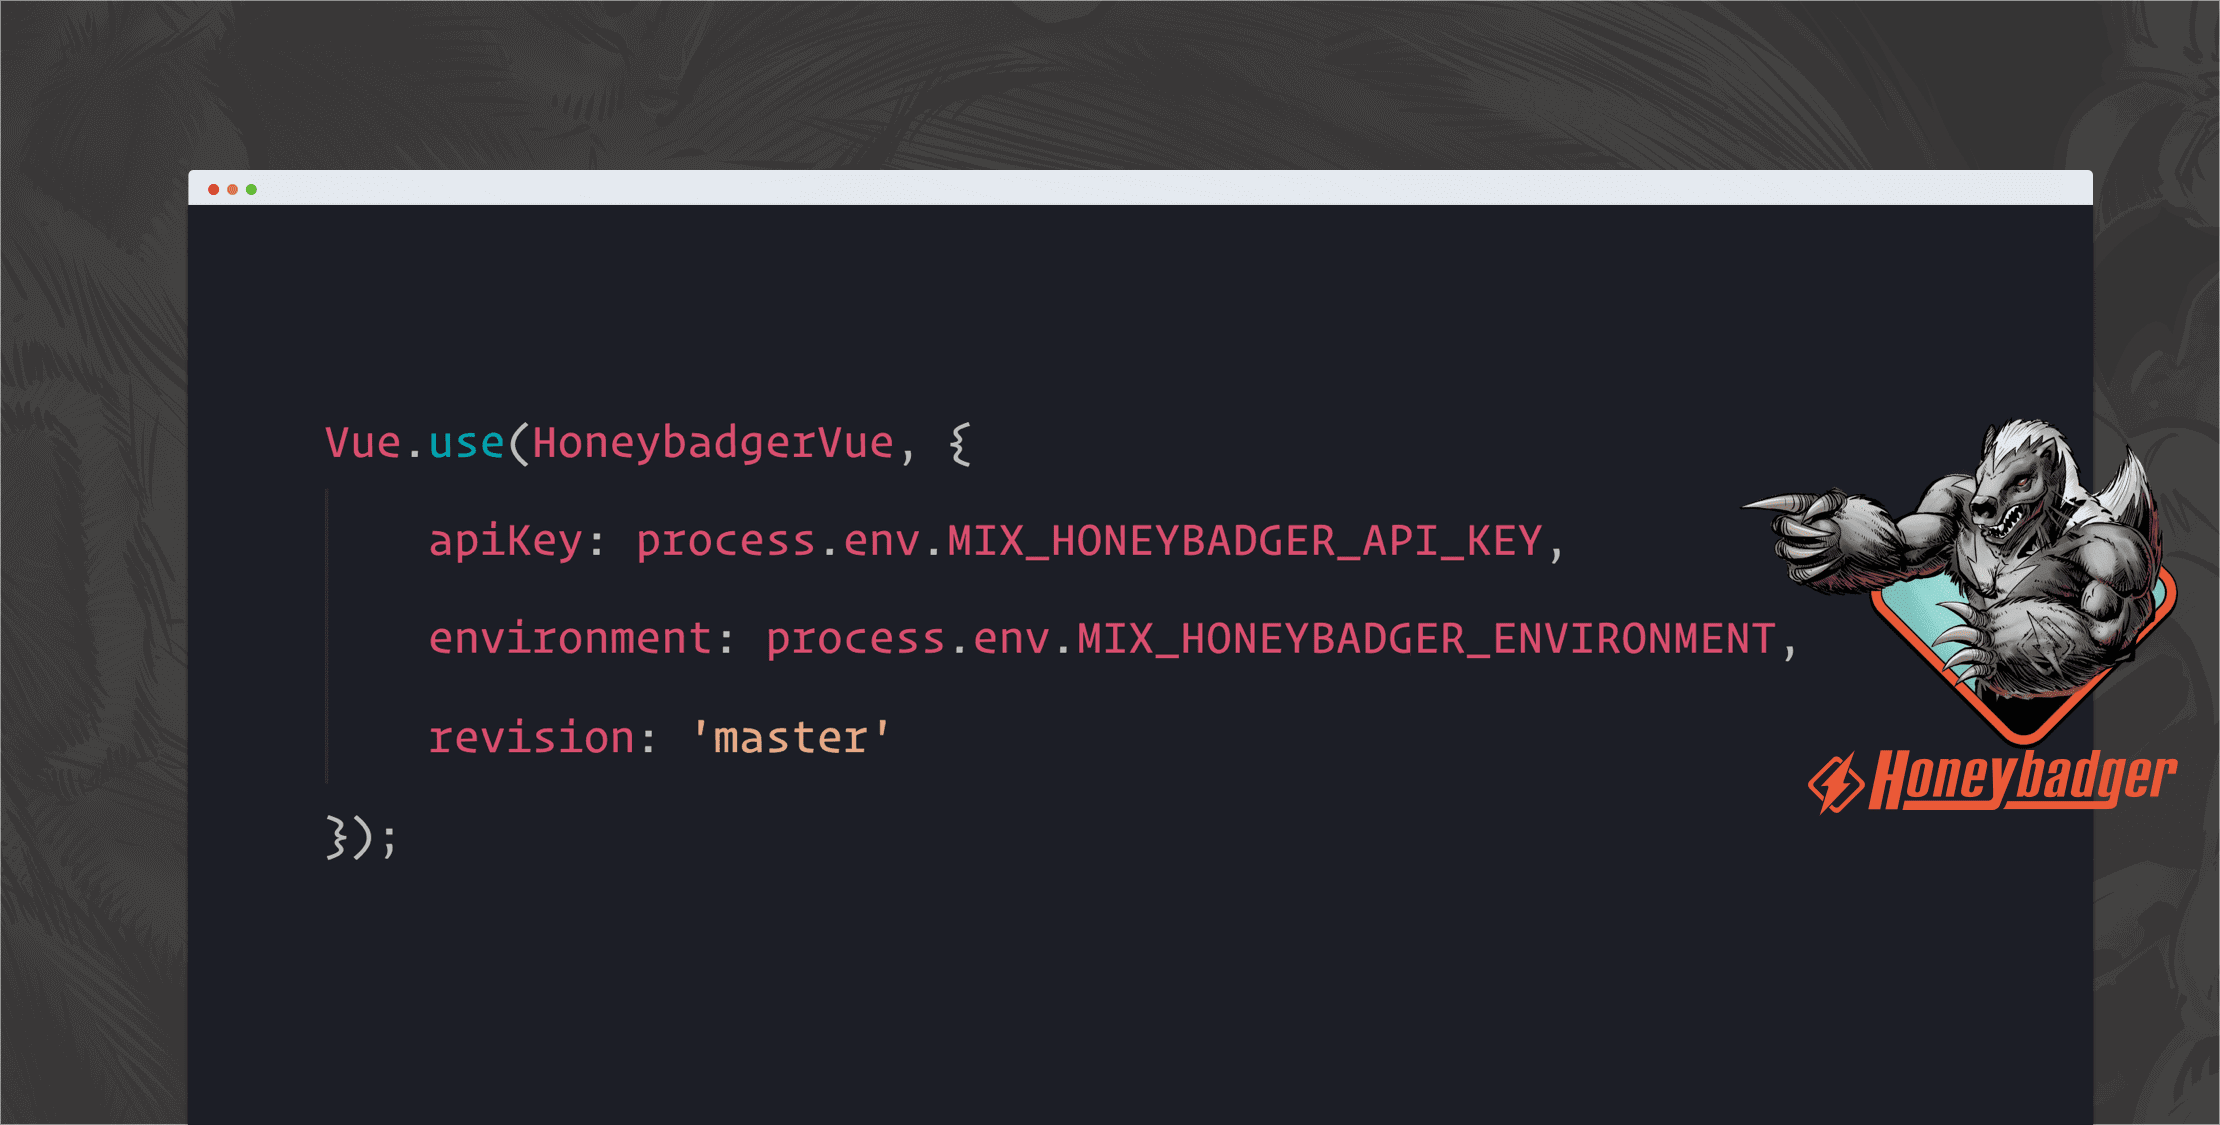
import HoneybadgerVue from '@honeybadger-io/vue'Next, we need to add it to Vue.
Vue.use(HoneybadgerVue, { apiKey: process.env.MIX_HONEYBADGER_API_KEY, environment: process.env.MIX_HONEYBADGER_ENVIRONMENT, revision: 'master'});I’m sure you’ve noticed all the references to local environment variables. Laravel mix will pass environment variables that are prefixed with MIX_. This helps us make this integration super smooth. So we’ll have to go update the .env file. Laravel Mix Docs
If you are using honeybadger-io/honeybadger-laravel you’ll want to set up a new project for your Vue app.
MIX_HONEYBADGER_API_KEY="GCDWEMt9vhhpDsUT"MIX_HONEYBADGER_ENVIRONMENT="${APP_ENV}"All unhandled exceptions will now be reported to Honeybadger. Take a look at the official Vue Integration Guide for more detailed instructions and documentation.
Don’t Forget Your Source Maps!
Getting good stack traces for front-end errors can be tricky. A good stack trace points to the line number in the original source file where the error occurred in your Vue project.
Unfortunately, modern build processes have multiple stages where your original source code gets chopped up, optimized, and compressed to squeeze the best performance from it. This is great for performance, but bad for debugging (read: error reporting). Source maps are the answer.
Honeybadger provides a pretty slick Webpack plugin that will push your source maps to Honeybadger and make tracking errors a breeze.
Install the Honeybadger Webpack package
# npmnpm add @honeybadger-io/webpack --save-dev # yarnyarn add @honeybadger-io/webpackAdd the plugin to your Webpack config:
Inside webpack.mix.js we’ll start by importing the source map library.
const HoneybadgerSourceMapPlugin = require('@honeybadger-io/webpack')Next, we need to enable source maps for Laravel Mix.
mix.js('resources/js/app.js', 'public/js') .sass('resources/sass/app.scss', 'public/css') .sourceMaps()We also have to extend Laravel Mix’s Webpack config to use the Honeybadger source map plugin.
mix.webpackConfig({ plugins: [new HoneybadgerSourceMapPlugin({ apiKey: process.env.MIX_HONEYBADGER_API_KEY, assetsUrl: process.env.MIX_HONEYBADGER_ASSET_URL, revision: 'master' })]})We’ve added a new variable MIX_HONEYBADGER_ASSET_URL , so lets update the .env file.
MIX_HONEYBADGER_ASSET_URL=https://cdn.example.com/assetsEvery time you build your project with npm run prod or yarn prod, the source map will be uploaded to Honeybadger. Check out the Honeybadger Webpack Plugin on GitHub for additional documentation.
Versioning Your Project
Notice that in the above examples, we set the revision: 'master' option in both the Vue and Webpack config. In Honeybadger, the revision is a unique version for your project; it’s what is used to match up the correct source map with the correct error. While master will technically work for your first build, you’ll want to come up with a better way to version your project in Honeybadger—every build should be unique.
Personally, I prefer Git commit SHAs, since they are always unique for the current build. According to Stack Overflow, here’s a quick way to snag your project’s current commit SHA.
In your webpack.mix.js let’s add the following environment variable.
process.env.MIX_HONEYBADGER_REVISION = require('child_process') .execSync('git rev-parse HEAD') .toString().trim()Now we can update the Webpack config to use the new variable.
mix.webpackConfig({ plugins: [new HoneybadgerSourceMapPlugin({ apiKey: process.env.MIX_HONEYBADGER_API_KEY, assetsUrl: process.env.MIX_HONEYBADGER_ASSET_URL, revision: process.env.MIX_HONEYBADGER_REVISION })]})We can also circle back and update the Vue integration to use this new revision variable.
Vue.use(HoneybadgerVue, { ... revision: process.env.MIX_HONEYBADGER_REVISION ...})Wrapping Up
I’m stoked to see official Vue support for Honeybadger. It’s their mission to make Honeybadger the best way to monitor your production Vue applications. To unlock the full power of Honeybadger, use it to monitor Laravel, Vue, scheduled tasks, and external uptime.
Be the Honeybadger on Your Team — Start Your 15-day Free Trial
Many thanks to Honeybadger for sponsoring Laravel News