How can I put this? CLI apps are cool. The ability to open a terminal anywhere and just run a command to do a job that might have taken you much longer. Opening the browser going to the right page, logging in and finding what it is you need to do, and waiting for the page to load .... You get the picture.
Over the last few years, the command terminal has had a lot of investment; from ZSH to auto-completing, from FIG to Warp - CLI is something we cannot escape. I build CLI apps to help me be more efficient with small tasks or do a job on a schedule.
Whenever I look online at anything relating to Laravel, it is always a web app, and it makes sense. Laravel is a fantastic web application framework, after all! However, leveraging what we love about Laravel is also available for CLI applications. Now we can use a full install of Laravel and run the scheduler to run artisan commands where we need to - but this is overkill sometimes. If you do not need a web interface, you do not need Laravel. Instead, let us talk about Laravel Zero, another brainchild of Nuno Maduro.
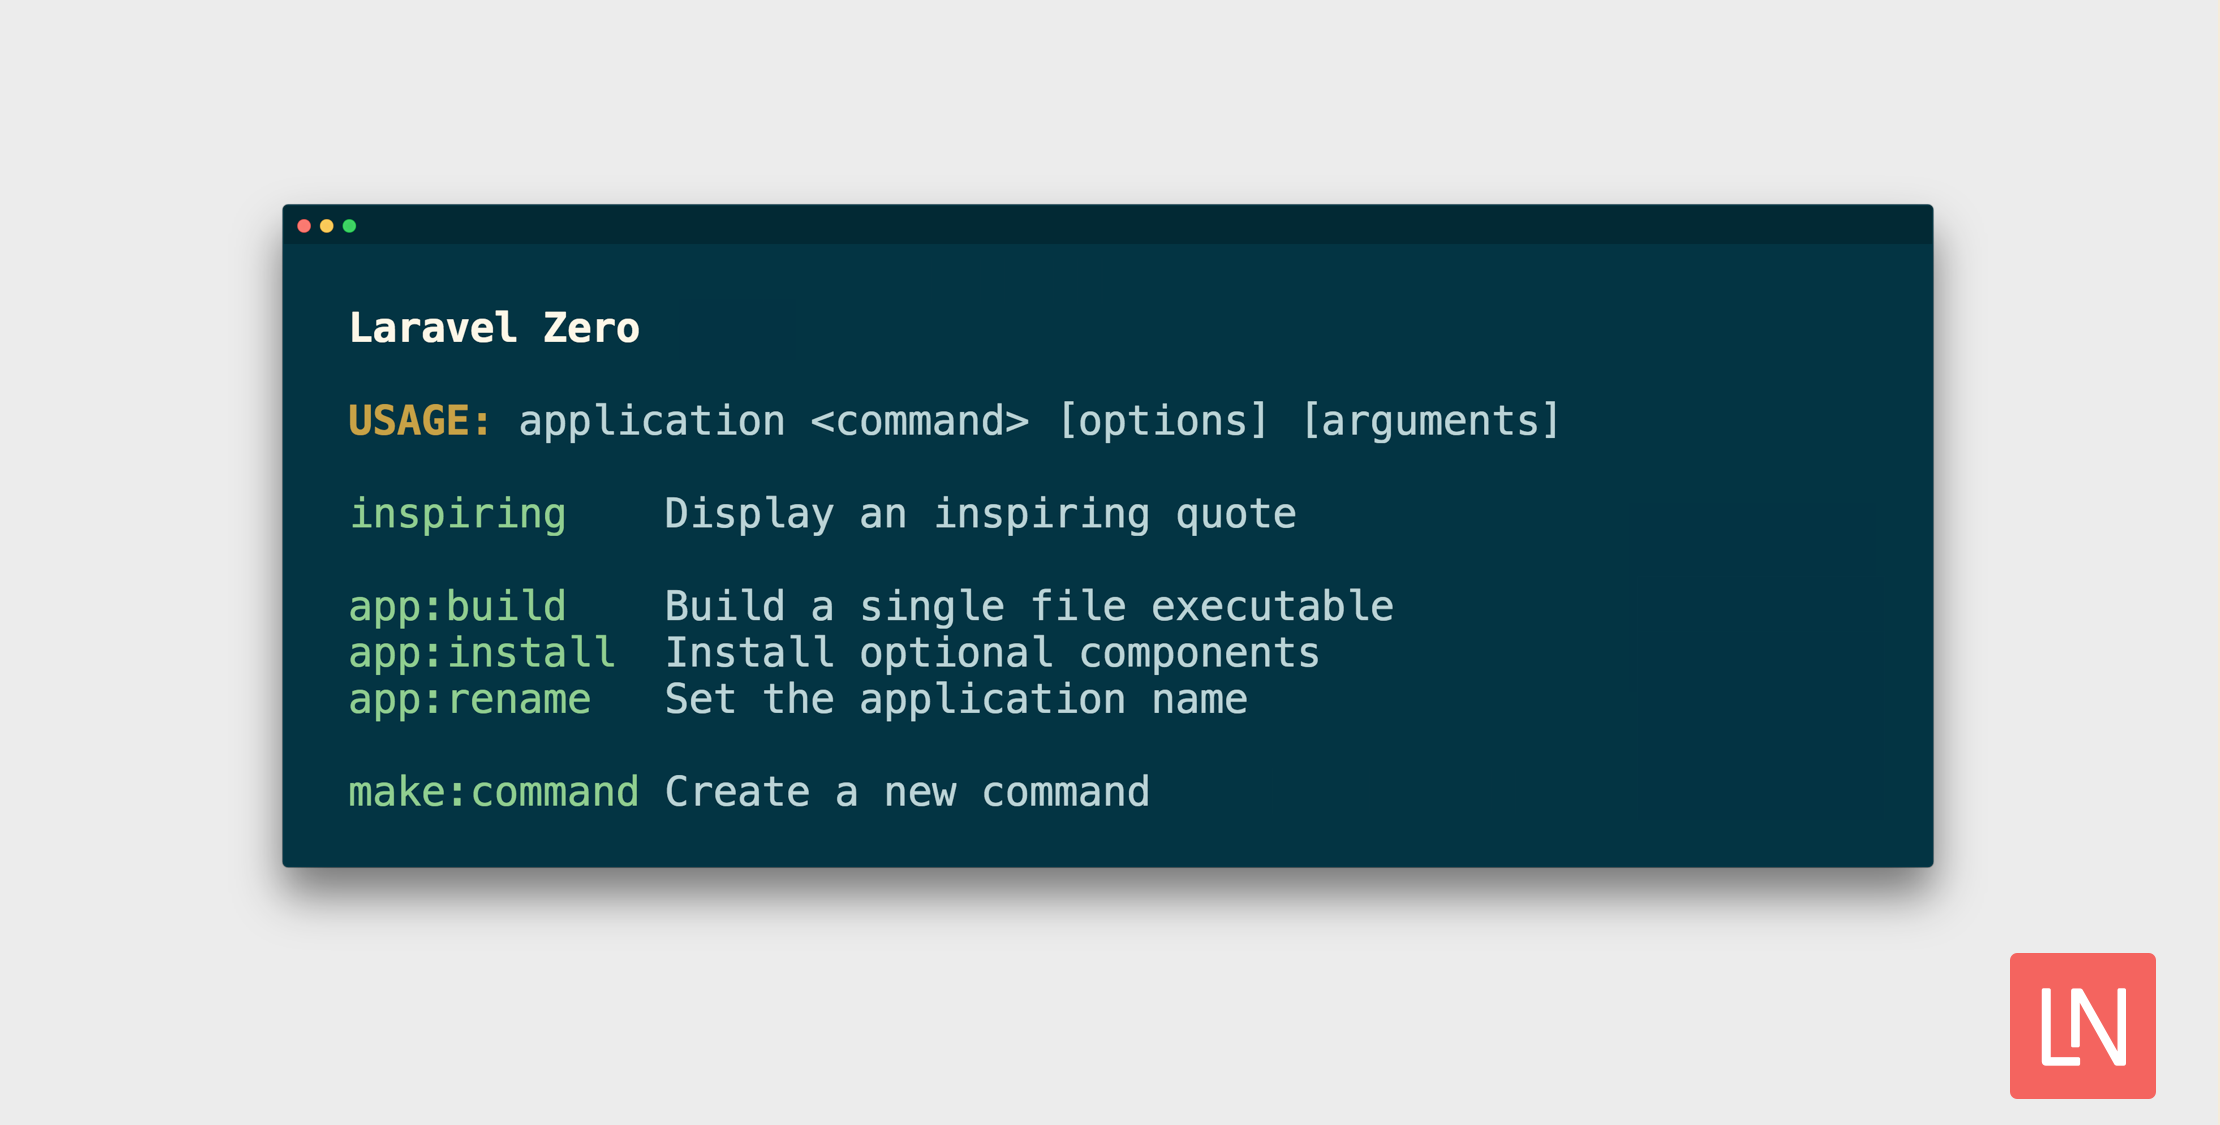
Laravel Zero describes itself as a "micro-framework for console application" - which is pretty accurate. It allows you to build CLI applications using a proven framework - that is smaller than using something like Laravel. It is well documented, robust, and actively maintained - making it a perfect choice for any CLI applications you might want to build.
In this tutorial, I will walk through a somewhat simple example of using Laravel Zero with the hopes that it will show you just how useful it can be. We will build a CLI application that will enable us to see projects and tasks in my Todoist account so that I don't have to open up an application or web browser.
To get started, we need to go to the web app for Todoist and open the integration settings to get our API token. We will need this a little later. Our first step is the create a new Laravel Zero project that we can use.
composer create-project --prefer-dist laravel-zero/laravel-zero todoistOpen this new project in your IDE so that we can start building our CLI application. The first thing we know we will want to do is store our API token, as we don't want to have to paste this in every time we want to run a new command. A typical approach here is to store the API token in the user's home directory in a config file within a hidden directory. So we will look at how we can achieve this.
We want to create a ConfigurationRepository that will allow us to work with our local filesystem to get and set values that we might need within our CLI application. As with most code I write, I will create an interface/contract that binds the implementation in case I want to change this to work with another filesystem.
declare(strict_types=1); namespace App\Contracts; interface ConfigurationContract{ public function all(): array; public function clear(): ConfigurationContract; public function get(string $key, mixed $default = null): array|int|string|null; public function set(string $key, array|int|string $value): ConfigurationContract;}Now we know what this should do, we can look at the implementation for our local file system:
declare(strict_types=1); namespace App\Repositories; use App\Contracts\ConfigurationContract;use App\Exceptions\CouldNotCreateDirectory;use Illuminate\Support\Arr;use Illuminate\Support\Facades\File; final class LocalConfiguration implements ConfigurationContract{ public function __construct( protected readonly string $path, ) {} public function all(): array { if (! is_dir(dirname(path: $this->path))) { if (! mkdir( directory: $concurrentDirectory = dirname( path: $this->path, ), permissions: 0755, recursive: true ) && !is_dir(filename: $concurrentDirectory)) { throw new CouldNotCreateDirectory( message: "Directory [$concurrentDirectory] was not created", ); } } if (file_exists(filename: $this->path)) { return json_decode( json: file_get_contents( filename: $this->path, ), associative: true, depth: 512, flags: JSON_THROW_ON_ERROR, ); } return []; } public function clear(): ConfigurationContract { File::delete( paths: $this->path, ); return $this; } public function get(string $key, mixed $default = null): array|int|string|null { return Arr::get( array: $this->all(), key: $key, default: $default, ); } public function set(string $key, array|int|string $value): ConfigurationContract { $config = $this->all(); Arr::set( array: $config, key: $key, value: $value, ); file_put_contents( filename: $this->path, data: json_encode( value: $config, flags: JSON_THROW_ON_ERROR | JSON_PRETTY_PRINT, ), ); return $this; }}We use some of the helper methods in Laravel and some basic PHP to get content and check files - then read and write content where required. With this, we can manage a file anywhere in our local filesystem. Our next step is to bind this into our container so that we can set our current implementation and how we want to be able to resolve this from the container.
declare(strict_types=1); namespace App\Providers; use App\Contracts\ConfigurationContract;use App\Repositories\LocalConfiguration;use Illuminate\Support\ServiceProvider; final class AppServiceProvider extends ServiceProvider{ public array $bindings = [ ConfigurationContract::class => LocalConfiguration::class, ]; public function register(): void { $this->app->singleton( abstract: LocalConfiguration::class, concrete: function (): LocalConfiguration { $path = isset($_ENV['APP_ENV']) && $_ENV['APP_ENV'] === 'testing' ? base_path(path: 'tests') : ($_SERVER['HOME'] ?? $_SERVER['USERPROFILE']); return new LocalConfiguration( path: "$path/.todo/config.json", ); }, ); }}We bind our contract to our implementation using the service providers bindings property here. Then in the register method, we set up how we want our implementation to be built. Now when we inject the ConfigurationContract into a command, we will get an instance of LocalConfiguration that has been resolved as a singleton.
The first thing we want to do with the Laravel Zero app now is to give it a name so that we can call the CLI application using a name that is relevant to what we are building. I am going to call mine "todo".
php application app:rename todoNow we can call our command using php todo ... and start building out the CLI commands we will want to use. Before we build out commands, we will need to create a class that integrates with the Todoist API. Again, I will make an interface/contract for this if I decide to switch from Todoist to another provider.
declare(strict_types=1); namespace App\Contracts; interface TodoContract{ public function projects(): ResourceContract; public function tasks(): ResourceContract;}We have two methods, projects and tasks, which will return a resource class for us to work with. And as usual, this resource class needs a contract. The Resource Contract will use a Data Object Contract, but instead of creating this, I will use one I built into a package of mine:
composer require juststeveking/laravel-data-object-toolsNow we can create the Resource Contract itself:
declare(strict_types=1); namespace App\Contracts; use Illuminate\Support\Collection;use JustSteveKing\DataObjects\Contracts\DataObjectContract; interface ResourceContract{ public function list(): Collection; public function get(string $identifier): DataObjectContract; public function create(DataObjectContract $resource): DataObjectContract; public function update(string $identifier, DataObjectContract $payload): DataObjectContract; public function delete(string $identifier): bool;}These are basic CRUD options on the resource itself, named helpfully. Of course, we can extend this in the implementation should we want a more accessible API. Now let us get started on building out our Todoist implementation.
declare(strict_types=1); namespace App\Services\Todoist; use App\Contracts\ResourceContract;use App\Contracts\TodoContract;use App\Services\Todoist\Resources\ProjectResource;use App\Services\Todoist\Resources\TaskResource; final class TodoistClient implements TodoContract{ public function __construct( public readonly string $url, public readonly string $token, ) {} public function projects(): ResourceContract { return new ProjectResource( client: $this, ); } public function tasks(): ResourceContract { return new TaskResource( client: $this, ); }}I will publish this project on GitHub to allow you to see the complete working example.
Our TodoistClient will return a new instance of the ProjectResource passing in an instance of our client to the constructor so that we can access the URL and token, which is why these properties are protected and not private.
Let's look at what our ProjectResource will look like. Then we can walk through how it is going to work.
declare(strict_types=1); namespace App\Services\Todoist\Resources; use App\Contracts\ResourceContract;use App\Contracts\TodoContract;use Illuminate\Support\Collection;use JustSteveKing\DataObjects\Contracts\DataObjectContract; final class ProjectResource implements ResourceContract{ public function __construct( private readonly TodoContract $client, ) {} public function list(): Collection { // TODO: Implement list() method. } public function get(string $identifier): DataObjectContract { // TODO: Implement get() method. } public function create(DataObjectContract $resource): DataObjectContract { // TODO: Implement create() method. } public function update(string $identifier, DataObjectContract $payload): DataObjectContract { // TODO: Implement update() method. } public function delete(string $identifier): bool { // TODO: Implement delete() method. }}Quite a simple structure that follows our interface/contract quite well. Now we can start looking at how we want to build up requests and send them. I like to do this, and feel free to do this differently, is to create a Trait that my Resource uses to send requests. I can then set this new send method on the ResourceContract so that resources either use the trait or have to implement their own send method. The Todoist API has several resources, so sharing this behavior makes more sense within a trait. Let's look at this trait:
declare(strict_types=1); namespace App\Services\Concerns; use App\Exceptions\TodoApiException;use App\Services\Enums\Method;use Illuminate\Http\Client\PendingRequest;use Illuminate\Http\Client\Response;use Illuminate\Support\Facades\Http; trait SendsRequests{ public function send( Method $method, string $uri, null|array $data = null, ): Response { $request = $this->makeRequest(); $response = $request->send( method: $method->value, url: $uri, options: $data ? ['json' => $data] : [], ); if ($response->failed()) { throw new TodoApiException( response: $response, ); } return $response; } protected function makeRequest(): PendingRequest { return Http::baseUrl( url: $this->client->url, )->timeout( seconds: 15, )->withToken( token: $this->client->token, )->withUserAgent( userAgent: 'todo-cli', ); }}Related Article: [Php Useragent Parser[(https://laravel-news.com/php-desktop-and-mobile-user-agent-parser)
We have two methods, one which will build the request and one which will send the request - as we want a standard way to do both. Let us now add the send method onto the ResourceContract to enforce this approach across providers.
declare(strict_types=1); namespace App\Contracts; use App\Services\Enums\Method;use Illuminate\Http\Client\Response;use Illuminate\Support\Collection;use JustSteveKing\DataObjects\Contracts\DataObjectContract; interface ResourceContract{ public function list(): Collection; public function get(string $identifier): DataObjectContract; public function create(DataObjectContract $resource): DataObjectContract; public function update(string $identifier, DataObjectContract $payload): DataObjectContract; public function delete(string $identifier): bool; public function send( Method $method, string $uri, null|array $data = null, ): Response;}Now our Resources either have to create their own way of creating and sending a request, or they can implement this trait. As you can see from the code examples, I have created a helper Enum for the request method - this code is in the repository, so feel free to dive into the code there for more information.
Before we get too far with the integration side, it is probably time we created a command to log in with. After all, this tutorial is about Laravel Zero!
Create a new command using the following in your terminal:
php todo make:command Todo/LoginCommandThis command will need to take the API token and store it in the configuration repository for future commands. Let's look at how this command works:
declare(strict_types=1); namespace App\Commands\Todo; use App\Contracts\ConfigurationContract;use LaravelZero\Framework\Commands\Command; final class LoginCommand extends Command{ protected $signature = 'login'; protected $description = 'Store your API credentials for the Todoist API.'; public function handle(ConfigurationContract $config): int { $token = $this->secret( question: 'What is your Todoist API token?', ); if (! $token) { $this->warn( string: "You need to supply an API token to use this application.", ); return LoginCommand::FAILURE; } $config->clear()->set( key: 'token', value: $token, )->set( key: 'url', value: 'https://api.todoist.com/rest/v1', ); $this->info( string: 'We have successfully stored your API token for Todoist.', ); return LoginCommand::SUCCESS; }}We inject the ConfigurationContract into the handle method, which will resolve the configuration for us. Then we ask for an API token as a secret so that it isn't displayed on the user's terminal as they type. After clearing any current values, we can use the config to set the new values for the token and the URL.
Once we can authenticate, we can create an additional command to list our projects. Let's create this now:
php todo make:command Todo/Projects/ListCommandThis command will need to use the TodoistClient to fetch all projects and list them in a table. Let's have a look at what this looks like.
declare(strict_types=1); namespace App\Commands\Todo\Projects; use App\Contracts\TodoContract;use App\DataObjects\Project;use LaravelZero\Framework\Commands\Command;use Throwable; final class ListCommand extends Command{ protected $signature = 'projects:list'; protected $description = 'List out Projects from the Todoist API.'; public function handle( TodoContract $client, ): int { try { $projects = $client->projects()->list(); } catch (Throwable $exception) { $this->warn( string: $exception->getMessage(), ); return ListCommand::FAILURE; } $this->table( headers: ['ID', 'Project Name', 'Comments Count', 'Shared', 'URL'], rows: $projects->map(fn (Project $project): array => $project->toArray())->toArray(), ); return ListCommand::SUCCESS; }}If you look at the code in the repository on GitHub, you will see that the list command on the ProjectResource returns a collection of Project data objects. This allows us to map each item in the collection, cast the object to an array, and return the collection as an array, so we can easily see what projects we have in tabular format. Using the right terminal, we can also click on the URL for the project to open this within a browser if we need to.
As you can see from the above approach, it is pretty simple to build a CLI application using Laravel Zero - the only limitation to what you could build is your imagination.
As mentioned throughout this tutorial, you can find the GitHub Repository online here, so you can clone the complete working example.

