With the pre-launch checklist completed, it’s time to go ahead and make our package available for others to use.
Chances are, the consumers of the package will be using Composer to manage the dependencies in their project. To make the package compatible with composer, there are a few steps we need to follow.
Tagging a Release
To allow our users to manage their dependencies effectively, it’s important to properly release new versions of the package.
The most common approach to versioning code is to follow Semantic Versioning. This defines a set of ‘rules and requirements that dictate how version numbers are assigned and incremented’. From the website, these are defined as:
- MAJOR version when you make incompatible API changes,
- MINOR version when you add functionality in a backwards-compatible manner, and
- PATCH version when you make backwards-compatible bug fixes.
Additional labels for pre-release and build metadata are available as extensions to the MAJOR.MINOR.PATCH format.
If you are interested, the full definition can be found on the website.
Deciding which version to tag your initial release can be tricky and I recently saw an interesting thread on Twitter discussing the issue.
Semantic Versioning suggest if you are are using the package in production, you should you go straight to 1.0.0, but if not and the package is still in development, the initial release should be 0.1.0.
There is more than one way to tag a release. For the purposes of this article, I’m going to show you how to do so on GitHub.
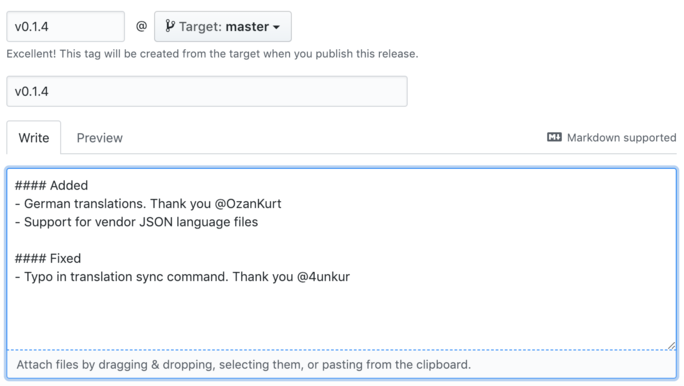
From the root of your repository, click on ‘Releases’ followed by ‘Draft a new release’.
There, enter your desired version number in the ‘Tag version’ field and select the target you want to reference. This can be a branch or an individual commit. If you wish, you can also provide an appropriate title for which, typically, I use the version number.
You can also provide release notes, which can be a nice way to let you users know exactly what has changed and maybe even thank your contributors.
Submitting to Packagist
Now, to allow users to easily install the package using Composer, it’s common to publish it to Packagist.
To do this, login to your Packagist account and click ‘Submit’ in the main navigation. Enter the URL of your git repository when prompted.
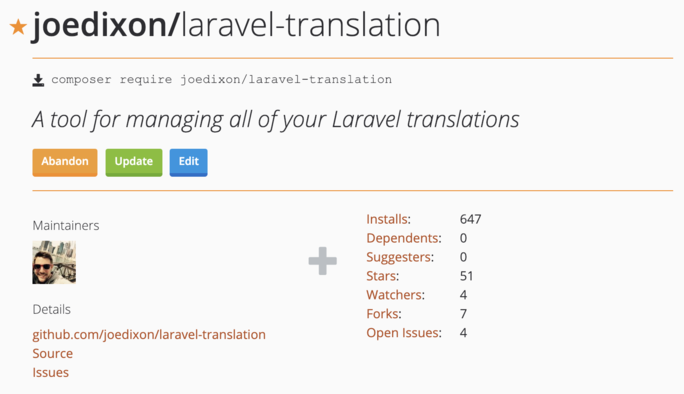
Packagist will pull in all the relevant information from the composer.json file and publish the package to the repository, ready for people to use. The package will now have its own page on the site providing users with details such as the number of installations, versions and latest activity.
Summary
With the package published and ready for people to use, we are at the end of this series of articles.
We now move in to business as usual, releasing new versions of the package and dealing with issues and pull requests submitted from the users.
I really hoped you enjoyed this series and have picked up some useful tips along the way. As usual, should you have any questions or comments, please send them across on Twitter.

