Accounting for APIs while testing can be a confusing and sometimes painful process. Whether you are testing client-side components or server-side code, you must somehow mock or fake the request and response in your code.
The landscape of testing tools that ship with third-party HTTP client code is a mixed bag. In the Laravel ecosystem, we are fortunate to have testing capabilities built in to the Laravel HTTP Client, but what do you do about HTTP clients that don't use the Laravel client? Packages could use Guzzle or cURL directly and may or may not include some way to fake API calls easily.
The first thing that comes to mind is wrapping the original HTTP client in a service and mocking/faking the response:
use App\Service;use Mockery\MockInterface; $mock = $this->mock(Service::class, function (MockInterface $mock) { $test_products = $this->getTestProducts(); $mock->shouldReceive('getProducts') ->once() ->andReturn($test_products);});You may have seen someone introduce a Guzzle middleware for the same purpose or, even worse, mocked Guzzle directly. Gross!
While mocking code via a service for a simple API call might be all you need, if you have more complex API usage in your application, you could stop mocking HTTP clients in code and use an HTTP mock server instead.
Enter Wiremock.
There are various HTTP mock servers on the market, but we will look specifically at Wiremock, a Java-based HTTP mock library. It includes first-party tooling for Java developers. However, it also provides a standalone runtime (JAR) and REST API we can utilize in PHP projects.
We are just going to scratch the surface of everything Wiremock is capable of, but we will follow up with more tutorials in the future to dive deeper into features you'll love.
Getting Started
To dive into Wiremock, we will create a new Laravel application and run Wiremock via Docker:
laravel new --git --pest --no-interaction wiremock-democd wiremock-demoIf you're following along, you can also use PHPUnit; our code examples should translate easily as we work through the application.
Next, we are going to create a docker-compose.yaml file create an empty directory for default Wiremock mappings (we will cover those later) in the root of our project:
touch docker-compose.yamlmkdir -p tests/Feature/resources/wiremockHere's what our Docker Compose file looks like:
version: "3.8" services: wiremock: image: wiremock/wiremock ports: - "8080:8080" volumes: - ./tests/Feature/resources/wiremock:/home/wiremock/mappingsWe added the wiremock service, and mapped it to the default port 8080 locally. We also provide a volume in the location the Wiremock container will look for stubs.
Wiremock supports API mocking, which is the ability to return canned HTTP responses for requests matching specific criteria. Creating stubs for responses via .json files means we can provide a set of responses by default. We can also programmatically add stubs during a test via the REST API, which is useful to test edge cases and new features that haven't been released yet.
Let's verify that Wiremock is ready to go by starting the container:
docker compose up -dI prefer to run Docker services in the background with -d , and you can verify that everything worked as expected by running the following:
docker compose psNAME COMMAND SERVICE STATUS PORTSwiremock-demo-wiremock-1 "/docker-entrypoint.…" wiremock running 0.0.0.0:8080->8080/tcpYou can also visit http://localhost:8080/__admin/ in your browser and should see something similar to the following response:
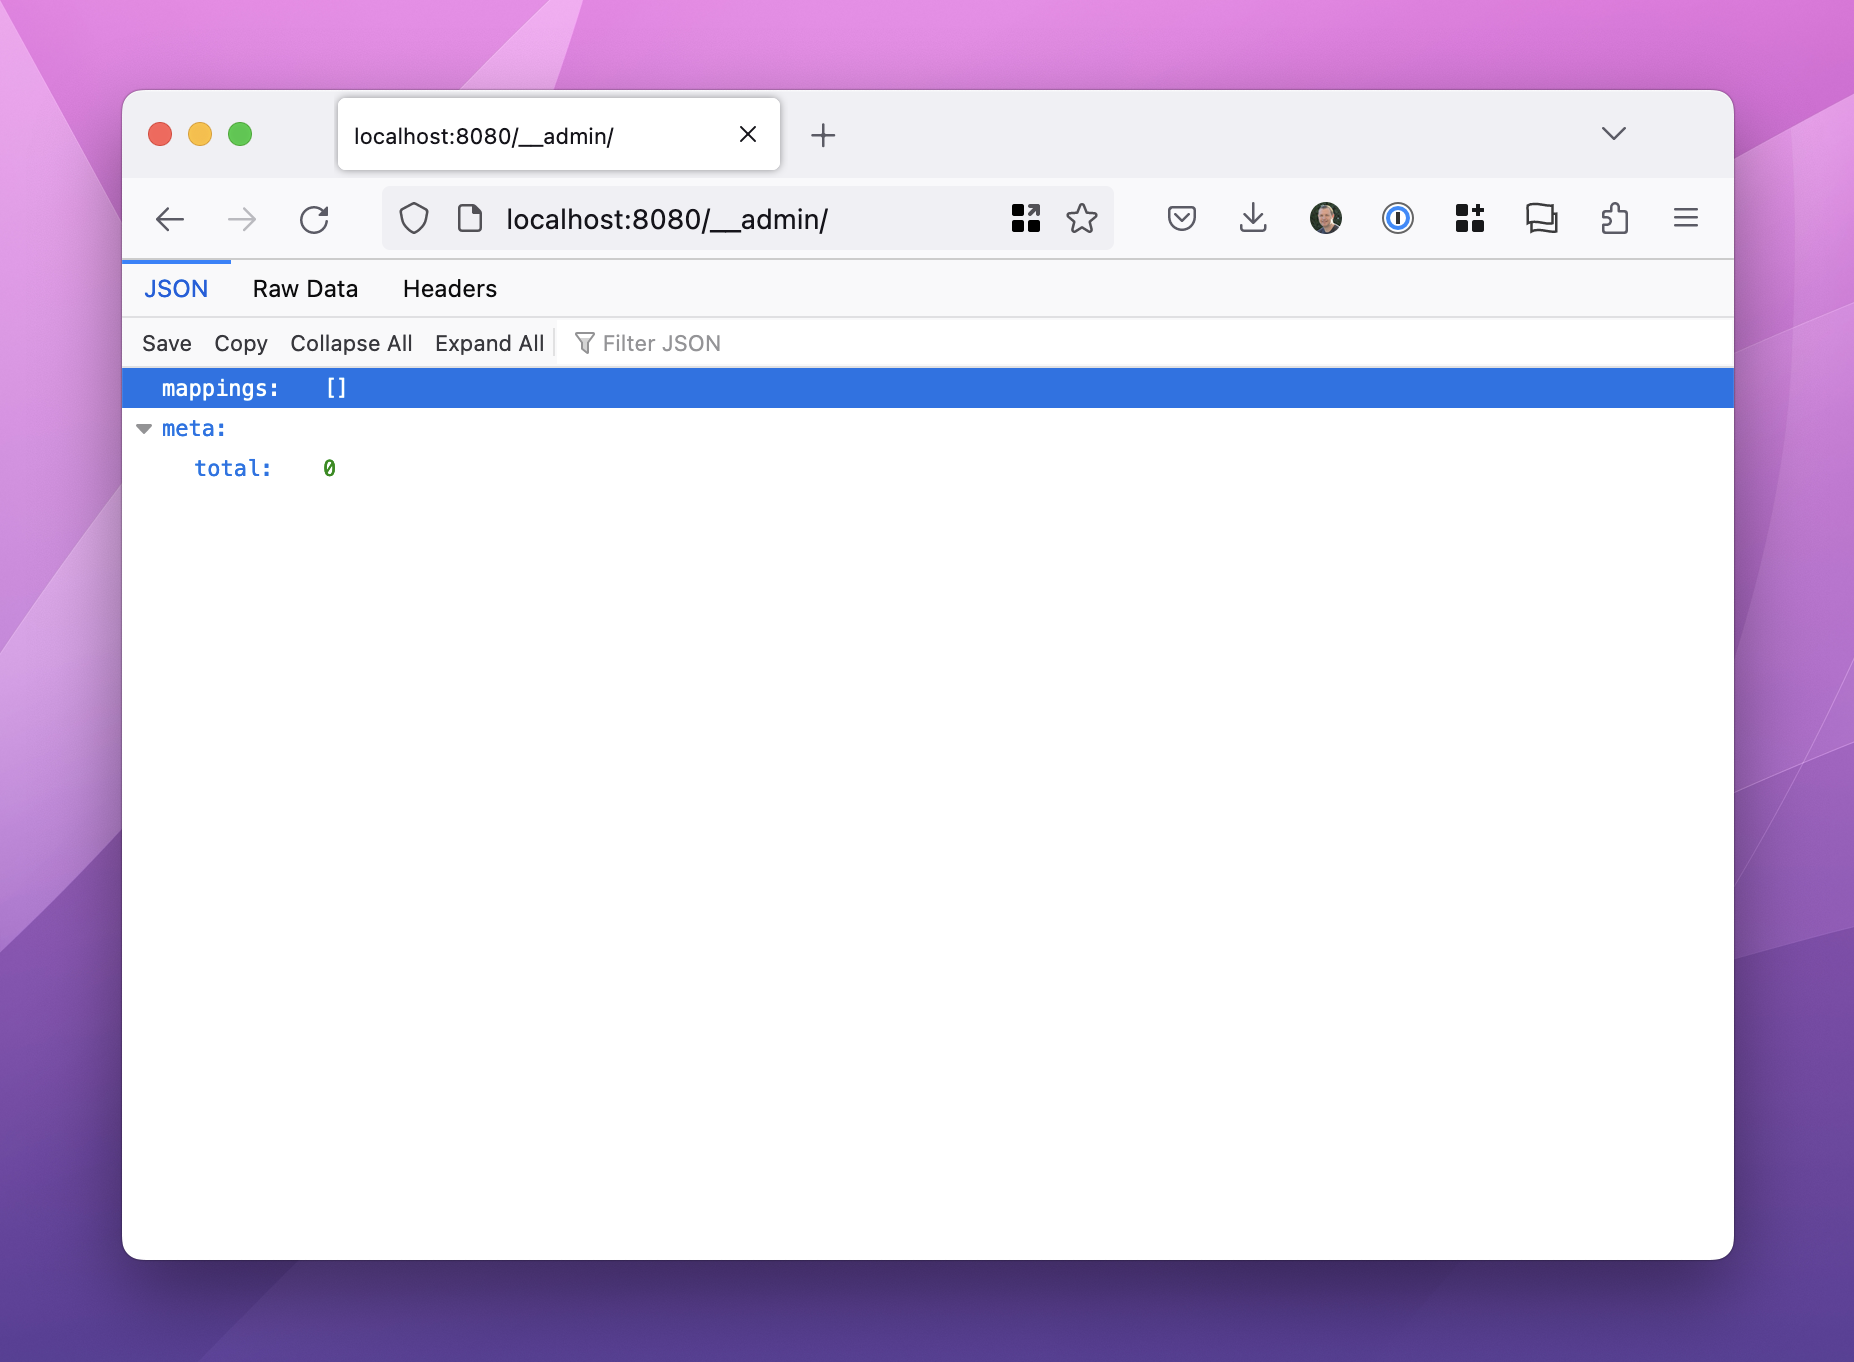
The /__admin endpoint is the base URL where we can interact with the Wiremock REST API. Right now, it's not very useful, but we will revisit it shortly where it'll be much more helpful!
Our First Wiremock Stub
We are ready to create our first Wiremock stub that we can use to demonstrate how stubbing works. We will build upon that to test edge cases in our code, such as failures or 404 Not Found responses.
I am not a fan of "hello world" tutorials, but I do think a lot is going on when getting started with Wiremock, and providing a simple first example is helpful to understand the basics of how stubbing works.
Let's create our first stub by creating a hello-world.json file in our fixtures folder:
touch tests/Feature/resources/wiremock/hello-world.jsonAdd the following contents in the hello-world.json file:
{ "request": { "method": "GET", "url": "/hello-api/v1/hello-world" }, "response": { "status": 200, "jsonBody": { "message": "Hello, World!" }, "headers": { "Content-Type": "application/json" } }}Our Wiremock stub consists of a request and response keys describing how we should mock the request. Note the /hello-api/v1 prefix, which is typically how I'll organize my URL paths. We don't want a separate Wiremock instance for each API, so follow a similar pattern to an API gateway by providing a prefix. In our example, the hello-world part is the actual API resource in our code.
If we stop our Docker container at this point, we should see our stubbed request/response mapping in Wiremock's Admin API:
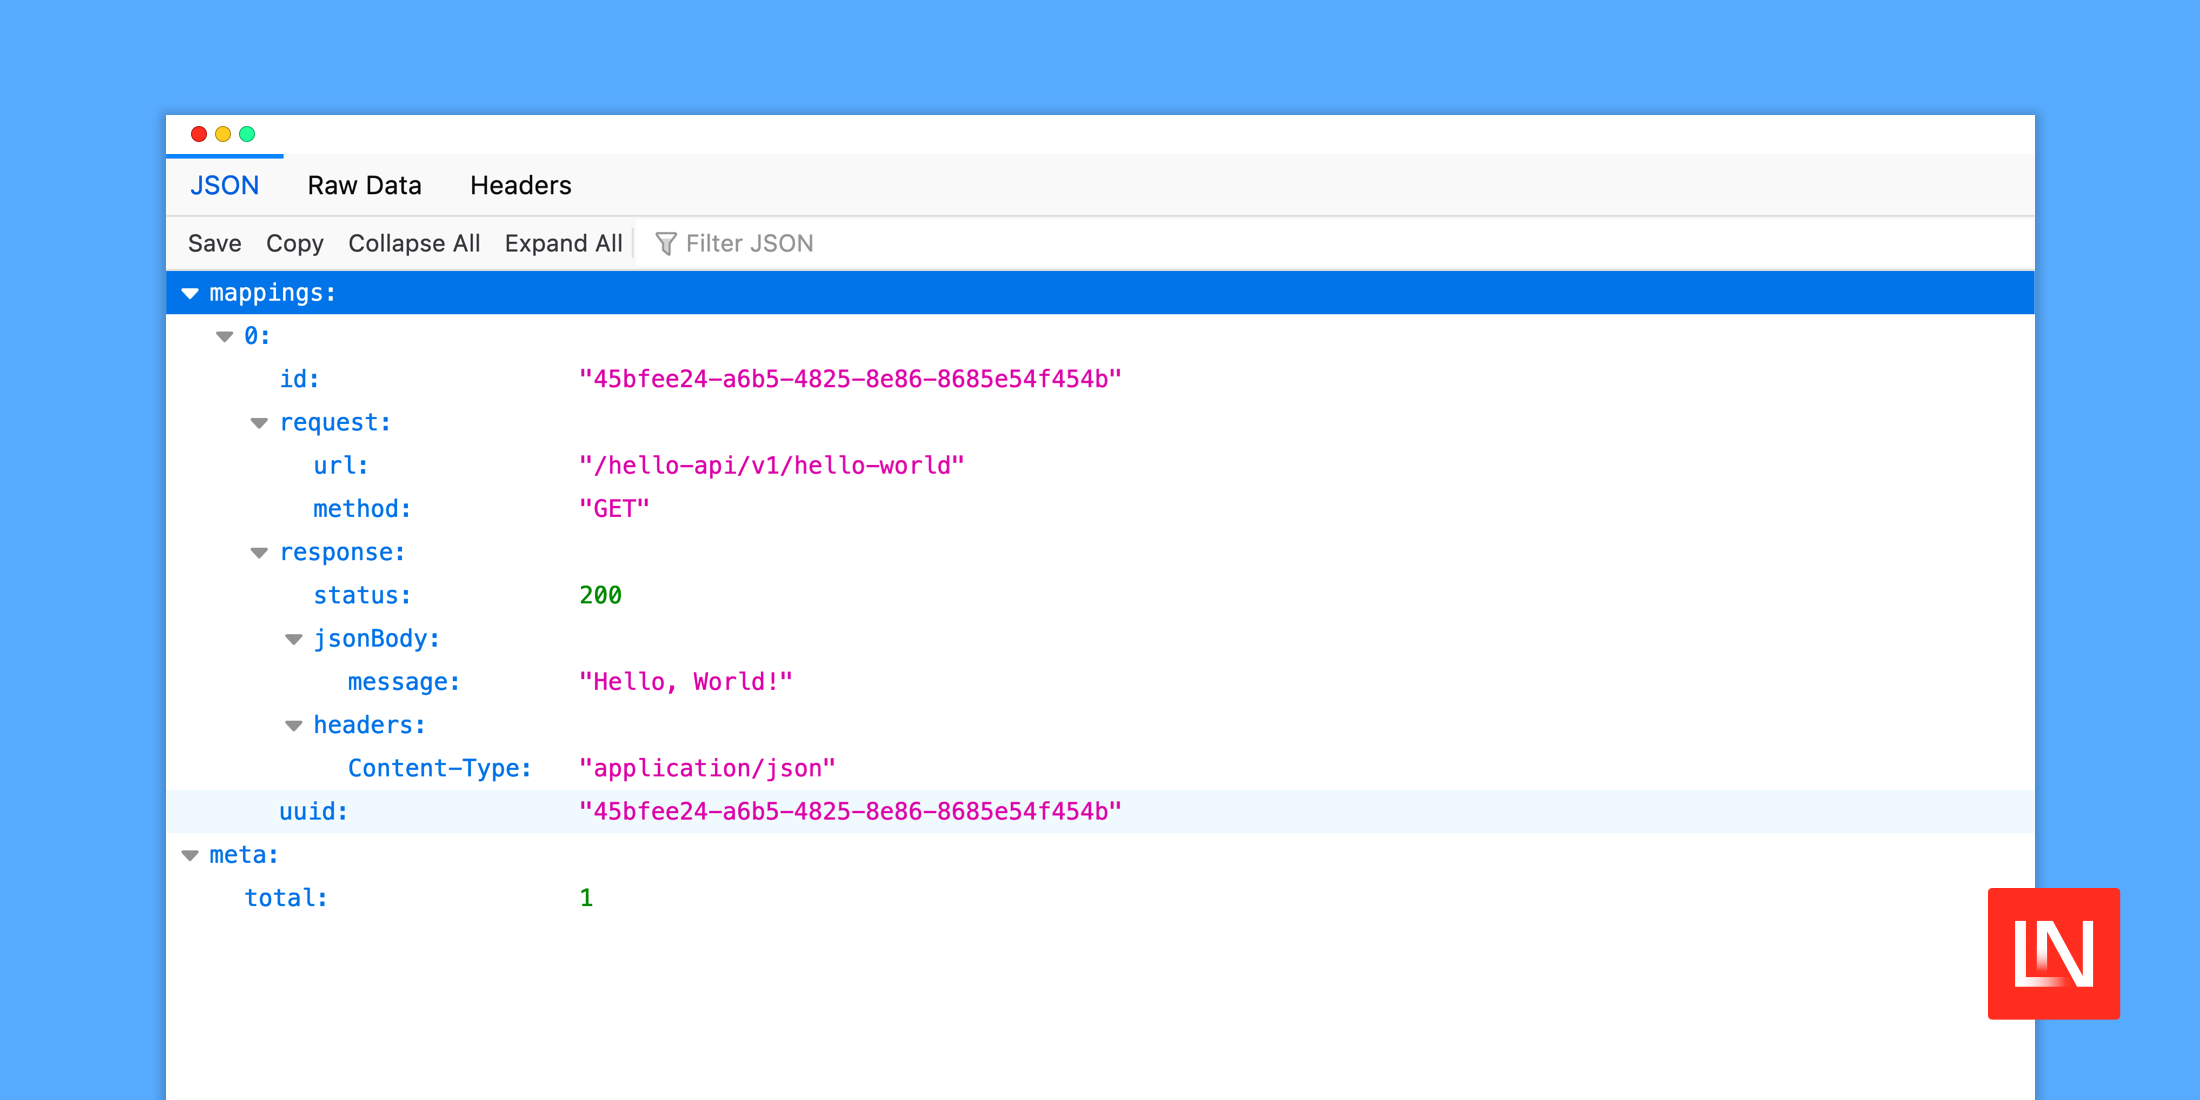
docker compose downdocker compose up -dYou should now see something similar to the following response when you visit http://localhost:8080/__admin/:
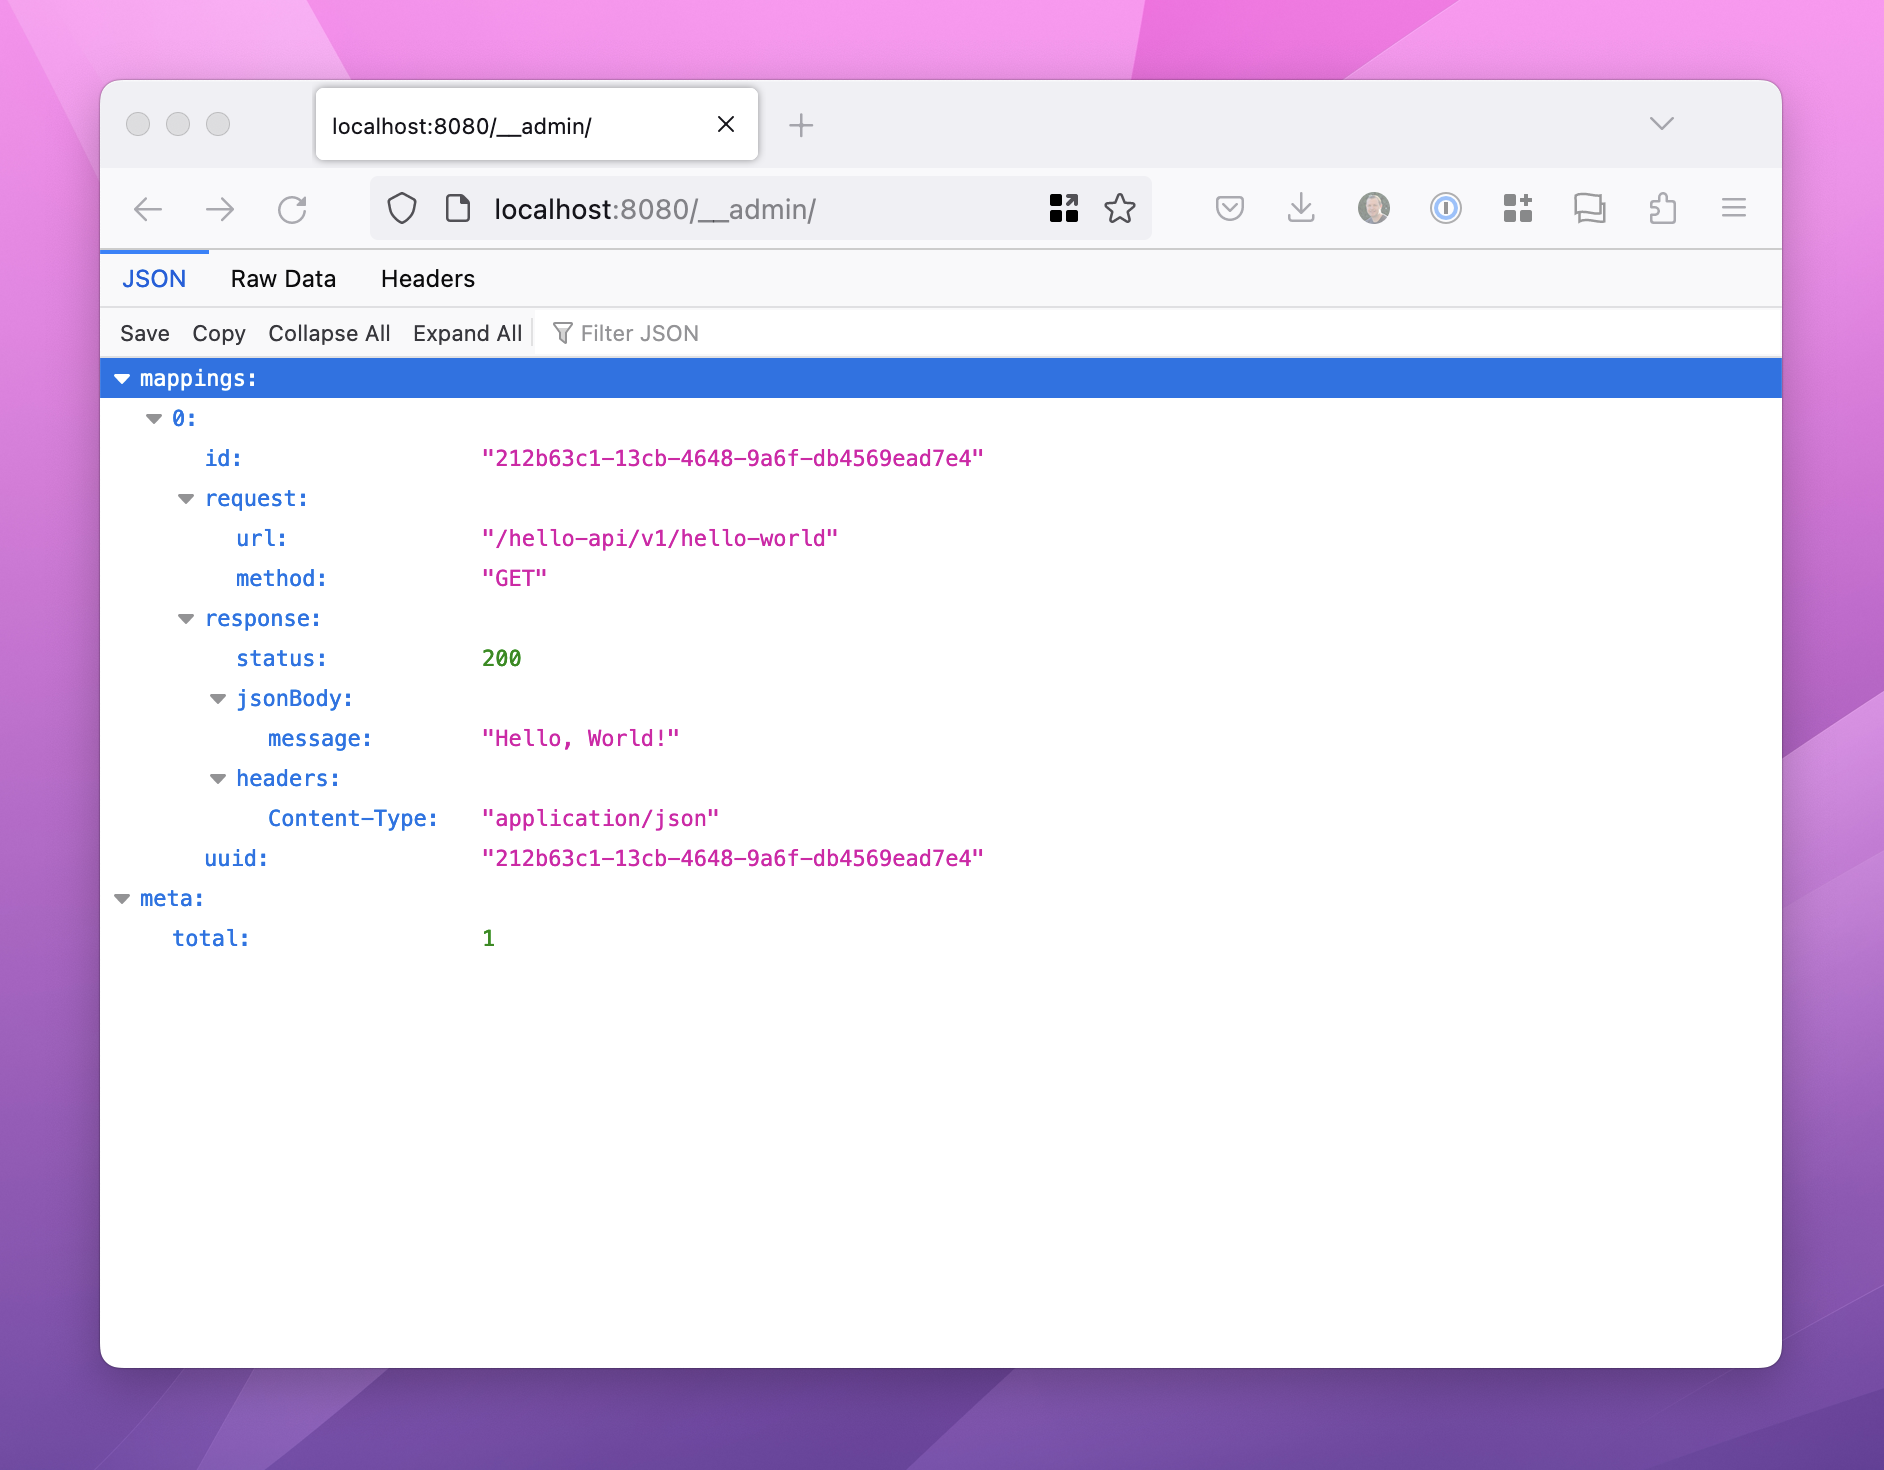
We can also verify the response using an HTTP client (i.e., Postman), a browser, or something like cURL:
$ curl -i http://localhost:8080/hello-api/v1/hello-worldHTTP/1.1 200 OKContent-Type: application/jsonMatched-Stub-Id: 212b63c1-13cb-4648-9a6f-db4569ead7e4Vary: Accept-Encoding, User-AgentTransfer-Encoding: chunked {"message":"Hello, World!"}Our stub is as simple as it gets, matching the request URL to /hello-api/v1/hello-world. However, if we make a request with a query parameter, you'll see that things fail:
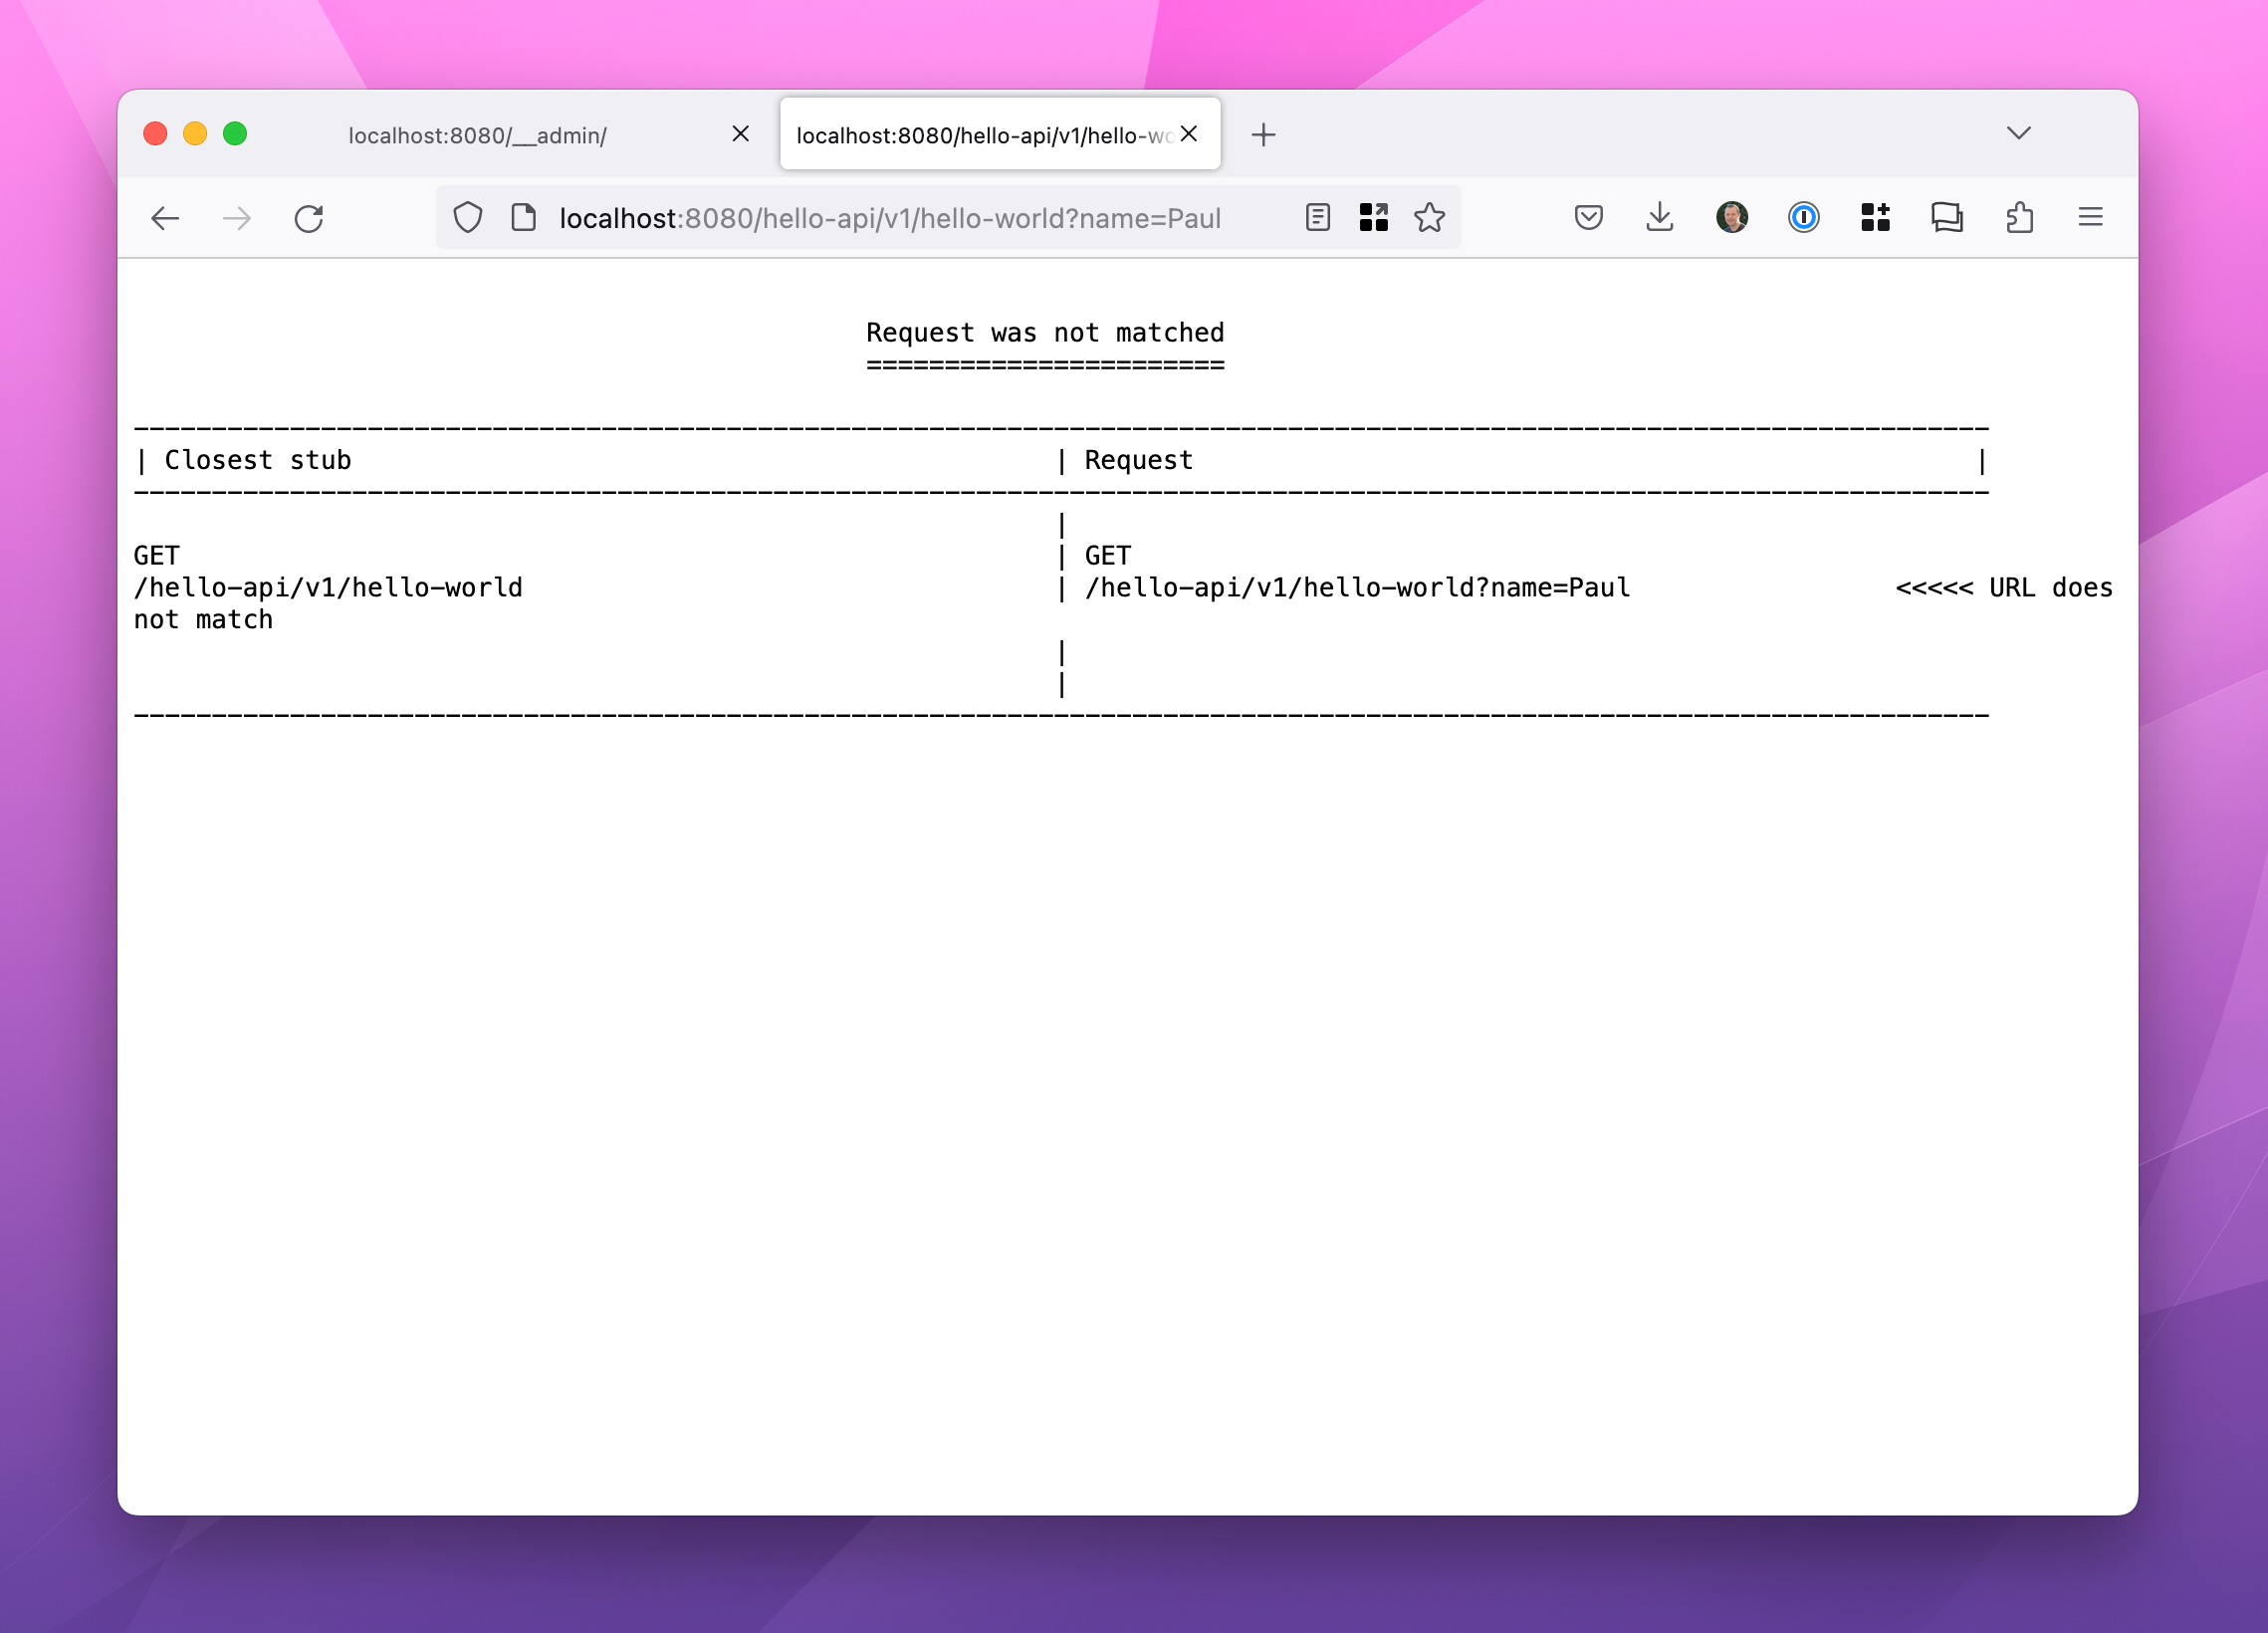
Wiremock provides a useful tip on the closest match to what we requested, which is useful when debugging stubbing issues. Another helpful endpoint we can use is the __admin/requests endpoint:
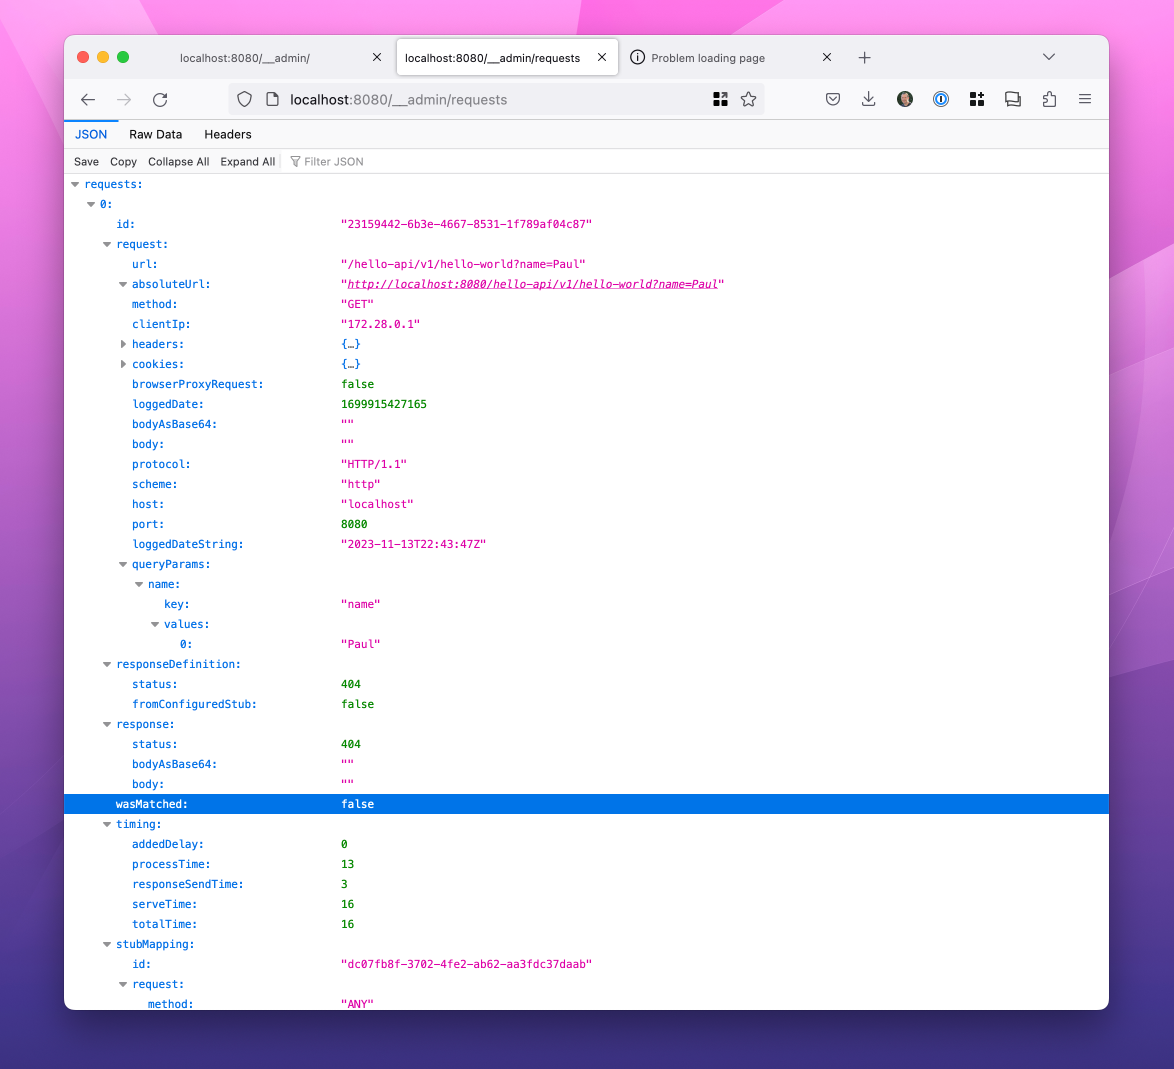
Note the wasMatched property, which indicates my latest request was unsuccessful based on the stub's matching criteria.
The Request Matching in Wiremock is robust, and I'd encourage you to experiment with it to learn more. To pique your curiosity, we could make another stub called hello-paul.json that includes request matching:
{ "request": { "method": "GET", "urlPath": "/hello-api/v1/hello-world", "queryParameters": { "name": { "matches": "Paul" } } }, "response": { "status": 200, "jsonBody": { "message": "Hello, Paul!" }, "headers": { "Content-Type": "application/json" } }}Note the change from url to urlPath and the new queryParameters property. We can also use regular expressions here:
"queryParameters": { "name": { "matches": "^[A-Za-z]+$" }}Creating the Example API Client
We now have a basic understanding of Wiremock and a running mock HTTP server. It's time to demonstrate how we might hook this up with Laravel. We will expand on more advanced topics with testing and Wiremock, but for now, let's wrap up this first pass with an example.
If you're following along, create a new class so we can demonstrate this:
touch app/HelloWorldApi.phpAnd create the class like so:
namespace App; use GuzzleHttp\Client as GuzzleClient; class HelloWorldApi{ public function __construct( protected GuzzleClient $client ) {} /** * @return array{message: string} */ public function sayHello() { /** @var \Psr\Http\Message\ResponseInterface $response */ $response = $this->client->get('hello-world'); return json_decode((string) $response->getBody(), true); }}Our example service takes a Guzzle Client instance. The shape of third-party code will vary, but hopefully, you can configure the base URI for your client. Note how we call hello-world in a relative way, relying on our client's base_uri configuration to create the correct URL.
Next, let's register the service in the AppServiceProvider.php file so we can try this demo out:
use App\HelloWorldApi;use GuzzleHttp\Client as GuzzleClient; // ... $this->app->bind(HelloWorldApi::class, function ($app) { /** @var \Illuminate\Config\Repository $config */ $config = $app['config']; $client = new GuzzleClient([ 'base_uri' => $config->get('services.hello_world.base_uri'), ]); return new HelloWorldApi($client);});Finally, let's configure the service using config/services.php as used in the service provider above:
return [ /* |-------------------------------------------------------------------------- | Third Party Services |-------------------------------------------------------------------------- | | This file is for storing the credentials for third party services such | as Mailgun, Postmark, AWS and more. This file provides the de facto | location for this type of information, allowing packages to have | a conventional file to locate the various service credentials. | */ // ... 'hello_world' => [ 'base_uri' => env('HELLO_WORLD_API_BASE_URI', 'https://hello-world.example.com/v1/'), ], ];Our service configures Guzzle's base_uri option, as defined in the Quickstart: Creating a Client documentation. In my opinion, we configure a trailing slash, which is the most portable way to define the base_uri option.
In some environments, you might not have a path as part of the base URI (i.e., http://my-internal-service.vpc), and in other environments, perhaps you interface with an API via a gateway:
# Internal staging examplehttp://my-internal-service.vpc # Staginghttp://stg-api.mycompany.com/my-service/v1/Using Wiremock in a Test
We are ready to take our client for a spin using Wiremock to stub the HTTP response. With the hard part is out of the way, let's create the Pest test to demonstrate how this works:
touch tests/Feature/HelloWorldApiTest.phpWith the following content:
use App\HelloWorldApi; it('says hello', function () { $result = app(HelloWorldApi::class)->sayHello(); expect($result)->toBe(['message' => 'Hello, World!']);});Next, we need to configure the Wiremock server via the project's phpunit.xml file. This is the key to overriding our base URI so our test points to wiremock instead of the real service:
<php> <env name="HELLO_WORLD_API_BASE_URI" value="http://localhost:8080/hello-api/v1/"/></php>Note the trailing slash (/) mentioned earlier, ensuring our API client calls are portable with various base_uri configurations. We should be able to run our test now and verify that it passes:
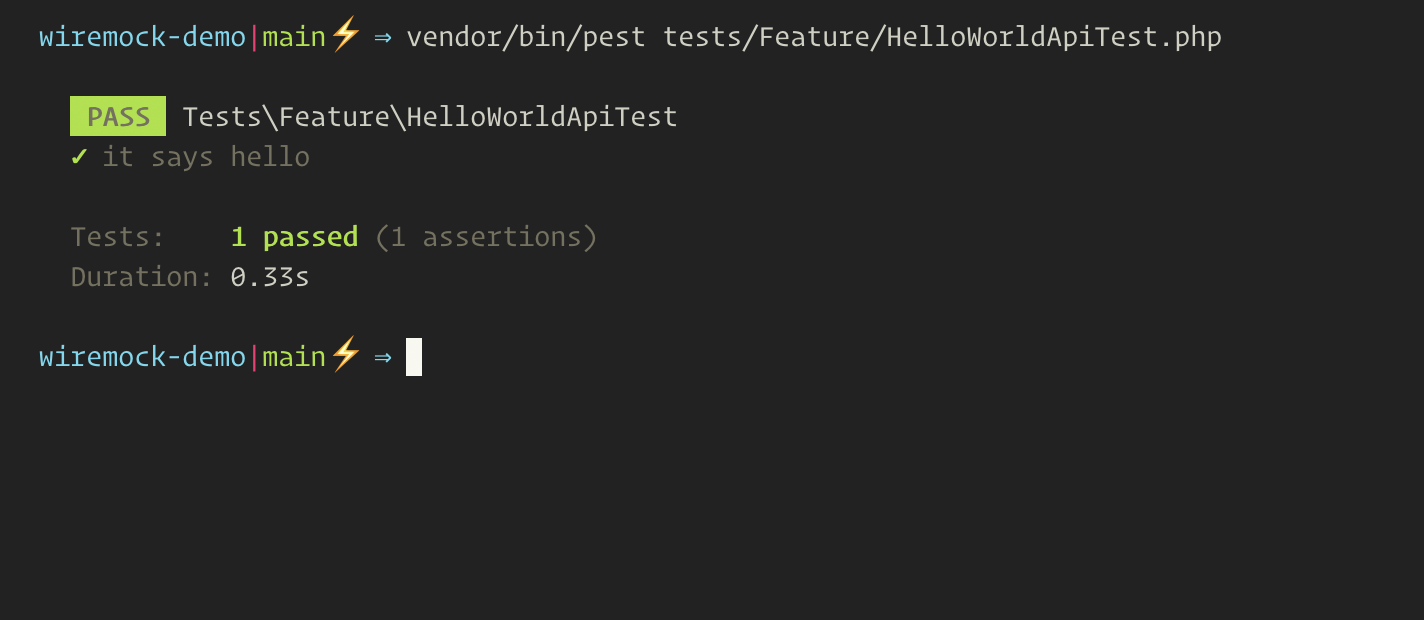
vendor/bin/pest tests/Feature/HelloWorldApiTest.phpYou should see the passing test now!
If you run into any errors or failures, ensure the hello-world.json file is correct, and perhaps shut down and restart the Wiremock container to ensure it has the latest version:
docker compose downdocker compose up -dIt's important to note that as you work with JSON stubs, they are mounted as a Docker volume. However, your changes are not reflected in the Wiremock server until you remove the container and create a new one.
If you re-run the tests, you'll notice that navigating to http://localhost:8080/__admin/requests has a history of requests made by your tests. Pretty sweet, eh?

It's clear how valuable the request history can be for debugging when tests fail, and you can immediately see the request and if it was unable to match.
Wrapping Up
We've covered a lot of ground in this tutorial, but I hope you see the potential in what Wiremock can offer you for testing against an API. Wiremock also empowers you to write code against API features that are not live yet. You may be working with another team building a first-party API that you are consuming and want to test the integration against a real HTTP service.
I will not gloss over the fact that using a mock HTTP server introduces some complexity in your testing lifecycle. It's overkill for simple integrations. We now need to run Docker with our test suite, but I believe it is worth the additional complexity when integrating multiple services and testing complex edge cases in your code. It's also nice to avoid mocking in the code using a middleware or Mockery mock.
I plan on writing more tutorials diving into writing custom HTTP stubs during a test, asserting against the mock server's history, and cleaning up custom stubs after a test runs. Sign up for our Laravel Newsletter to stay in the loop with future Wiremock tutorials!
In the meantime, I recommend checking out the WireMock User Documentation to learn more about creating HTTP stubs and operating a mock HTTP server for your tests!