The two primary ways developers create their database scheme is either by building migrations first or building out their database structure in a tool like Sequel Pro first, then once they are happy, create the migrations.
If you are in the second camp and use Sequel Pro, Colin Viebrock created a Laravel Migration exporter tool that hooks right into the app.
It works by cloning or downloading the package and then installing by double clicking on the included “ExportToLaravelMigration.spBundle” file.
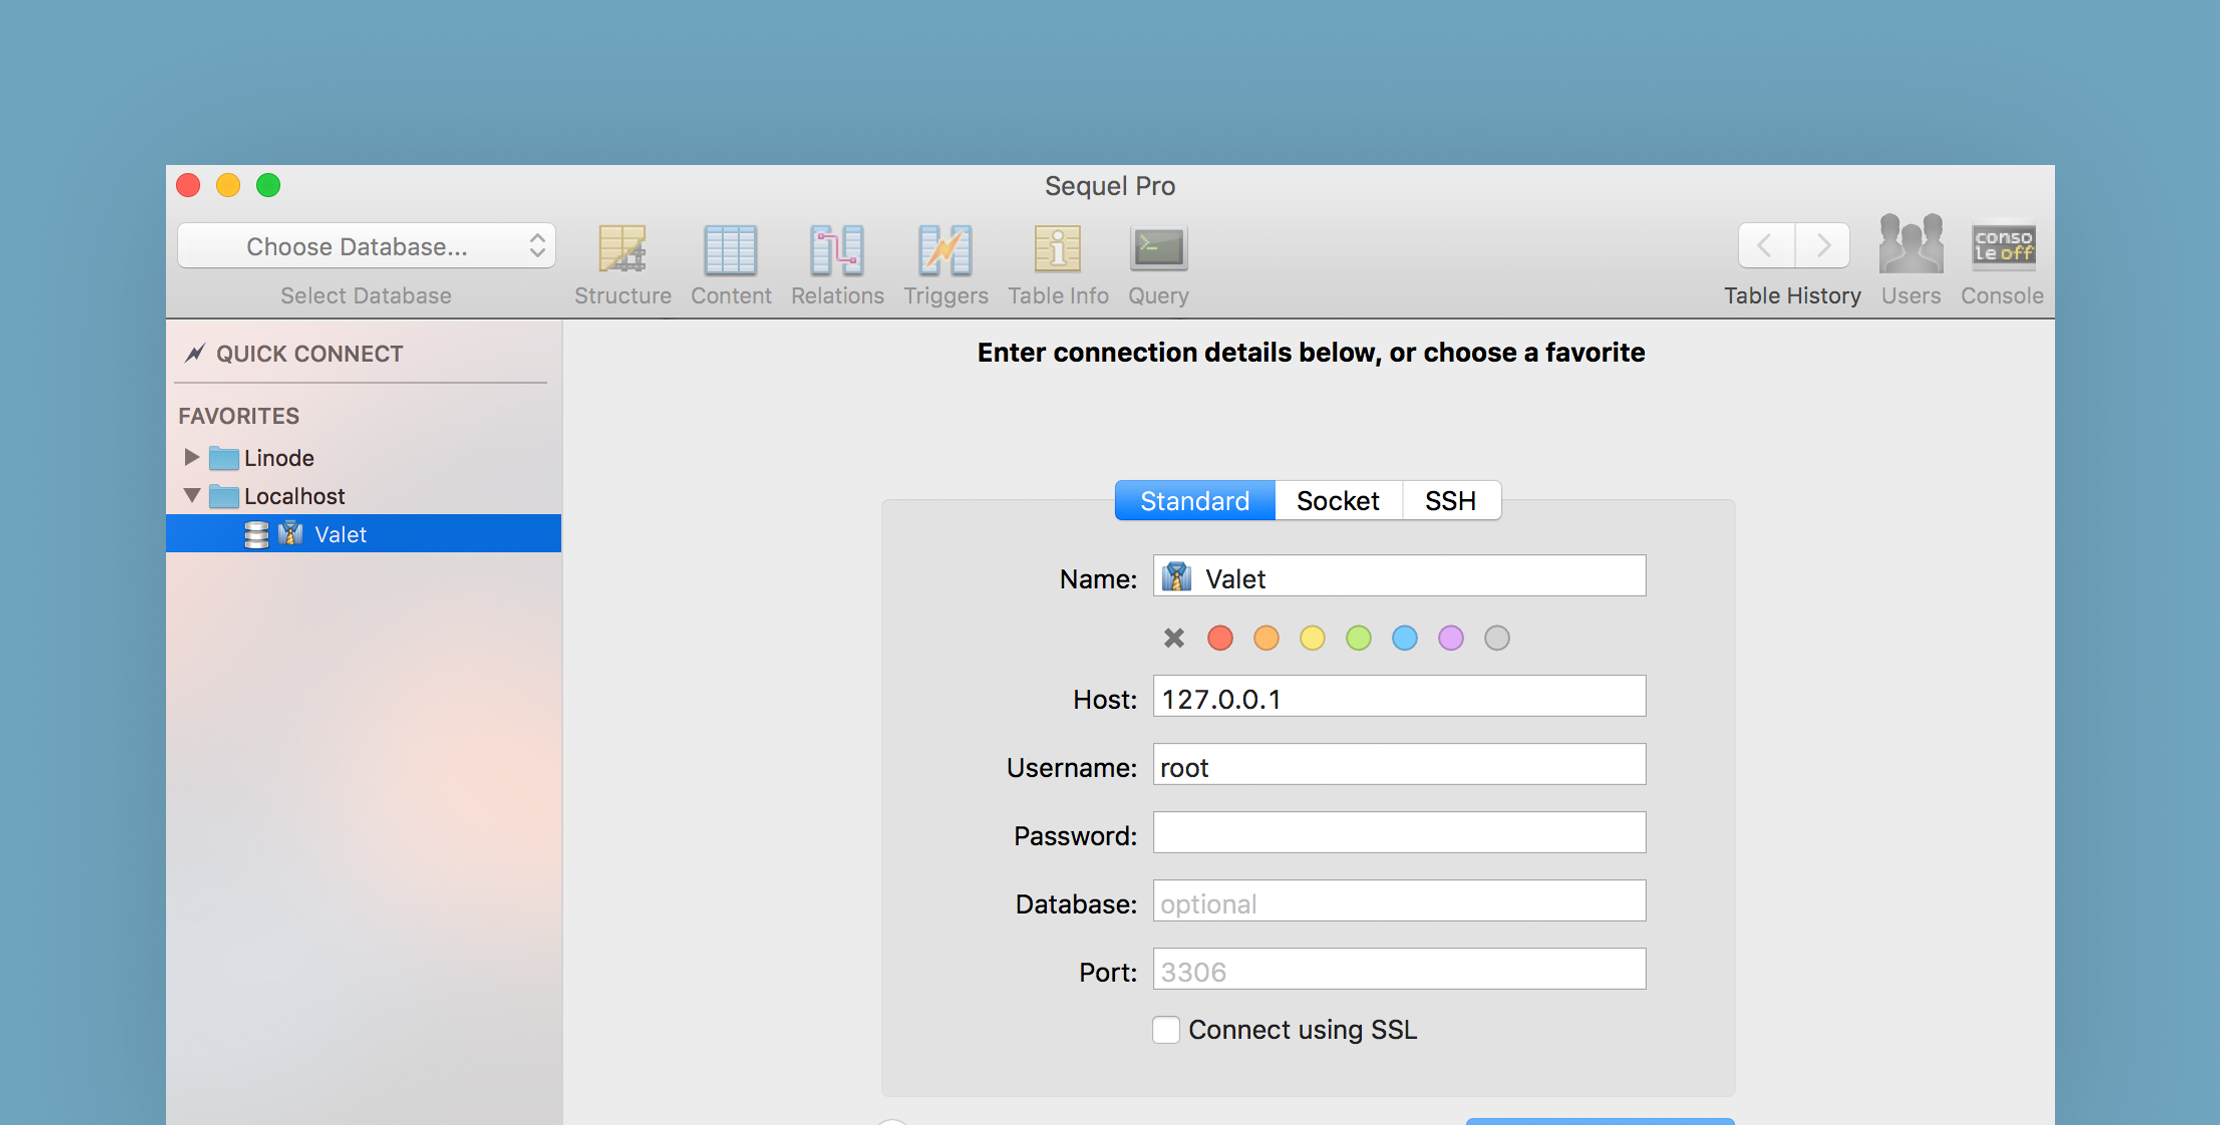
Next, connect to a database, and select a table in the left-hand column. From the application menu, choose Bundles › Export › Export to Laravel Migration, or use the keyboard shortcut ⌃⌥⌘M (CTRL + OPTION + CMD + M).
Here is an example of a migration it created for a category table:
<?php use Illuminate\Support\Facades\Schema;use Illuminate\Database\Schema\Blueprint;use Illuminate\Database\Migrations\Migration; /** * Migration auto-generated by Sequel Pro Laravel Export * @see https://github.com/cviebrock/sequel-pro-laravel-export */class CreateCategoriesTable extends Migration{ /** * Run the migrations. * * @return void */ public function up() { Schema::create('categories', function (Blueprint $table) { $table->increments('id'); $table->integer('wp_id'); $table->string('name', 255); $table->string('slug', 255); $table->text('description'); $table->nullableTimestamps(); $table->unique('slug', 'categories_slug_unique'); }); } /** * Reverse the migrations. * * @return void */ public function down() { Schema::dropIfExists('categories'); }}The migration file will then be saved to your desktop, and you can move it to your projects migrations directory, so it’s ready to be used through the Artisan command.