Images are an essential part of any web application. They have the power to create an emotional response in the audience, which is worth its weight in gold. Our brain is designed to interpret images much quicker than text, so when developing a website, it is imperative to take your images seriously.
In this tutorial, I will introduce you to image services offered by Cloudinary for uploading images in Laravel. We will focus on uploading images to the Cloudinary server in Laravel application.
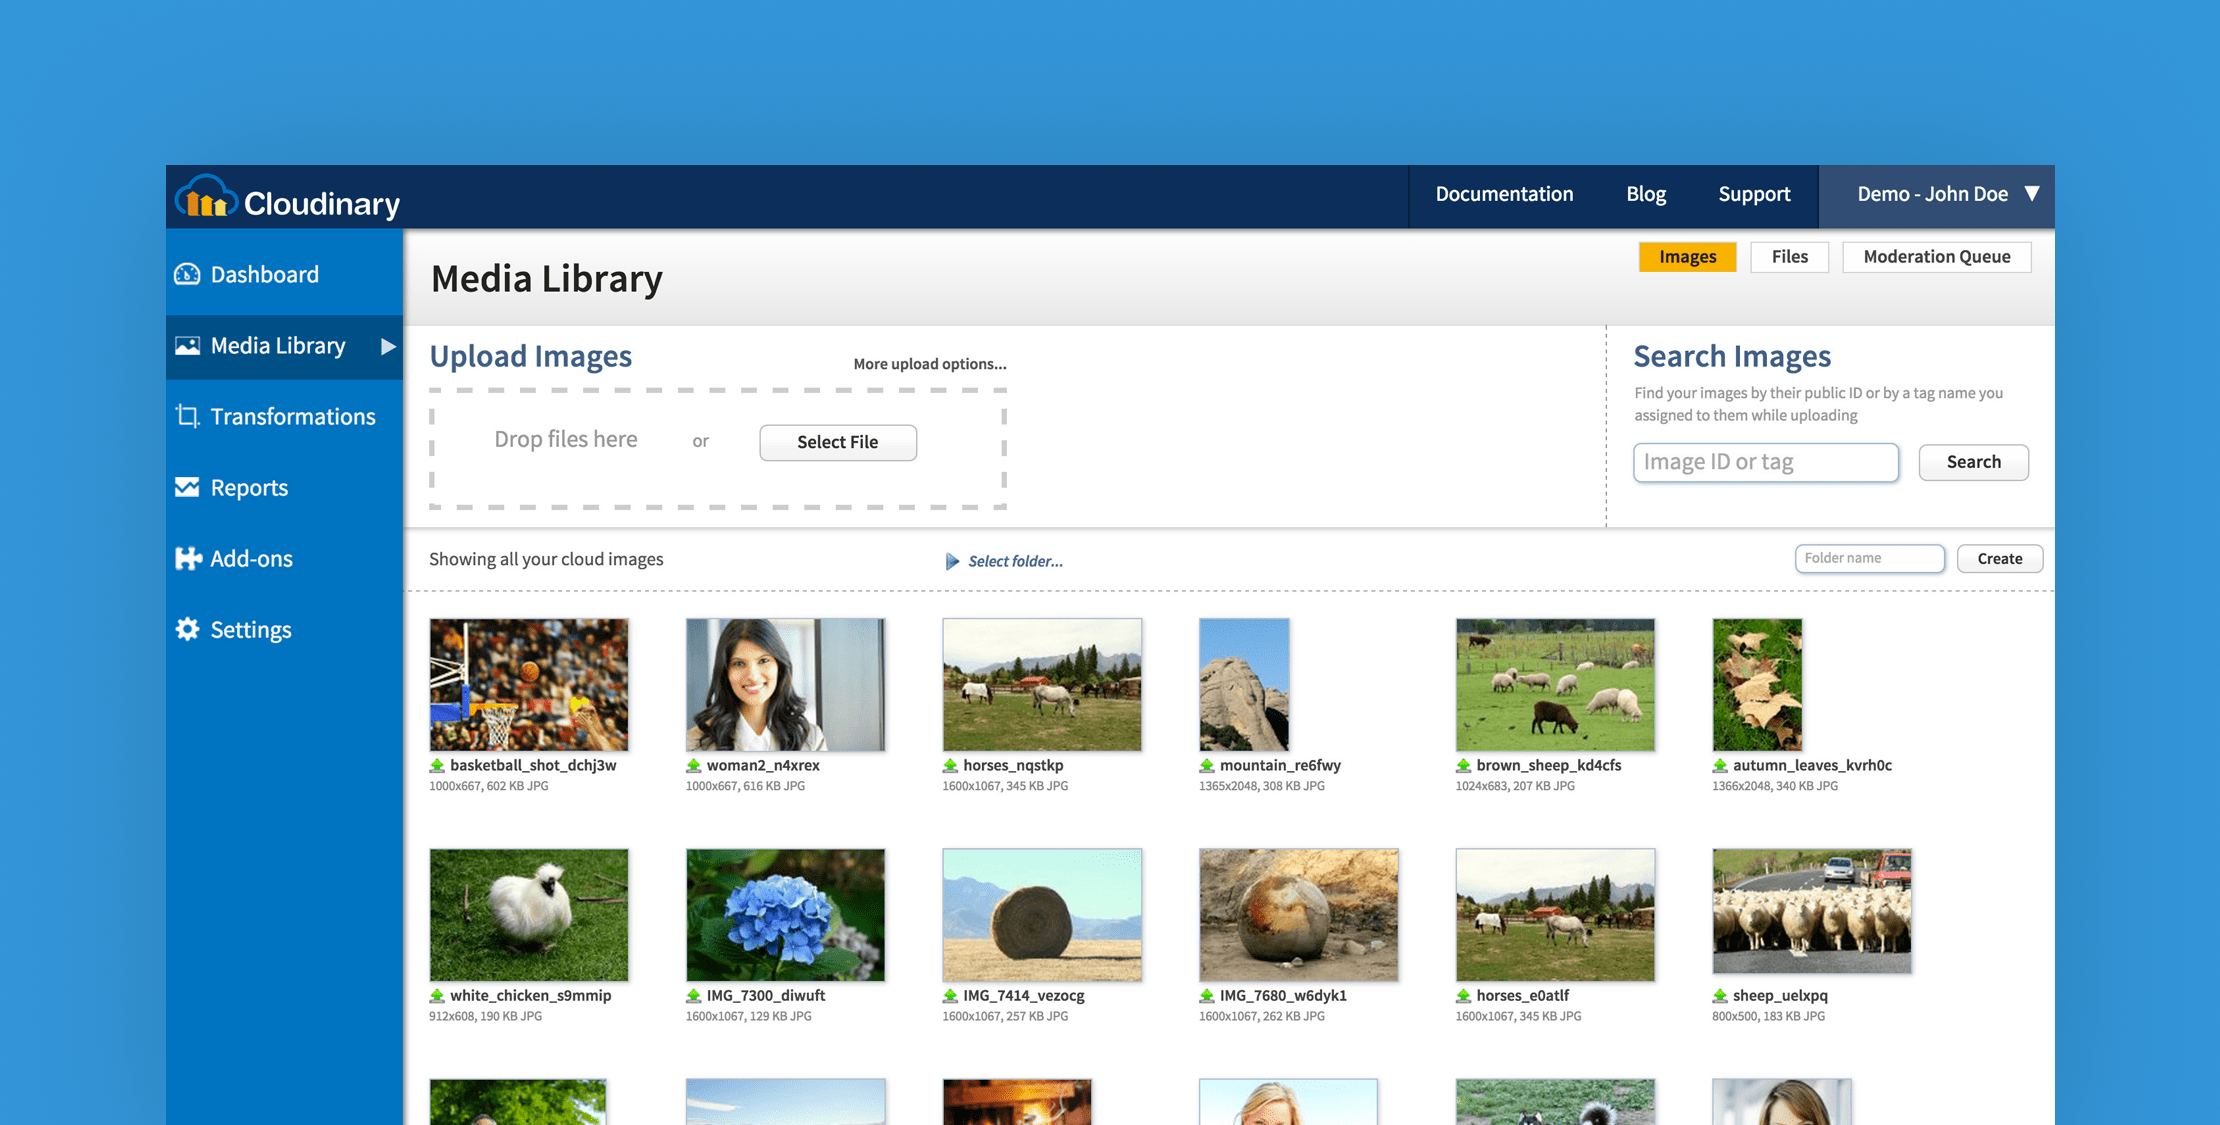
Cloudinary is the end-to-end image and video management solution, which also offers robust, highly reliable cloud storage for all your media.
What We will Build
In this tutorial, we will upload images to Cloudinary using jrm2k6/cloudder package. This package will do the heavy lifting for us and make it easy to interact with Cloudinary API.
Sign up For a Free Cloudinary Account
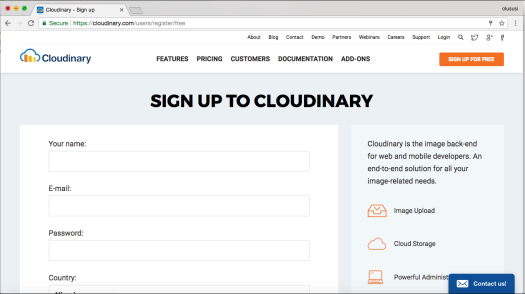
Before we start installing Laravel, go to Cloudinary and sign up for a free Cloudinary account.
This will give you the necessary credentials to access and interact with Cloudinary functionalities. Once you have signed up, log in and view your dashboard. It should be similar to this:
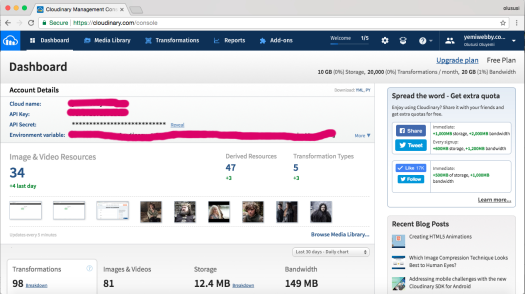
Take note of your account details Cloud name, API Key, API Secret because you will need them within your .env file:
CLOUDINARY_API_KEY = 'Your key'CLOUDINARY_API_SECRET = 'Your secret'CLOUDINARY_CLOUD_NAME = 'Your cloud name'You are almost ready to start utilizing some of the amazing services and functionalities offered by Cloudinary.
Install Laravel
Laravel utilizes Composer to manage its dependencies. So before using Laravel, make sure you have Composer installed on your machine.
You can download and install Laravel via:
- Laravel installer
- Composer create-project.
For the sake of this tutorial, let’s proceed by using the second option. So run :
composer create-project --prefer-dist laravel/laravel laravel-upload-tutThis will create a Laravel project called laravel-upload-tut in your development directory.
Next, install jrm2k6/cloudder package using composer:
composer require jrm2k6/cloudder:0.4.*Now open config\app.php file and add the following service provider and aliases in respective array:
'providers' => array( 'JD\Cloudder\CloudderServiceProvider'); 'aliases' => array( 'Cloudder' => 'JD\Cloudder\Facades\Cloudder');Run the following command to publish:
php artisan vendor:publish --provider="JD\Cloudder\CloudderServiceProvider"The command above will generate a cloudder configuration file for you in the following path config/cloudder.php
You can change the following settings (optional) with corresponding values from your dashboard:
CLOUDINARY_BASE_URLCLOUDINARY_SECURE_URLCLOUDINARY_API_BASE_URLStart the PHP’s built-in development server to serve your application:
php artisan serveCreating a Controller and Route
We are getting close; the next thing is to create a controller that will handle the image upload request:
php artisan make:controller ImageUploadControllerOpen app\Http\Controllers and add :
<?php namespace App\Http\Controllers; use JD\Cloudder\Facades\Cloudder;use Illuminate\Http\Request; class ImageUploadController extends Controller{ public function home() { return view('home'); }}This function will render the view for uploading our images. We will create this view in a bit. To handle image upload, let’s add another function uploadImages()
<?php...class ImageUploadController extends Controller { public function home() { ... } public function uploadImages(Request $request) { $this->validate($request,[ 'image_name'=>'required|mimes:jpeg,bmp,jpg,png|between:1, 6000', ]); $image_name = $request->file('image_name')->getRealPath();; Cloudder::upload($image_name, null); return redirect()->back()->with('status', 'Image Uploaded Successfully'); } }Here, we handled validation of an uploaded image and ensured that the file size is between 1kb and 6000kb. Then we used Cloudder::upload($image_name, null) to handle the actual upload of the image to Cloudinary account.
For the upload routes, open routes/web.php file and add the following:
<?php Route::get('/', 'ImageUploadController@home'); Route::post('/upload/images', [ 'uses' => 'ImageUploadController@uploadImages', 'as' => 'uploadImage']);The next thing to do is to create a view file for our example application. So head over to resources/views and create home.blade.php file.
Fill it with :
<html><head> <meta name="viewport" content="width=device-width"> <title>Cloudinary Image Upload</title> <meta name="description" content="Prego is a project management app built for learning purposes"> <link rel="stylesheet" href="https://maxcdn.bootstrapcdn.com/bootstrap/3.3.7/css/bootstrap.min.css"> <link rel="stylesheet" href="{{asset('css/style.css')}}"></head><body> <div class="container" style="margin-top: 100px;"> <div class="row"> <h4 class="text-center"> Upload Images </h4> <div class="row"> <div id="formWrapper" class="col-md-4 col-md-offset-4"> <form class="form-vertical" role="form" enctype="multipart/form-data" method="post" action="{{ route('uploadImage') }}"> {{csrf_field()}} @if(session()->has('status')) <div class="alert alert-info" role="alert"> {{session()->get('status')}} </div> @endif <div class="form-group{{ $errors->has('name') ? ' has-error' : '' }}"> <input type="file" name="image_name" class="form-control" id="name" value=""> @if($errors->has('image_name')) <span class="help-block">{{ $errors->first('image_name') }}</span> @endif </div> <div class="form-group"> <button type="submit" class="btn btn-success">Upload Image </button> </div> </form> </div> </div> </div></div></body></html>To spice our page up a little, let’s add navigation:
<html><head> ...</head><body> <nav class="navbar navbar-inverse navbar-fixed-top"> <div class="container"> <div class="navbar-header"> <button type="button" class="navbar-toggle collapsed" data-toggle="collapse" data-target="#navbar" aria-expanded="false" aria-controls="navbar"> <span class="sr-only">Toggle navigation</span> <span class="icon-bar"></span> <span class="icon-bar"></span> <span class="icon-bar"></span> </button> <a class="navbar-brand" href="#">Cloudinary Image Upload</a> </div> </div></nav>...</body></html>You will notice that we included a stylesheet in the home.blade.php file. Let’s now create public/css/style.css and add:
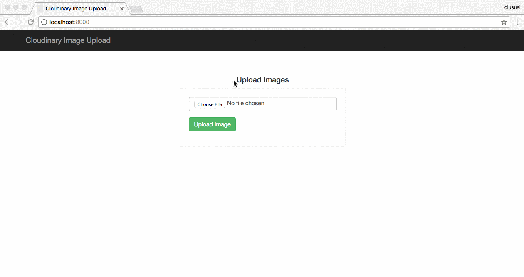
#formWrapper { border: 2px solid #f5f5f5; padding: 20px;}By now, your page should look similar to this:

You can go ahead and upload any image now.

There you have it, uploading images to Cloudinary from the Laravel application is as simple as that.
##Bonus: Persisting Image Delivery URLs
The objective of this tutorial was to show you how to upload images to Cloudinary using Laravel. We have been able to achieve this already, but you might want to save the URL of the uploaded image in your database and be able to view all of them, as well.
Let’s create a model for this purpose. The fastest way to create a model is to use the following command, with a parameter that you can use to specify the model name. So in our case, we will create an Upload model.
php artisan make:model Upload -mOnce you are done, you will find a new file as app/Upload.php and migration file associated with the model for our database schema.
Now open the migration file generated and edit it to reflect our database schema:
<?php use Illuminate\Support\Facades\Schema;use Illuminate\Database\Schema\Blueprint;use Illuminate\Database\Migrations\Migration; class CreateUploadsTable extends Migration{ /** * Run the migrations. * * @return void */ public function up() { Schema::create('uploads', function (Blueprint $table) { $table->increments('id'); $table->string('image_name'); $table->string('image_url'); $table->timestamps(); }); } /** * Reverse the migrations. * * @return void */ public function down() { Schema::dropIfExists('uploads'); }}##Database Set Up
Open the .env file and add your database details
DB_CONNECTION=mysqlDB_HOST=127.0.0.1DB_PORT=3306DB_DATABASE=Your-database-nameDB_USERNAME=Your-database-usernameDB_PASSWORD=Your-database-password##Migrating and Creating Table
You can go ahead and run the migration with:
php artisan migrateIf you hit the following error when trying to run the migration command, it’s because you are running an older version of MySQL:
[PDOException] SQLSTATE[42000]: Syntax error or access violation: 1071 Specified key was too long; max key length is 767 bytesYou can read more about it here. But a quick fix is to drop the database and re-create it. Then you have to edit your AppServiceProvider.php file and set a default string length inside the boot method:
use Illuminate\Support\Facades\Schema; public function boot(){ Schema::defaultStringLength(191);}You can now run the migration command again and everything should be fine.
In order to obtain and save the image URL uploaded to Cloudinary, we will need to edit the logic within ImageUploadController. So can go ahead and replace uploadImages() function with this:
public function uploadImages(Request $request){ $this->validate($request,[ 'image_name'=>'required|mimes:jpeg,bmp,jpg,png|between:1, 6000', ]); $image = $request->file('image_name'); $name = $request->file('image_name')->getClientOriginalName(); $image_name = $request->file('image_name')->getRealPath();; Cloudder::upload($image_name, null); list($width, $height) = getimagesize($image_name); $image_url= Cloudder::show(Cloudder::getPublicId(), ["width" => $width, "height"=>$height]); //save to uploads directory $image->move(public_path("uploads"), $name); //Save images $this->saveImages($request, $image_url); return redirect()->back()->with('status', 'Image Uploaded Successfully'); }And add this new method to persist the image URL and name into the database:
public function saveImages(Request $request, $image_url) { $image = new Upload(); $image->image_name = $request->file('image_name')->getClientOriginalName(); $image->image_url = $image_url; $image->save(); }To access the uploaded image on the homepage, we need to pass the image object to the view:
<br></br><?php namespace App\Http\Controllers; use App\Upload;... class ImageUploadController extends Controller{ public function home() { // add this $images = Upload::all(); return view('home', compact('images')); }}To display the images, we also will need to edit the home.blade.php file:
<html><head>...</head><body>... <div class="row" id="displayImages"> @if($images) @foreach($images as $image) <div class="col-md-3"> <a href="{{$image->image_url}}" target="_blank"> <img src="{{asset('uploads/'.$image->image_name)}}" class="img-responsive" alt="{{$image->image_name}}"> </a> </div> @endforeach @endif </div> </div></div></body></html>So we checked if the $images object is found within the view and loop through it to display the uploaded image.
And add this to the style.css file:
#displayImages { margin: 30px 0;}You will see the images being displayed immediately after it has been uploaded successfully to Cloudinary:
Conclusion
Cloudinary is a reliable source for storage when it comes to images in particular and any other media files in general. As shown in this tutorial, uploading images to the Cloudinary server from your Laravel web application is so simple to achieve. You can check out Cloudinary for more information on how to manipulate your images dynamically to fit any design.
—
Many thanks to Cloudinary for sponsoring Laravel News this week.