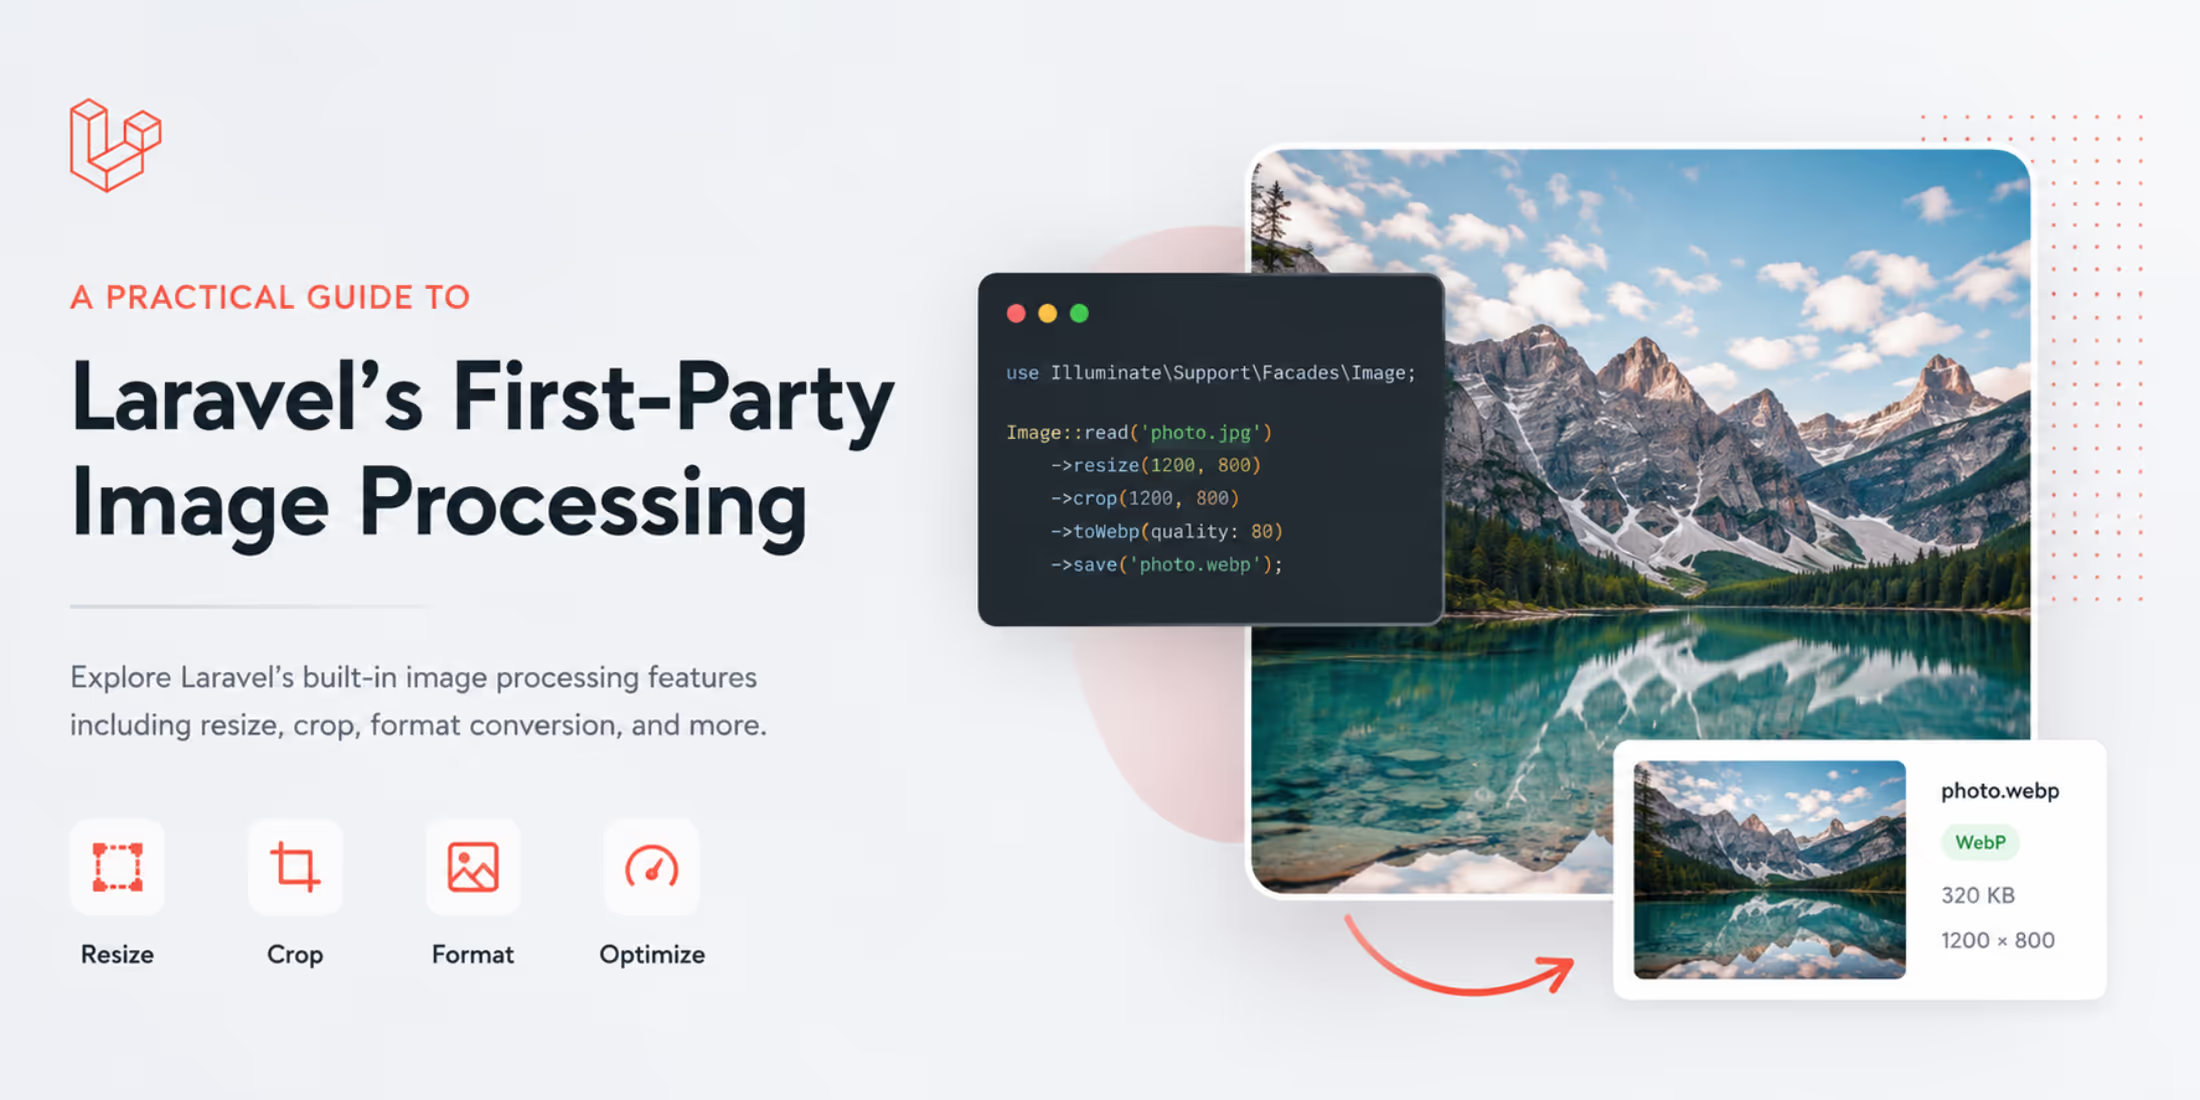
Laravel 13.20 introduced first-party image processing via the new Illuminate\Image component in Pull Request #59276. Before this release, resizing an avatar or converting an upload to WebP meant reaching for a package directly.
Now the framework ships a fluent, immutable API that covers the common cases: resizing, cropping, format conversion, quality control, effects, and storing the result on any filesystem disk.
In this tutorial, we'll walk through the API using practical examples: processing an avatar upload, generating responsive image variants, and applying transformations conditionally.
Setup
The GD and Imagick drivers are backed by Intervention Image v4, which is a suggested dependency rather than a required one. Install it in your application with the following command:
composer require intervention/image:^4.0Laravel uses the GD driver by default. If your server has the Imagick extension, you can make it the default via the images.default config value or switch drivers per image at call time:
$image->usingImagick()->toBytes(); // Or by name:$image->using('imagick')->toBytes();If you call a driver without Intervention Image installed, Laravel throws an ImageException telling you exactly what to install.
Creating an Image Instance
Images can come from anywhere: an upload, a storage disk, a local path, a URL, or raw bytes. The new Request::image() method is the most convenient entry point for uploads:
$image = $request->image('avatar'); // ?Illuminate\Image\ImageIt returns null when the field is missing or isn't an uploaded file, so validate the upload first as you normally would.
The Image facade and Storage cover every other source:
use Illuminate\Support\Facades\Image;use Illuminate\Support\Facades\Storage; $image = Image::fromPath('/path/to/photo.jpg');$image = Image::fromUrl('https://example.com/photo.jpg');$image = Image::fromStorage('uploads/photo.jpg', 's3');$image = Image::fromBytes($contents);$image = Image::fromBase64($encoded); // Equivalent to fromStorage():$image = Storage::disk('s3')->image('uploads/photo.jpg');How the Pipeline Works
Every transformation returns a new Image instance, and nothing is processed until you ask for output (store(), toBytes(), width(), and so on). This has a nice practical consequence: you can build a base image and branch off multiple variants without the transformations of one variant leaking into another:
$photo = Image::fromStorage('uploads/photo.jpg')->orient(); $thumbnail = $photo->cover(300, 300)->quality(60)->toWebp();$display = $photo->scale(width: 1600)->quality(80)->toWebp(); $thumbnail->storeAs('photos', 'photo-thumb.webp', disk: 's3');$display->storeAs('photos', 'photo-display.webp', disk: 's3');The orient() call auto-rotates the image based on its EXIF data—worth doing first on any photo that came from a phone camera.
Resizing: cover, contain, scale, resize, and crop
The API offers five ways to change dimensions, and picking the right one matters:
cover($width, $height)resizes and crops to fill the exact dimensions. Use it for avatars and thumbnails where you need a fixed size with no distortion.contain($width, $height, $background)fits the full image inside the dimensions, padding with an optional background color.scale($width, $height)resizes proportionally and never upscales—internally it maps to Intervention'sscaleDown(). Either dimension can be omitted. This is the safe choice for "shrink to at most X pixels wide."resize($width, $height)forces exact dimensions and may distort the image.crop($width, $height, $x, $y)cuts a region out of the original at the given offset.
$image->cover(512, 512); // exact square, cropped to fit$image->contain(800, 600, '#fff'); // letterboxed on white$image->scale(width: 1200); // proportional, no upscaling$image->crop(400, 300, x: 100, y: 50);Effects and Adjustments
A handful of adjustment methods round out the transformation set:
$image ->rotate(90) // clockwise, optional background for exposed corners ->blur(10) // 0–100, defaults to 5 ->sharpen(15) // 0–100, defaults to 10 ->grayscale() ->flip() // vertical; flipVertically() also works ->flop(); // horizontal; alias of flipHorizontally()Formats, Quality, and optimize()
Format conversion is simple, using the toWebp(), toJpg(), toPng(), toGif(), toAvif(), and toBmp() methods. Quality (1–100) applies to the lossy formats—WebP, JPEG, and AVIF:
$image->toWebp()->quality(80);The optimize() method is a shortcut that converts to WebP at quality 70 by default, and accepts a format and quality if you want different values:
$image->optimize(); // WebP at quality 70$image->optimize('avif', 60); // AVIF at quality 60The GD and Imagick drivers accept JPEG, PNG, GIF, BMP, and WebP images as input.
Storing and Retrieving the Result
The storage methods mirror the UploadedFile API in Laravel, so processed images use the configured disk:
$path = $image->store('avatars'); // random hashed name$path = $image->storeAs('avatars', 'user-1.webp'); // explicit name$path = $image->storePublicly('avatars', disk: 's3'); // public visibilityThe hashed filename automatically gets the correct extension for the output format—store a JPEG upload after calling toWebp() and the file is named *.webp.
When you need the data instead of a file, you acn also use toBytes(), toBase64(), or toDataUri().
Inspection methods run the pipeline and report on the processed result:
$image->width(); // int$image->height(); // int$image->dimensions(); // [width, height]$image->mimeType(); // e.g. "image/webp"$image->extension(); // e.g. "webp"A data URI is handy for embedding small previews directly in HTML or emails:
$avatar = Storage::image("avatars/{$user->avatar}") ->cover(64, 64) ->toDataUri();Putting It Together: Avatar Uploads
Here's the whole flow you might use in a controller method that orients the upload, crops a 512x512 size, converts to WebP, and stores it publicly on S3:
public function update(Request $request){ $request->validate([ 'avatar' => ['required', 'image', 'max:5120'], ]); $path = $request->image('avatar') ->orient() ->cover(512, 512) ->optimize() ->storePublicly('avatars', disk: 's3'); $request->user()->update(['avatar_path' => $path]); return back();}You could also generate a set of responsive variants in a small loop:
foreach ([480, 960, 1440] as $width) { Image::fromStorage($path, 's3') ->scale(width: $width) ->toWebp() ->storeAs('photos/variants', "{$name}-{$width}w.webp", disk: 's3');}Because scale() never upscales, a 900-pixel-wide original passed through the 1440 iteration stays at 900 pixels instead of being stretched.
Conditional Transformations
The Image class uses the Conditionable trait, so when() and unless() work as they do elsewhere in Laravel:
$image = $request->image('photo') ->when($request->boolean('grayscale'), fn ($image) => $image->grayscale()) ->scale(width: 1200) ->optimize();Customizing and Extending
Beyond swapping drivers, there are two extension points. The Image::extend() method registers an entirely custom driver, following the same pattern as other Laravel managers. The Image::transformUsing() method can be used to override how a single transformation is handled for a given driver:
use Illuminate\Image\Transformations\Blur;use Illuminate\Support\Facades\Image; Image::transformUsing('gd', Blur::class, function ($image, Blur $blur) { return $image->blur(min(100, $blur->amount * 2));});You can also write your own transformation by implementing the Illuminate\Contracts\Image\Transformation contract and passing an instance to $image->transform().
A Few Things to Know
- Images can't be serialized. Attempting to send an
Imageinstance to a queued job throws anImageException. Store the image first and pass the path to the job instead. - Processing is lazy and cached. The pipeline runs once on first output; subsequent calls to
width(),toBytes(), etc. reuse the processed result. - Failures throw
ImageException, including unsupported input formats and undecodable files, so a try/catch around processing gives you one exception type to handle.
The feature shipped in Laravel 13.20, and you can review the full implementation in Pull Request #59276 on GitHub.